Vendor Help
Connect Your Stripe Account
Learn how to set up payment processing for your vendor products on Streets
Connecting your Stripe account to Streets allows you to receive payments directly for your products sold at events. This guide will walk you through the Stripe Connect setup process to start accepting payments quickly and securely.
Why Stripe Connect?
Stripe is a trusted payment processor that enables you to accept credit cards, debit cards, and digital wallet payments for your products. Here's why Streets uses Stripe:
- Direct Payments - Money goes straight to your bank account
- Fast Payouts - Receive funds within 2 business days in most regions
- Security - PCI-compliant payment processing protects your customers' data
- Lower Fees - Streets' business model allows for lower fees than competitors
- Global Support - Accept payments in 135+ currencies in countries worldwide
You must connect a Stripe account to sell products on Streets. This connection is required for all vendor transactions.
Before You Start
To successfully connect Stripe to your Streets vendor account, you'll need:
- A Streets vendor account (with verified email)
- Your legal business name or personal name (matching your bank account)
- A phone number for verification
- Banking information (account number and routing number)
- A government-issued photo ID for identity verification
- Your tax information (SSN for individuals or EIN for businesses in the US)
Stripe's verification requirements may vary by country. You may need to provide additional information depending on your location.
Setting Up a Stripe Account
If you don't already have a Stripe account, you'll create one during the Streets connection process. Here's how it works:
- Navigate to your vendor profile settings in the Streets app
- Tap on "Payment Settings" or "Connect Stripe"
- You'll be directed to create a new Stripe account or connect an existing one
- If creating a new account, Stripe will walk you through providing the necessary information
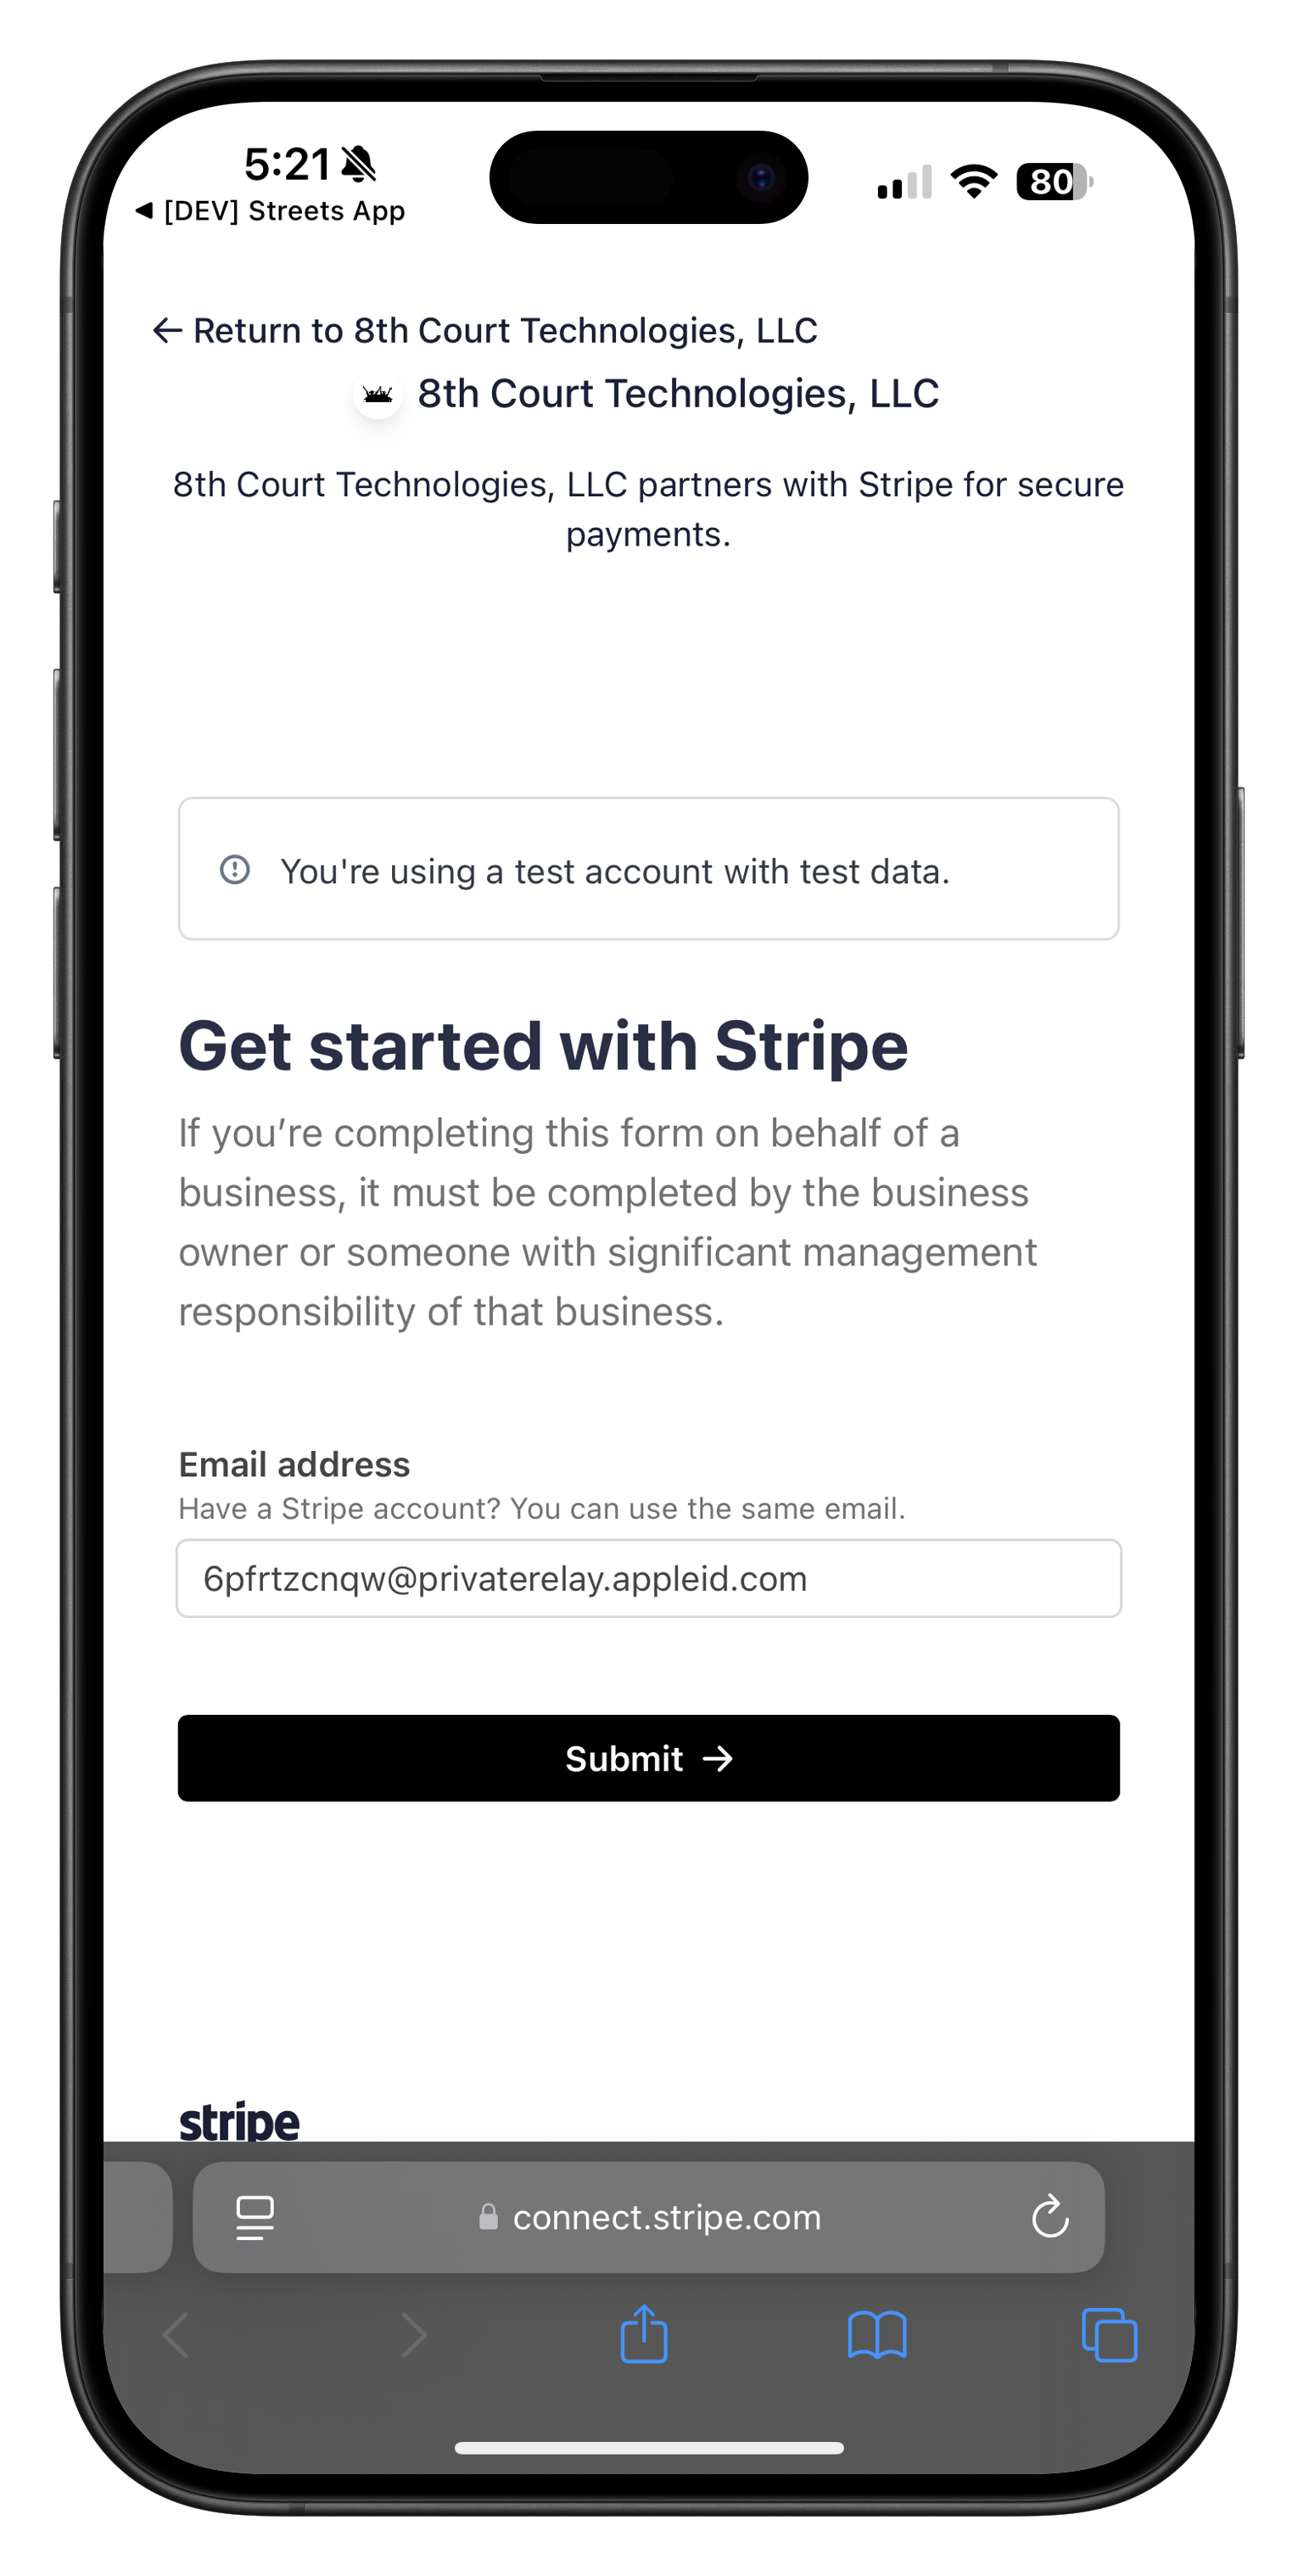
Image: Stripe account setup form where you enter your email address
Setting Up Two-Factor Authentication
For enhanced security, Stripe requires setting up two-factor authentication (2FA) for your account:
- After entering your email, Stripe will prompt you to set up 2FA
- You can use Google Authenticator or another 2FA app
- Enter the verification code shown in your authenticator app
- Alternatively, you can scan a QR code or use a security key

Image: Two-factor authentication setup for your Stripe account
Verifying Your Email
After setting up 2FA, you'll need to verify your email address:
- Stripe will send a verification email to the address you provided
- Check your inbox for an email from Stripe
- Click the verification link in the email
- If you don't see the email, click "Resend email" on the verification screen
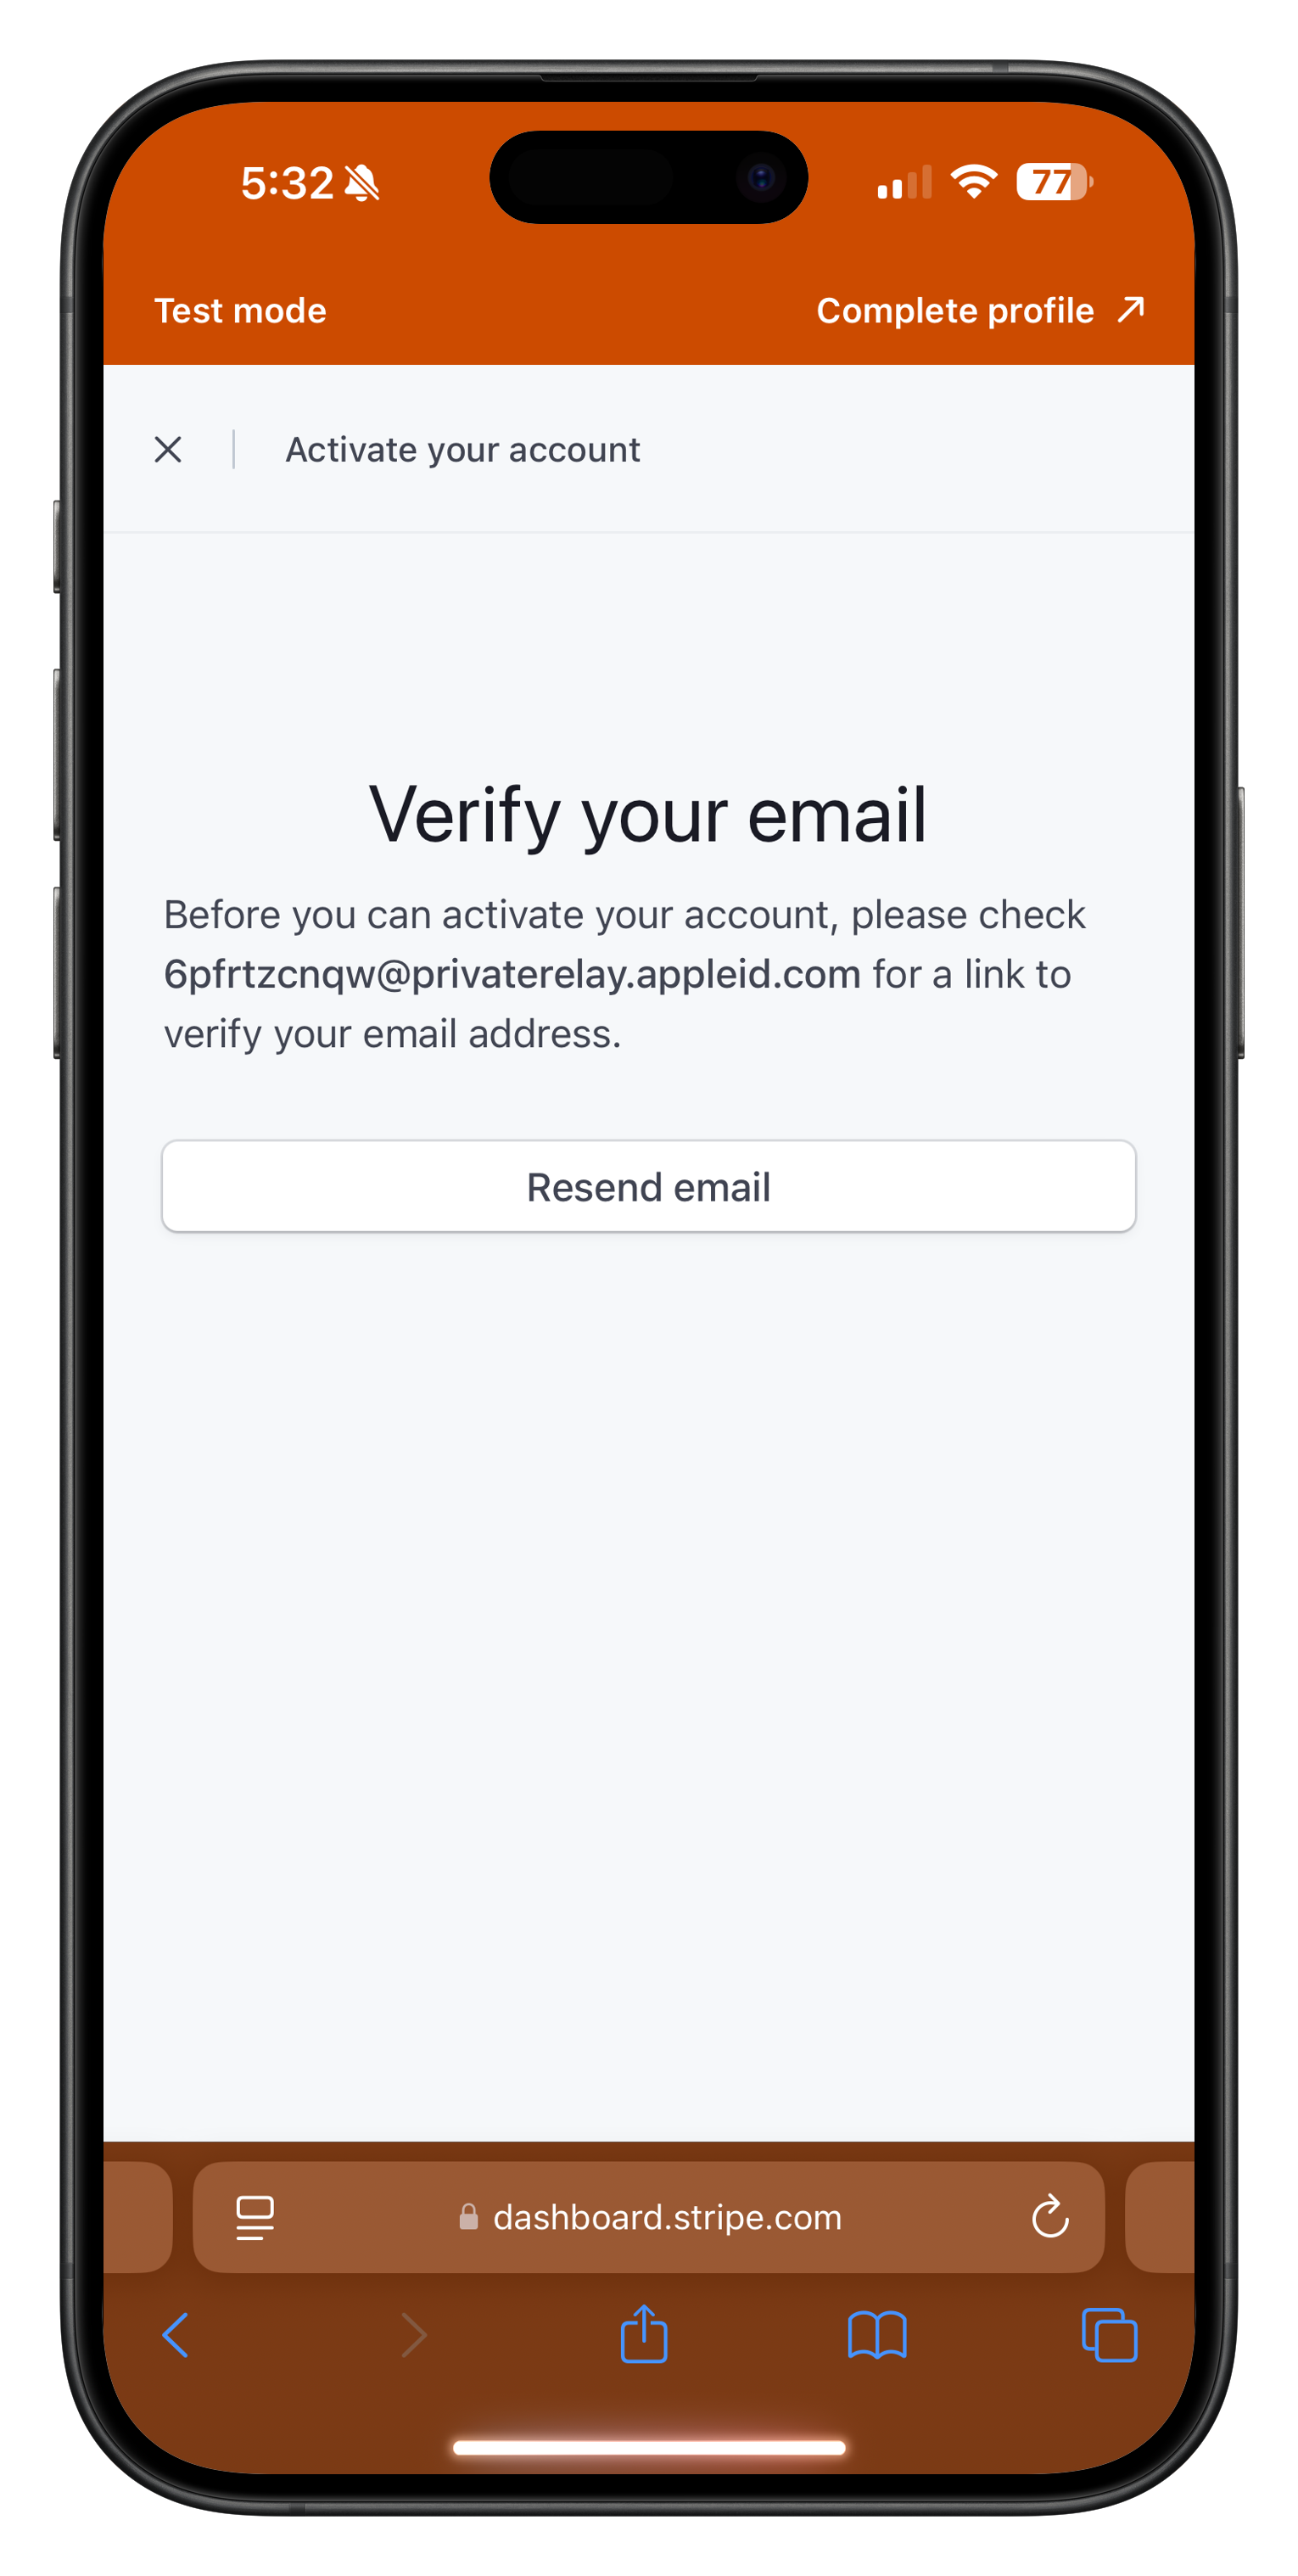
Image: Stripe email verification screen where you can resend the verification email
You won't be able to activate your Stripe account or accept payments until you verify your email address. If you're not seeing the verification email, check your spam folder or try using a different email address.
Once you've verified your email, you'll have access to the Stripe dashboard:
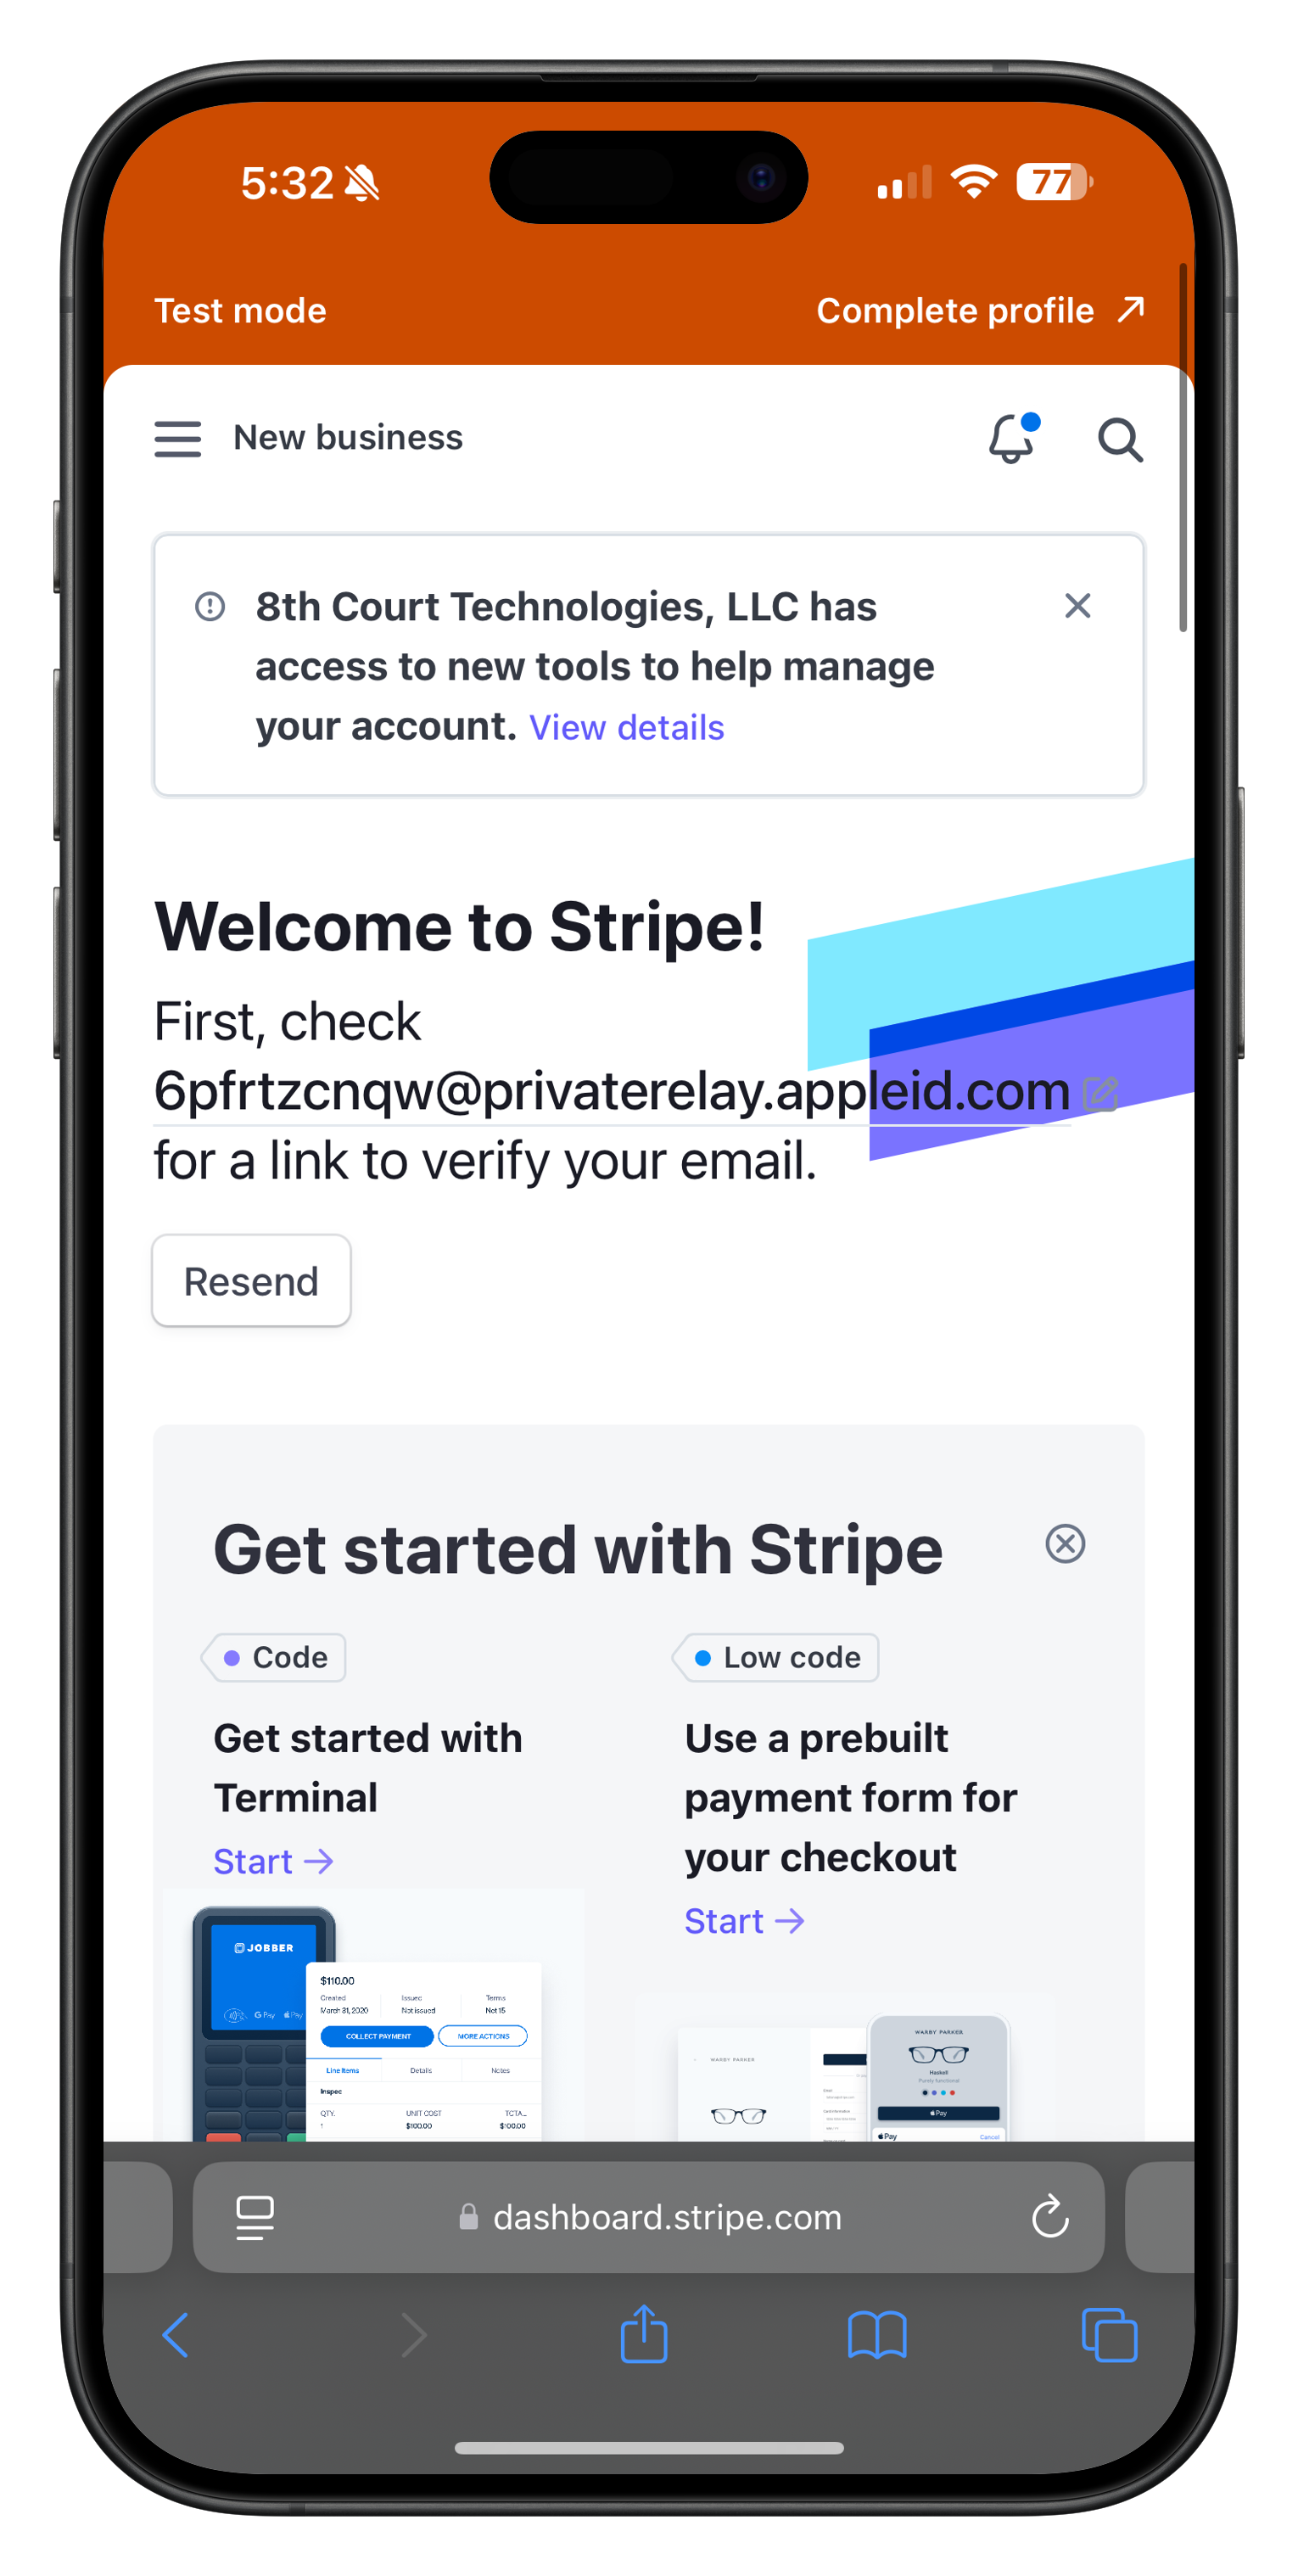
Image: Stripe dashboard welcome screen after email verification
Setting Up Your Business Information
After verifying your email, you'll need to provide your business information:
- Select your business location (country)
- Choose your business type:
- Individual - For sole proprietors or freelancers
- Company - For registered businesses with an EIN
- Non-profit - For registered 501(c)(3) organizations
- Click "Continue" to proceed to the next step
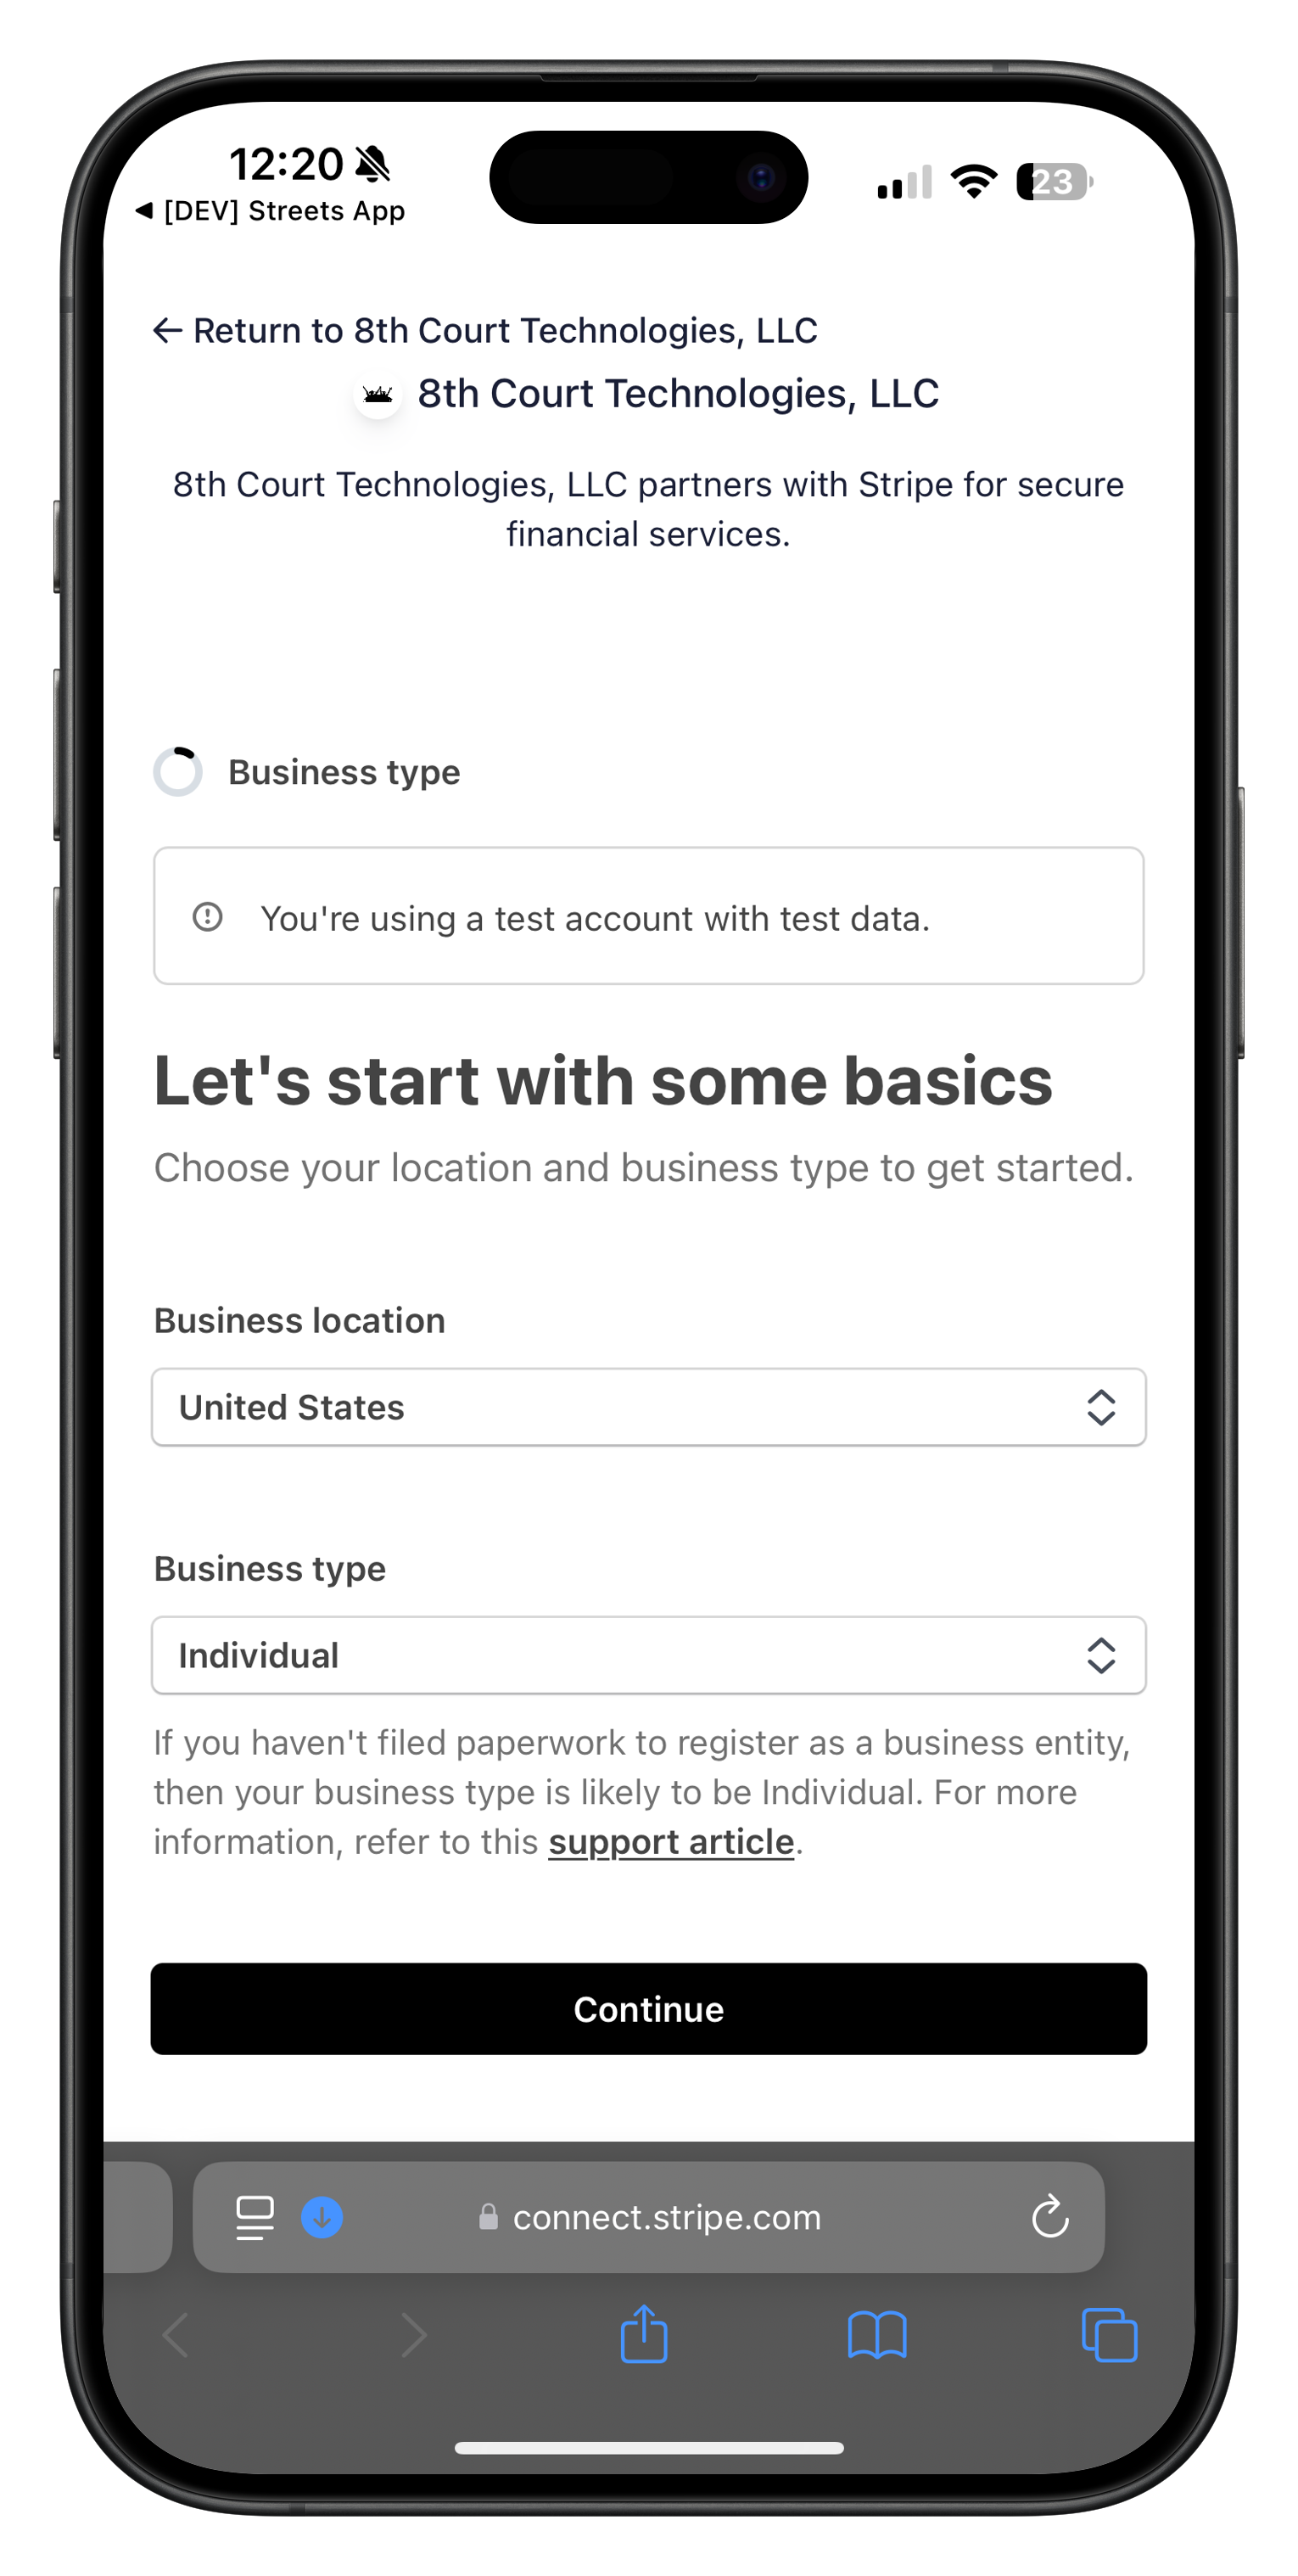
Image: Setting up your business location and type
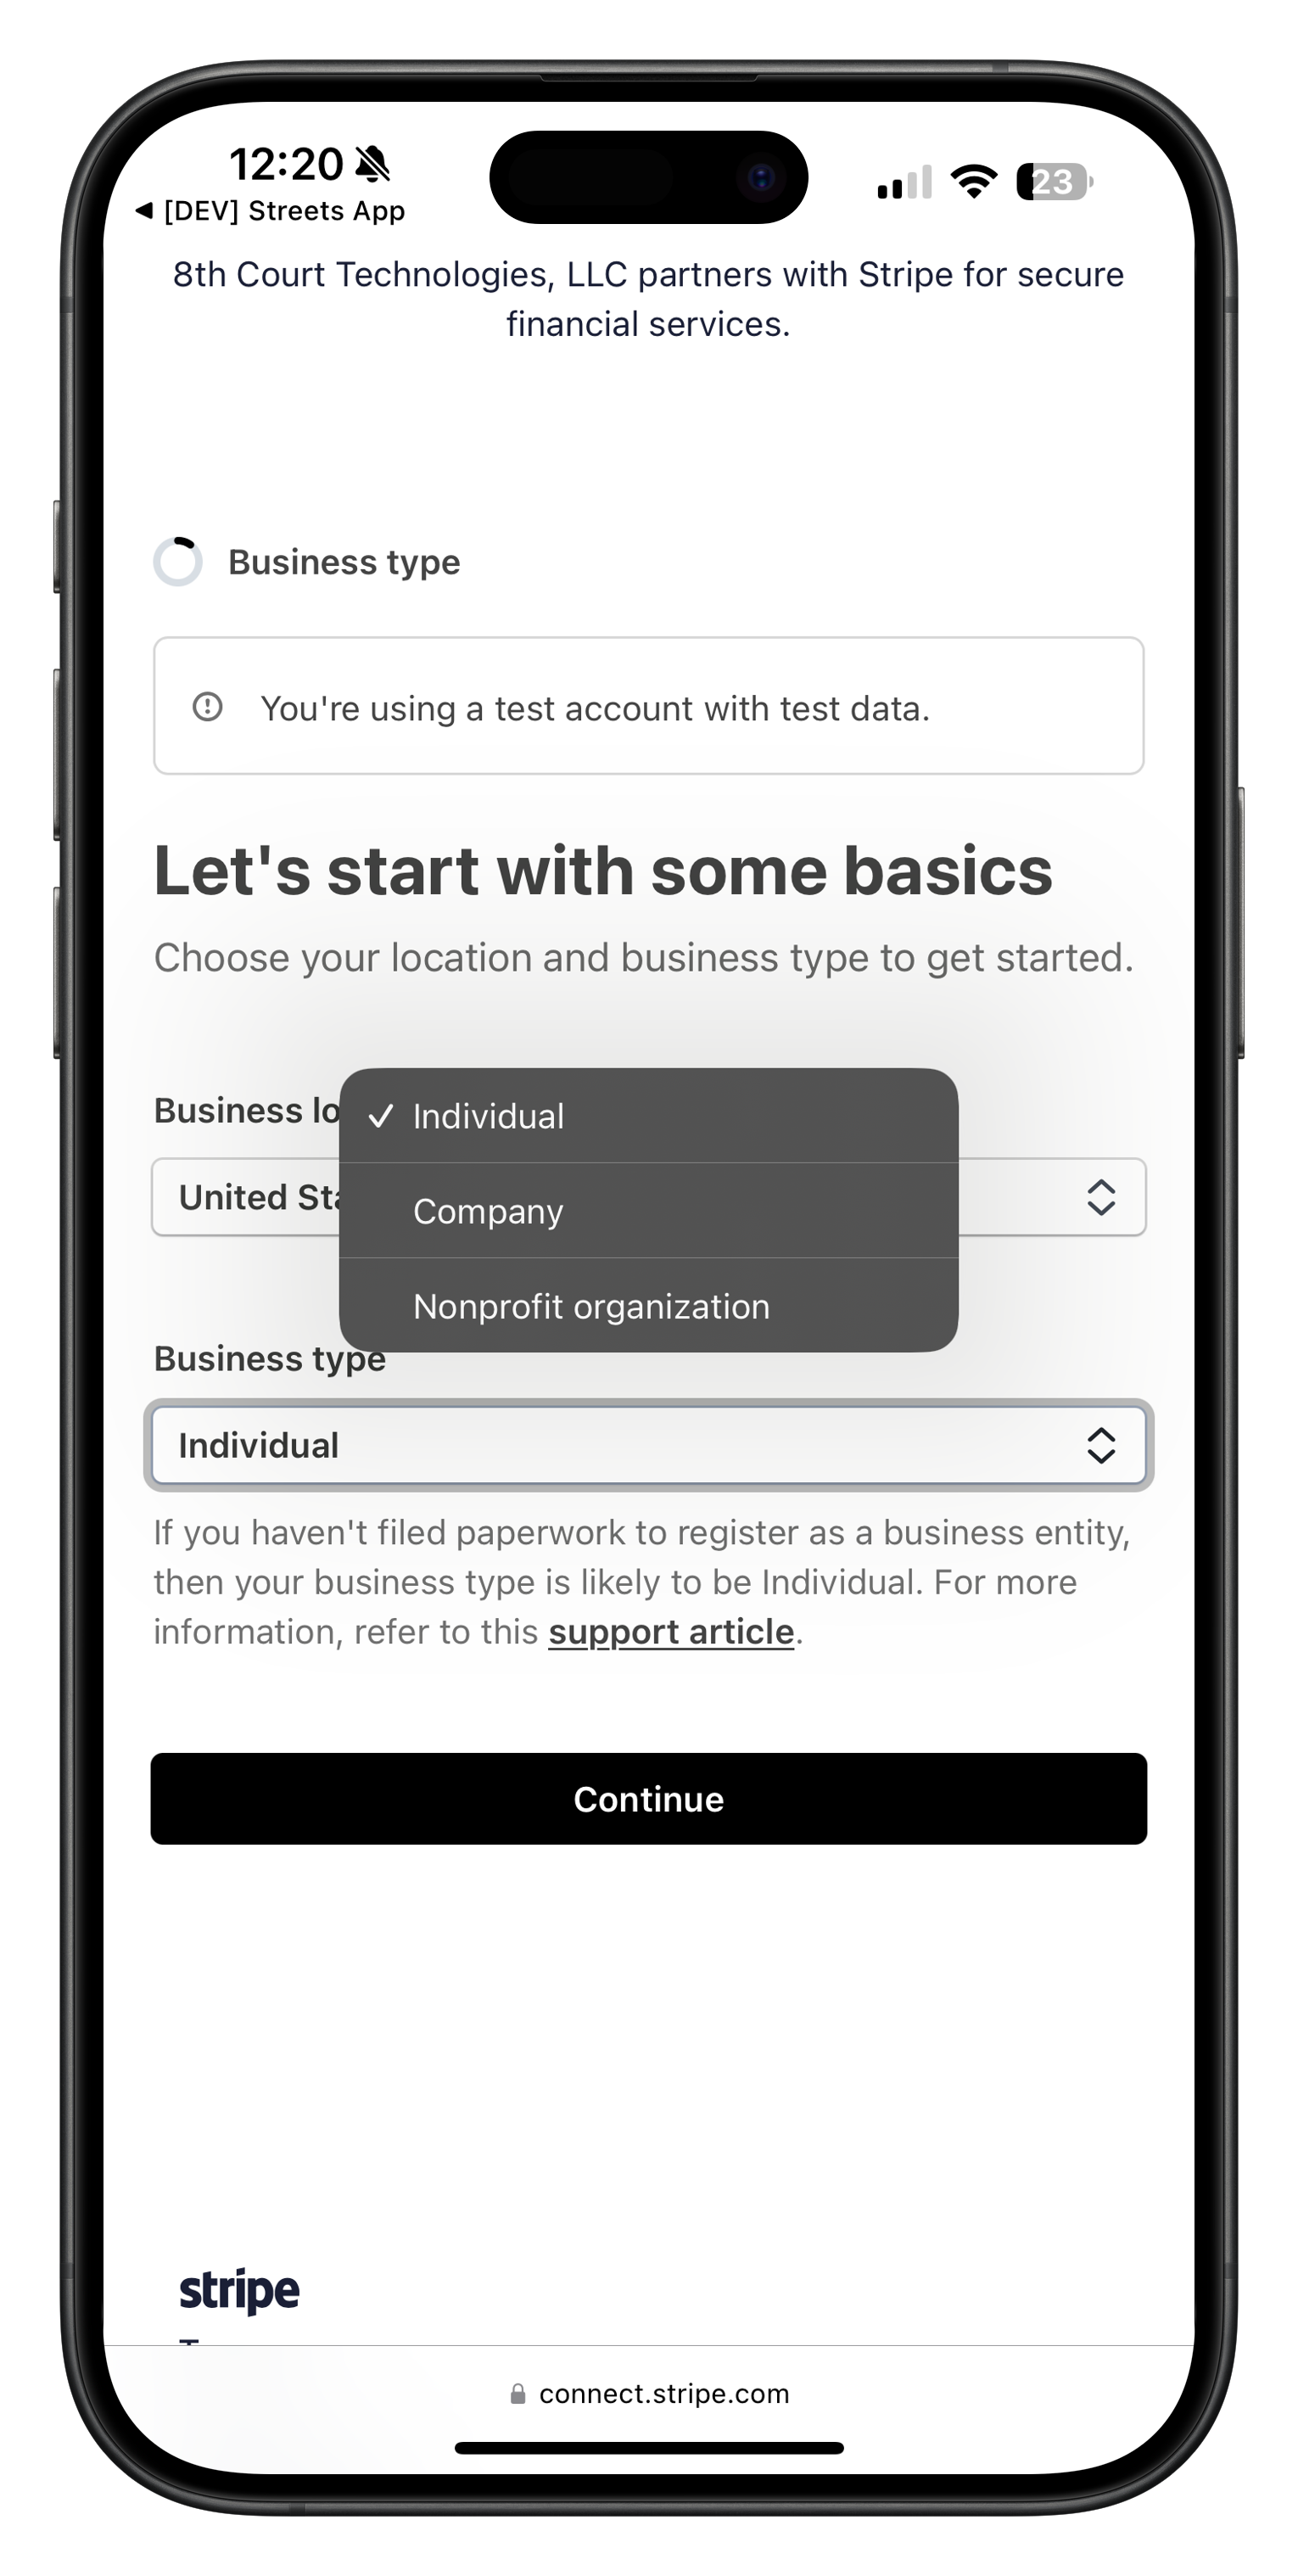
Image: Selecting your business type from the dropdown
If you're unsure about your business type, "Individual" is usually appropriate for most small vendors. You can still use your personal name as your business name and receive payments as an individual.
Providing Personal Details
After selecting your business type, you'll need to verify your personal details:
- Enter your full legal name exactly as it appears on government IDs
- Confirm your email address
- Provide additional personal information:
- Your date of birth
- Your home address (must be your legal residential address)
- Your phone number for verification
- The last four digits of your Social Security Number (for US individuals)
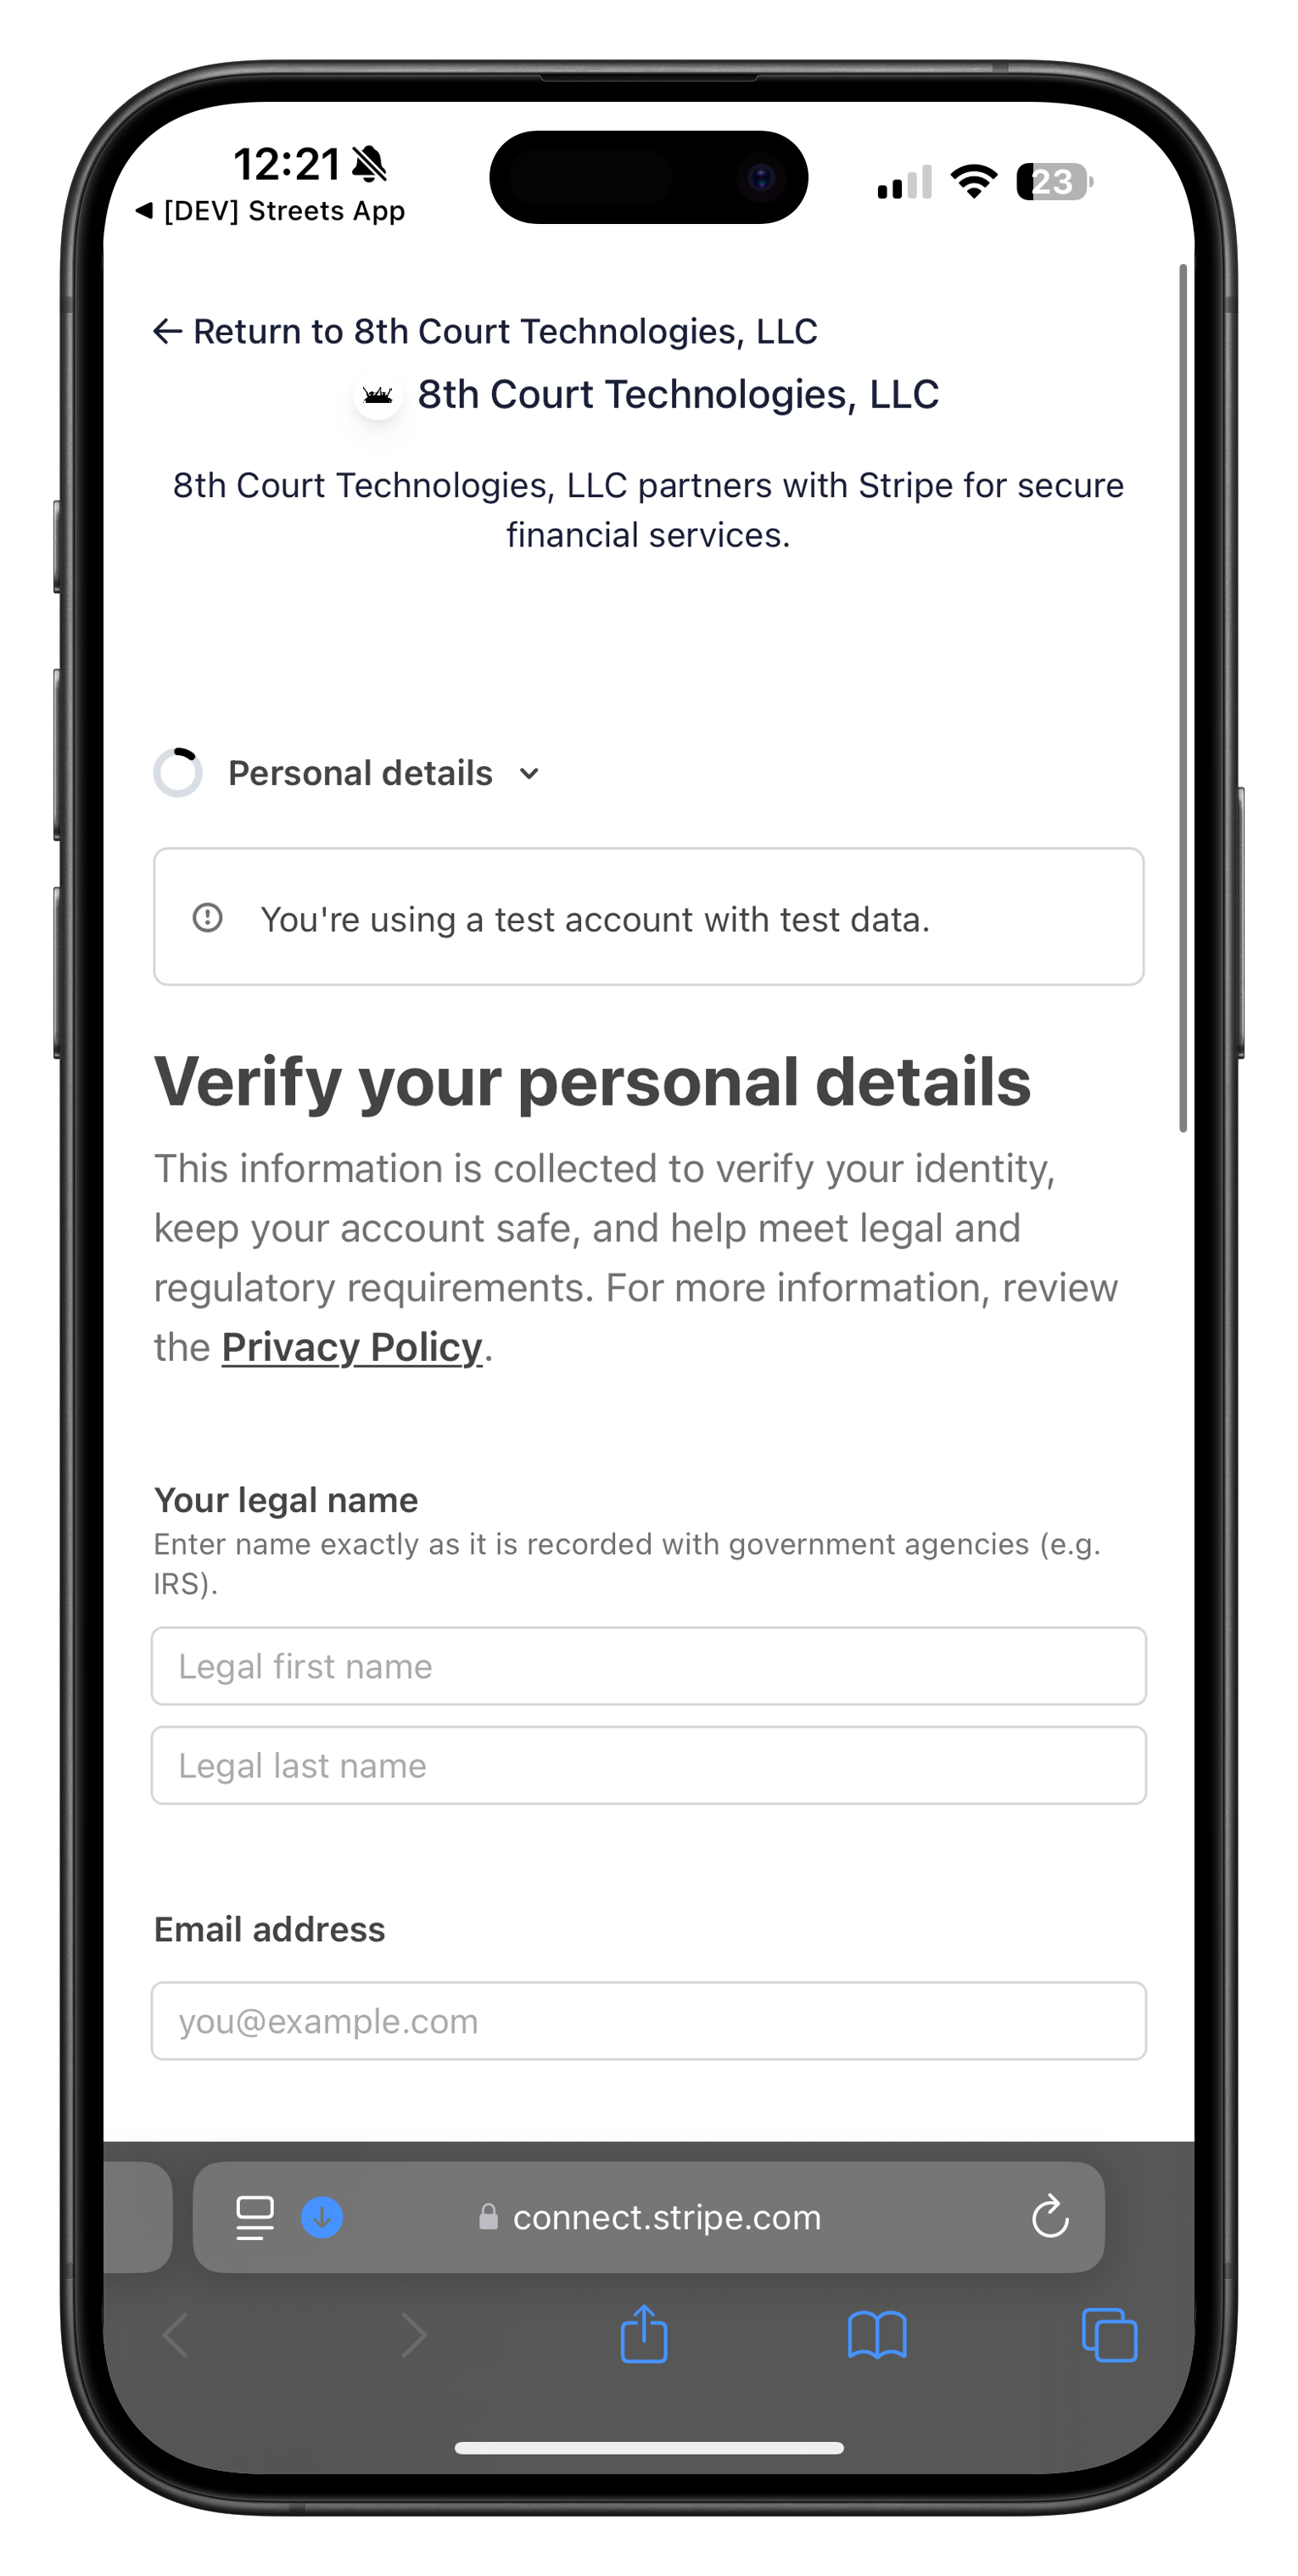
Image: Initial personal details form
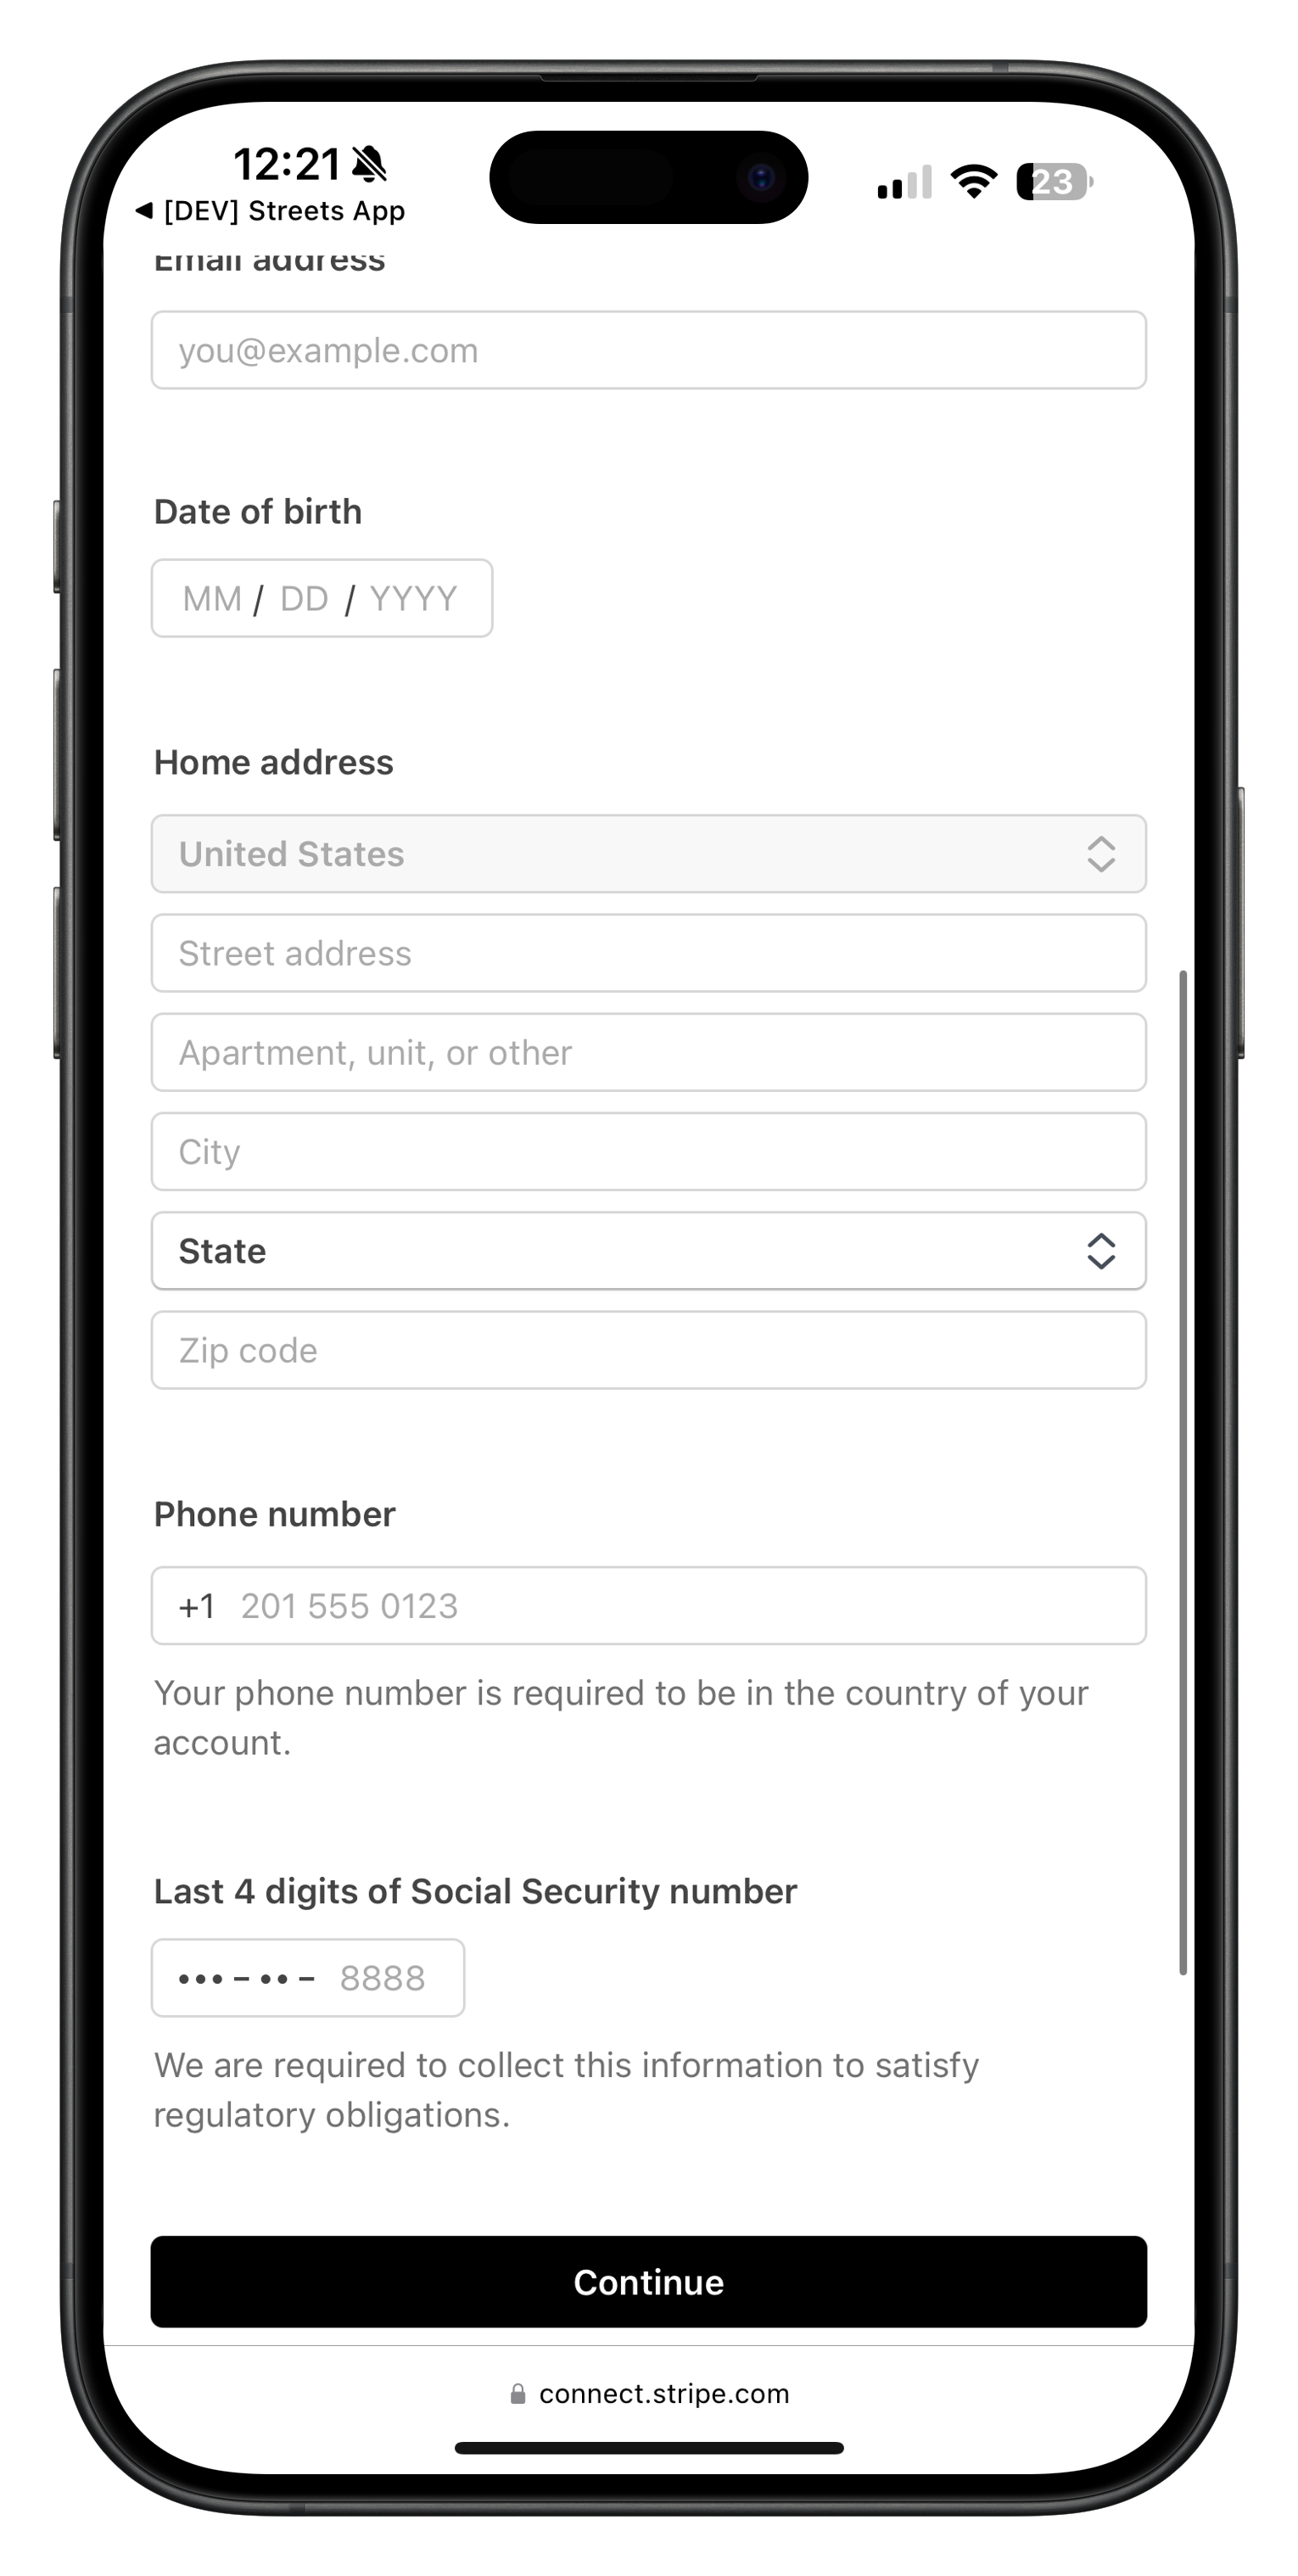
Image: Additional personal information required
Make sure all information provided matches your government ID and tax documents exactly. Discrepancies can lead to verification issues that delay your ability to receive payments. Stripe requires this information to comply with financial regulations and prevent fraud.
Adding Business Details
After verifying your personal information, you'll need to provide business details:
- Enter your business name (use your personal name if operating as an individual)
- Provide your business address
- Select your business industry (e.g., Retail, Food & Drink, Arts & Crafts)
- Describe what products you sell (be specific for faster verification)
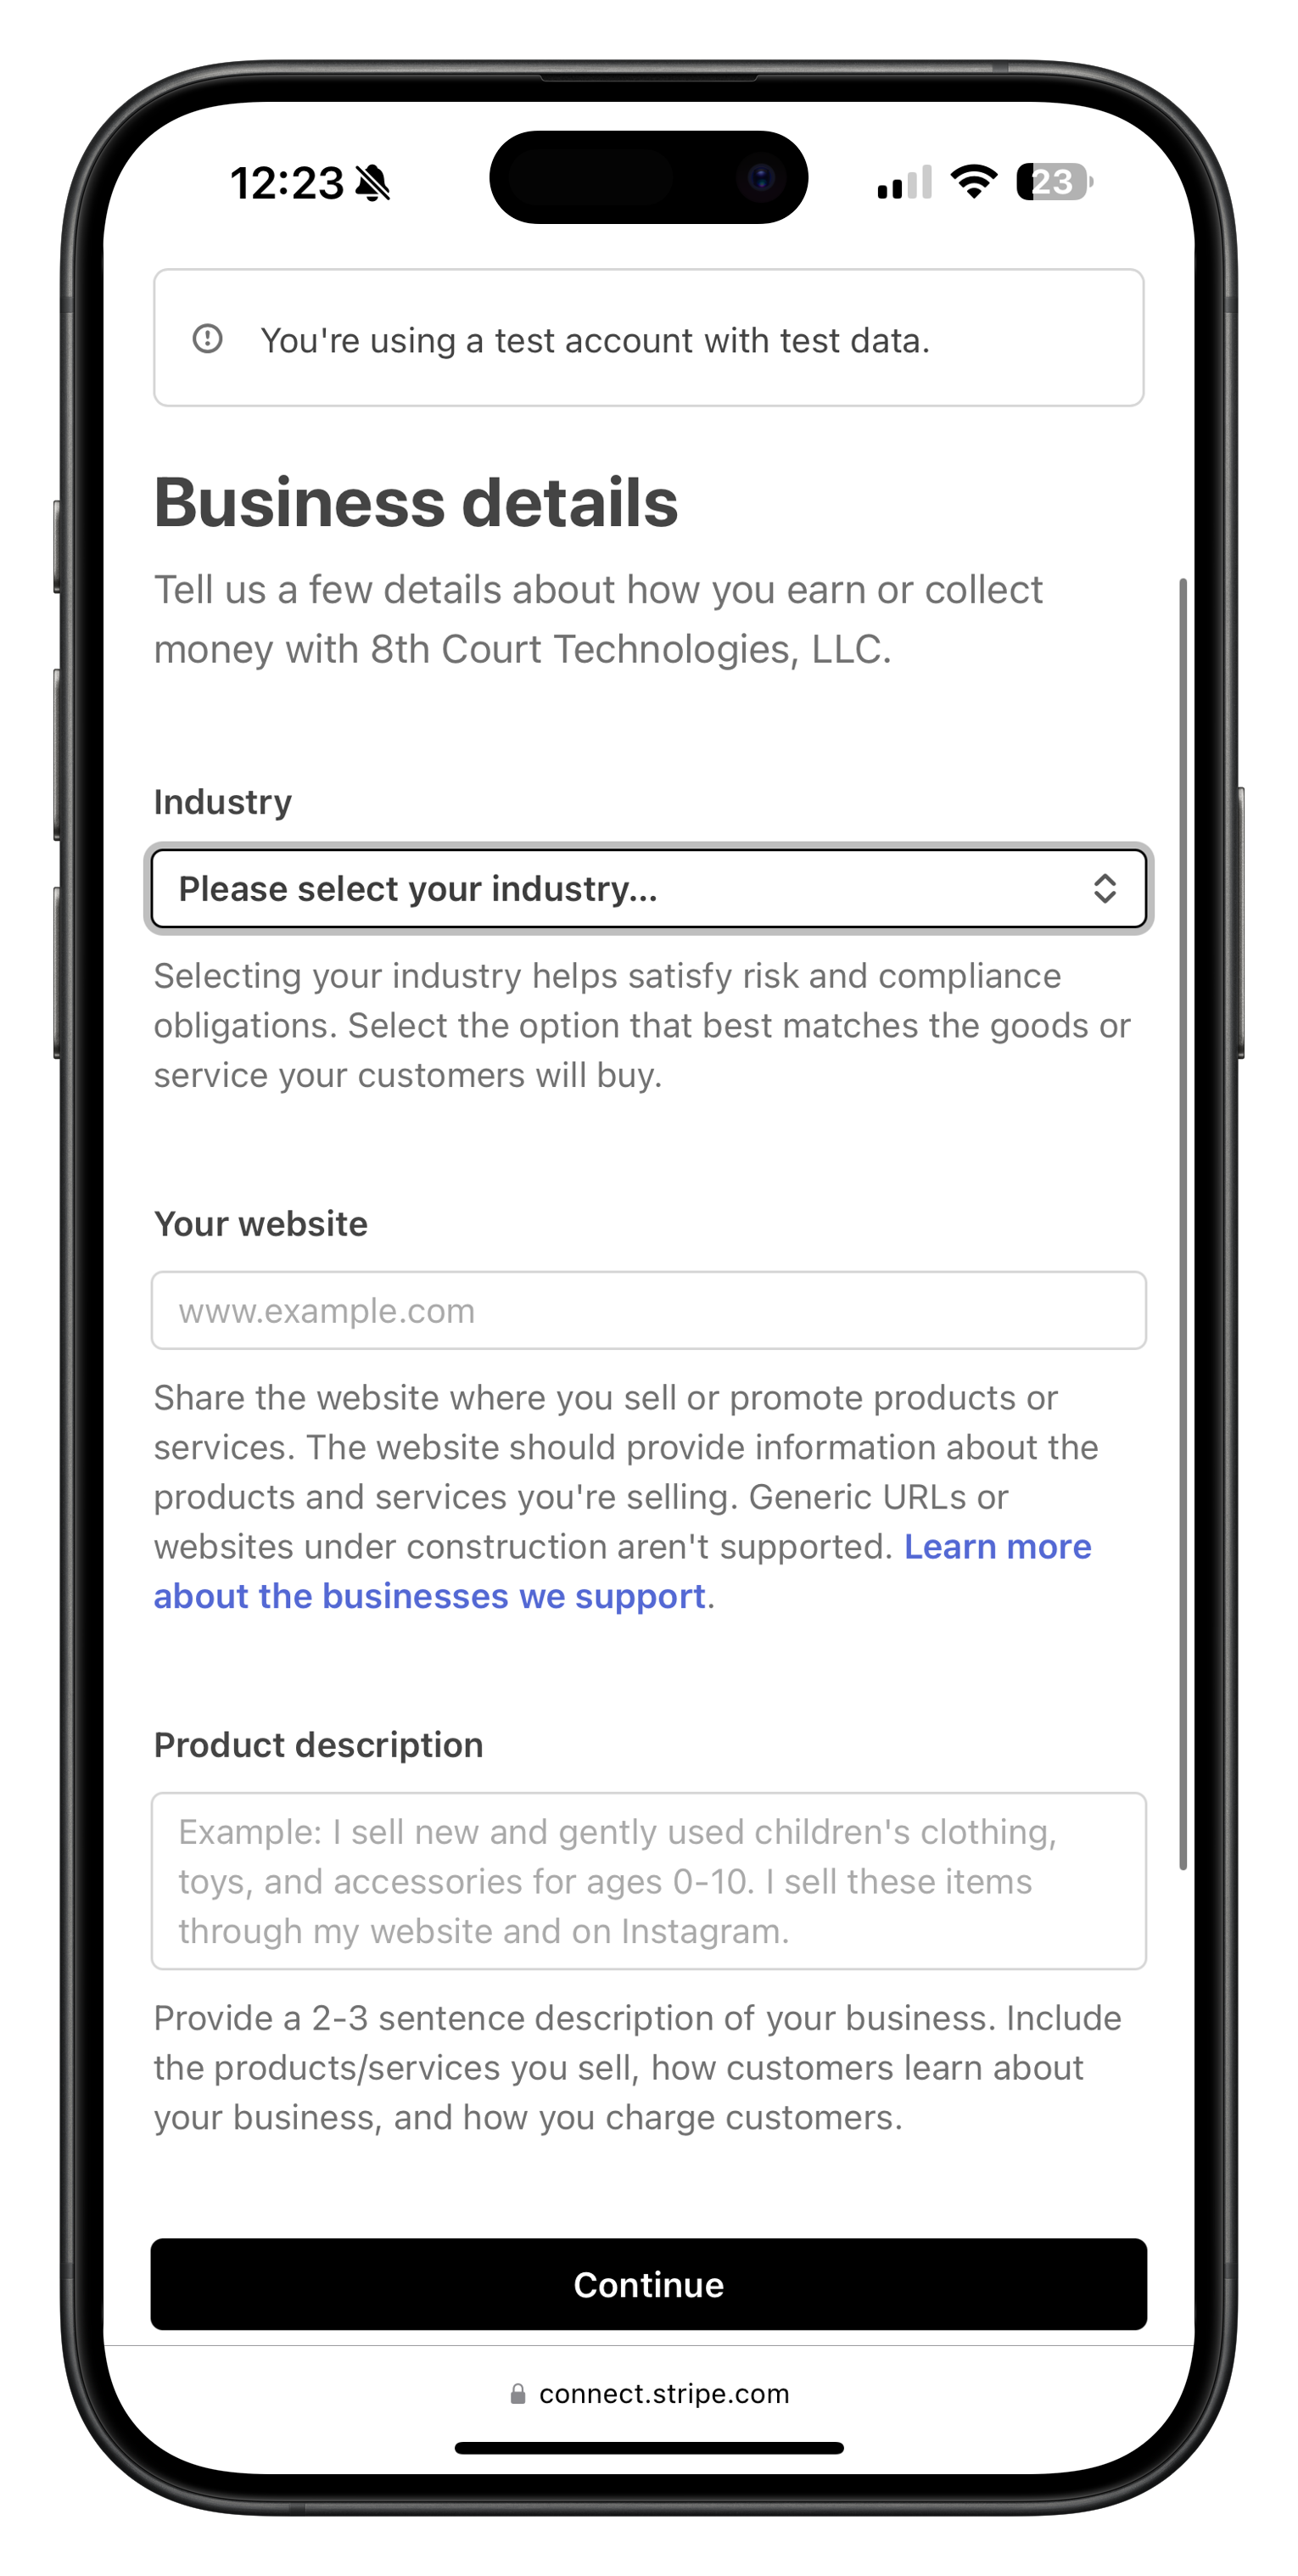
Image: Business details form where you specify your business name and industry
When describing your products, be as specific as possible. For example, instead of just saying "handmade items," specify "handmade jewelry made with sterling silver and natural gemstones." This helps Stripe better understand your business and can speed up verification.
Connecting Your Bank Account
To receive payments from your product sales, you'll need to link your bank account to Stripe:
- From your Stripe dashboard, go to the "Banking" section
- Click "Add a bank account"
- Enter your bank routing and account numbers
- Confirm the account is a checking (not savings) account
- Verify the name on the account matches your personal or business name
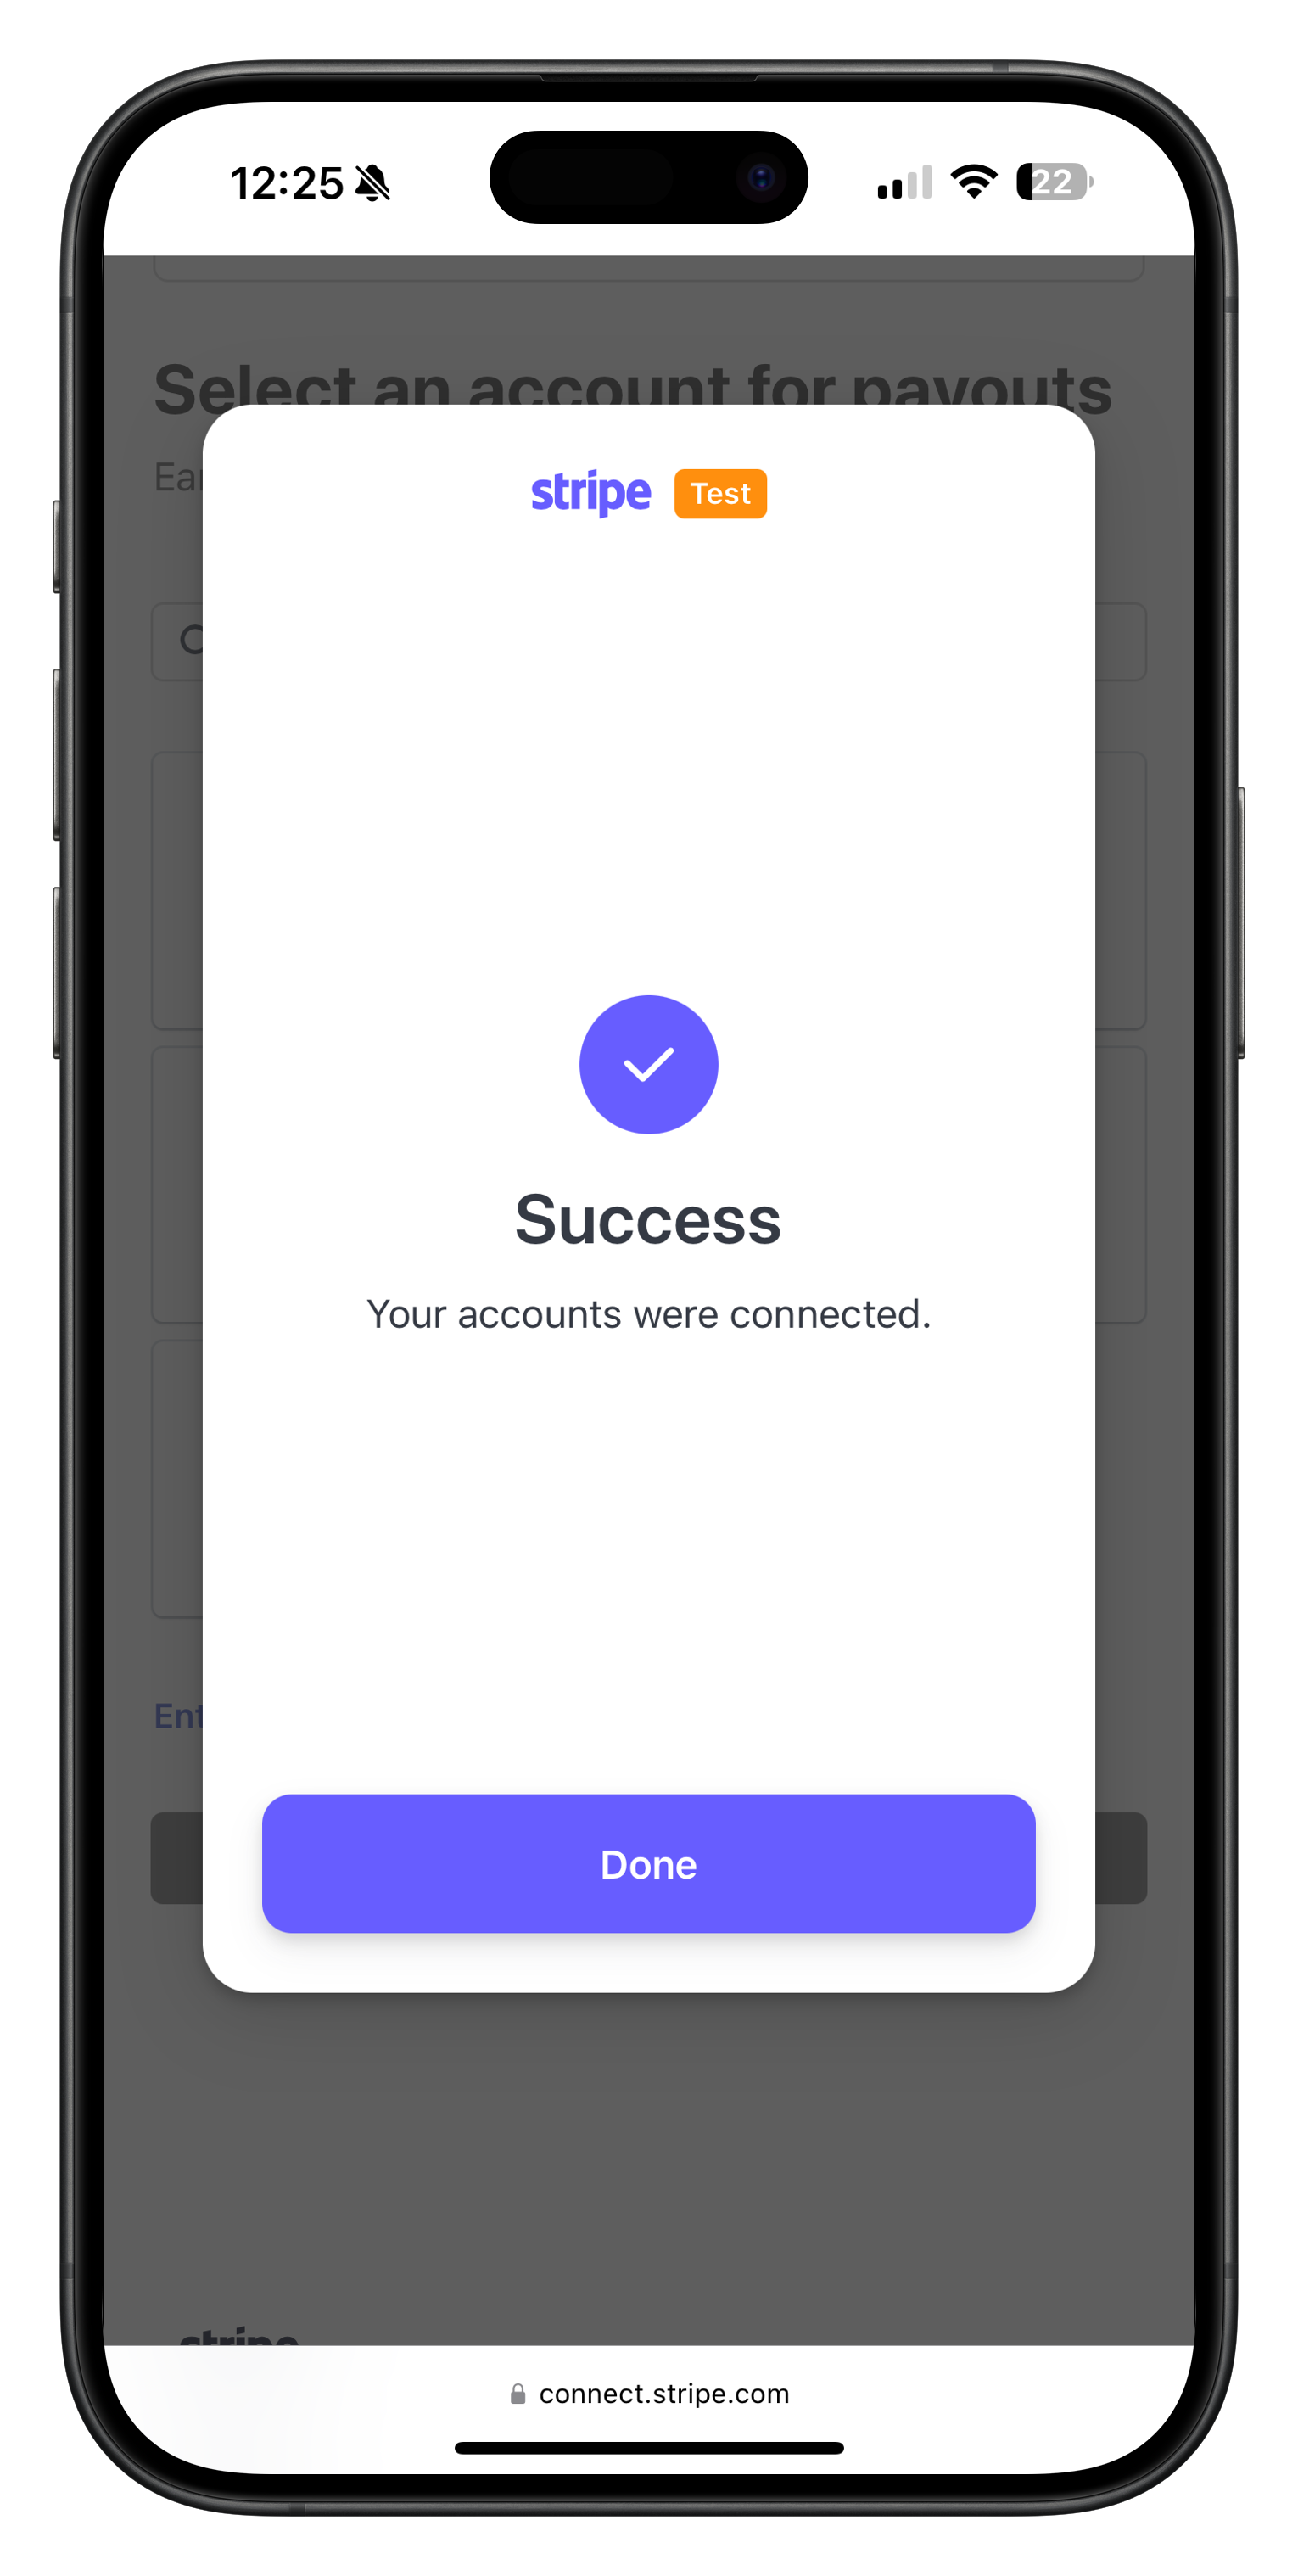
Image: Bank account information form where you enter routing and account numbers
Stripe will make two small test deposits (usually less than $1 each) to verify your bank account. This process typically takes 1-2 business days. You'll need to verify these amounts in your Stripe dashboard before you can receive actual payments.
Identity Verification
As part of the account setup process, Stripe will require identity verification:
- You'll need to upload photos of your government-issued ID (driver's license, passport, etc.)
- Follow the on-screen instructions to take clear, well-lit photos
- You may also need to take a selfie to confirm your identity
- For business accounts, you may need to provide business registration documents
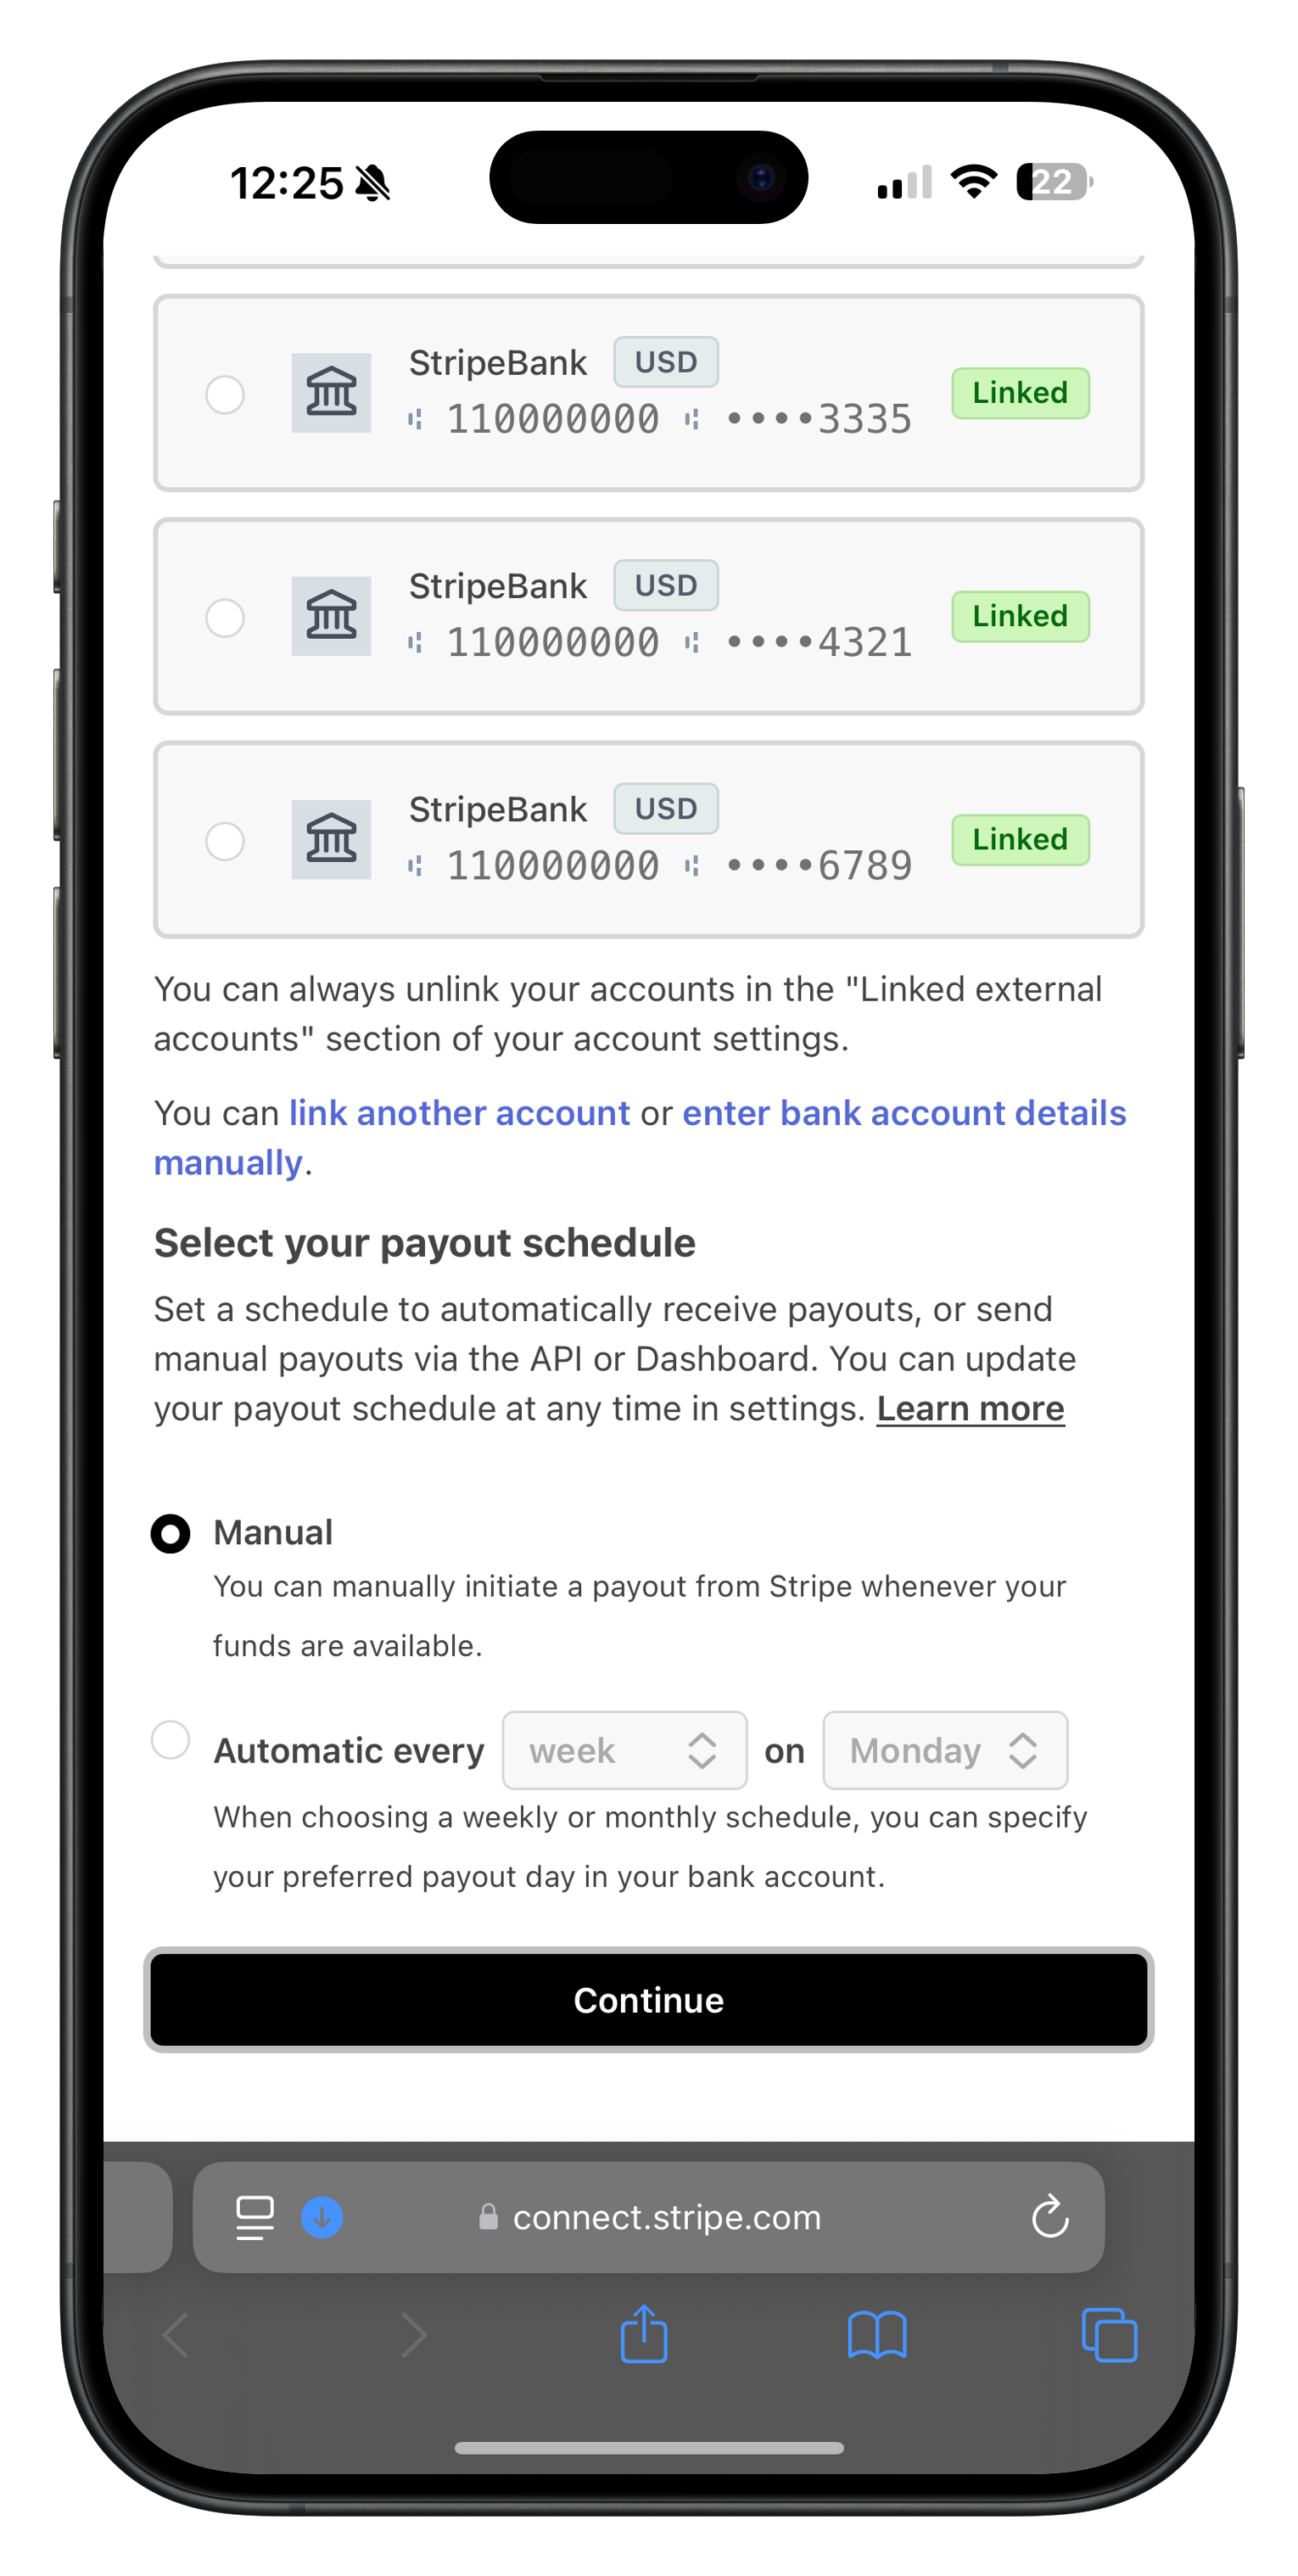
Image: Identity verification instructions screen
Image: ID upload interface for identity verification
Take photos of your ID in good lighting without glare or shadows. Make sure all text is clearly visible and all four corners of the ID are in the frame. This will help speed up the verification process.
Account Verification Process
After submitting all required information, Stripe will review your account:
- Verification Time: Typically takes 1-2 business days but may be longer during peak periods
- Email Notifications: You'll receive email updates about your verification status
- Additional Information: Stripe may request additional documents if needed
- Approval: Once approved, you can start accepting payments through Streets
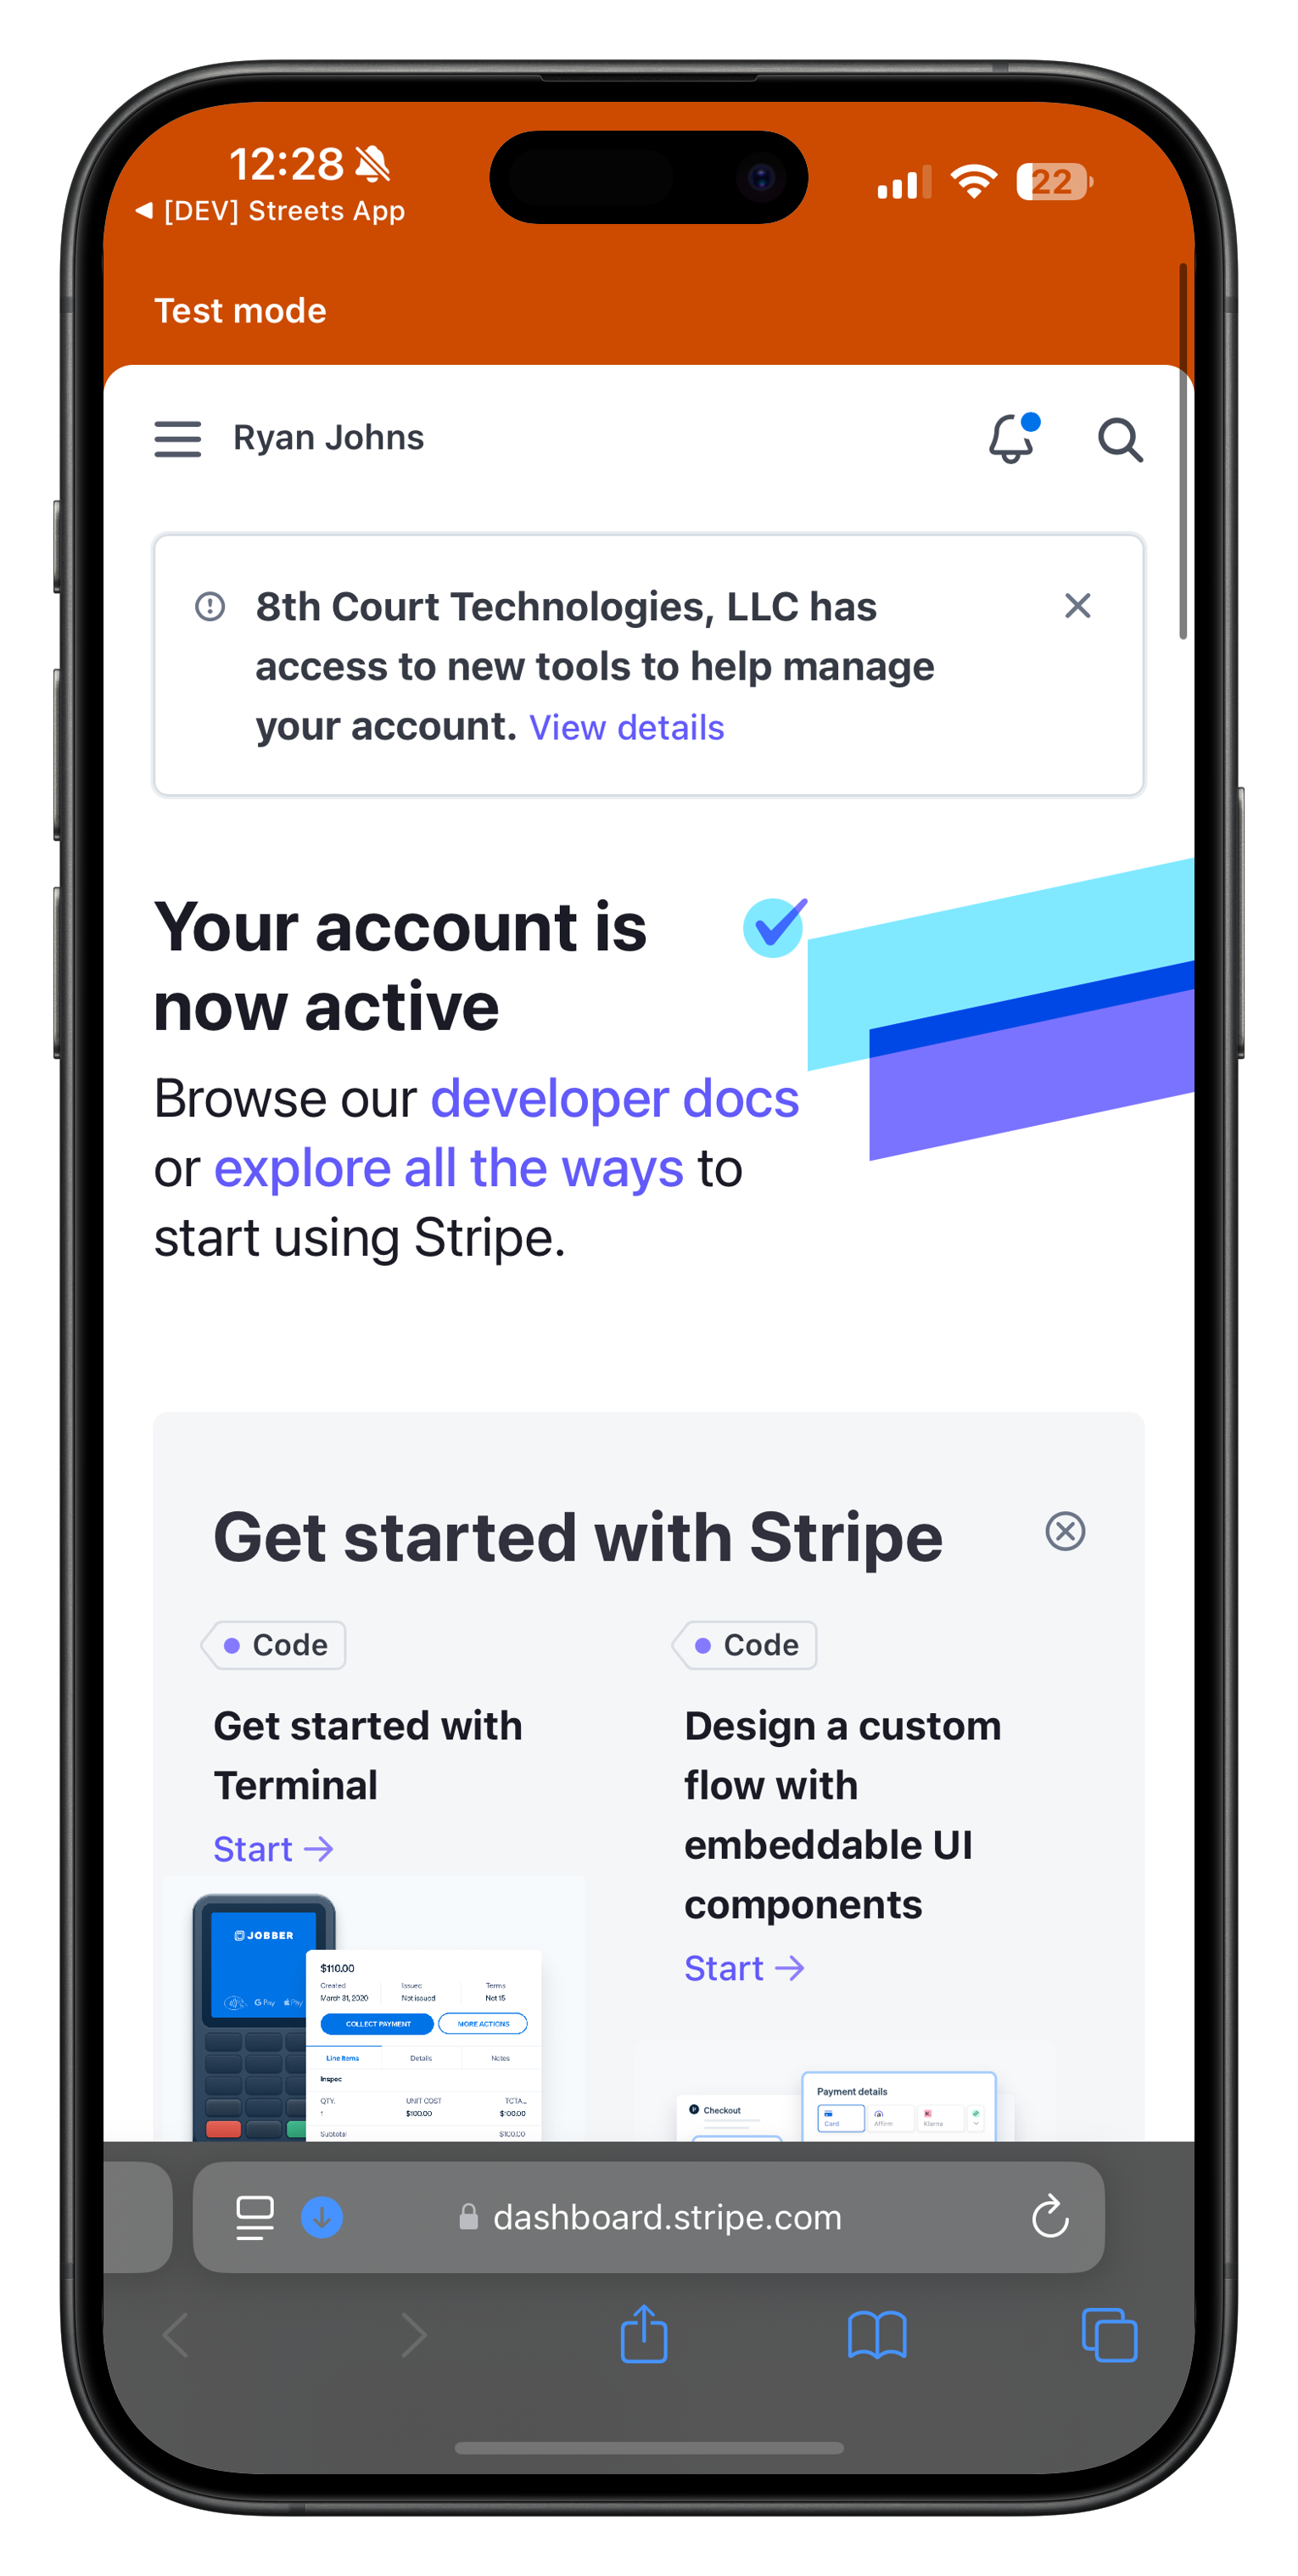
Image: Account verification status screen showing pending verification
During the verification period, you can still list products on Streets, but you won't be able to process payments until your Stripe account is fully verified. Use this time to set up your inventory and optimize your product listings.
Managing Your Payouts
Once your account is verified, you'll receive payouts from your product sales:
- Default Schedule: By default, Stripe processes payouts on a 2-day rolling basis (available 2 business days after a sale)
- First Payout: Your first payout may take 7-14 days as an additional security measure
- Custom Schedule: You can adjust your payout frequency in Stripe (daily, weekly, or monthly)
- Payout Reports: Detailed sales and payout reports are available in your Stripe dashboard
Set up payout notifications in your Stripe account to receive an email or text when funds are deposited to your bank account. This makes it easier to track your income from Streets sales.
Accessing Your Stripe Dashboard
Your Stripe dashboard is where you can manage all aspects of your payments:
- Go to dashboard.stripe.com and log in with your email and password
- Use two-factor authentication if you've enabled it
- From the dashboard, you can:
- View your balance and payout history
- See detailed reports of all transactions
- Update your bank account information
- Manage your business details and settings
- Contact Stripe support if you have questions
While you can see all transaction details in your Stripe dashboard, remember that the Streets app also provides sales reports and analytics specifically for your Streets marketplace activities.
Frequently Asked Questions
What fees does Stripe charge?
Stripe charges a standard processing fee of 2.9% + $0.30 per successful transaction. This fee is deducted automatically from each payment before it's deposited to your bank account. There are no monthly fees or setup costs.
Can I use my existing Stripe account?
Yes, if you already have a Stripe account, you can connect it to your Streets vendor profile. During the setup process, choose the option to connect an existing account instead of creating a new one.
What if my Stripe account gets rejected?
If your Stripe account is rejected, you'll receive an email explaining why. Common reasons include incomplete information, verification issues, or selling prohibited items. You can address these issues and reapply, or contact Stripe support for assistance.
How do refunds work?
When you issue a refund to a customer, the transaction amount will be returned to the customer, but the Stripe processing fee is typically not refunded to you. You can process refunds directly through the Streets app or your Stripe dashboard.
Is my Stripe account secure?
Yes, Stripe uses bank-level security with encryption and is PCI-DSS Level 1 certified, the highest level of certification available in the payments industry. Your customers' payment information is never stored on Streets servers.
What if I need to update my bank account information?
You can update your bank account information any time through your Stripe dashboard. Go to the "Banking" section, select "External accounts," and follow the instructions to add or update your bank account details.
Troubleshooting Common Issues
Verification is taking longer than expected
If your verification is taking more than 5 business days, log into your Stripe dashboard to check if there are any outstanding requirements or requests for additional information. You can also contact Stripe support directly for status updates.
I can't connect my bank account
Ensure you're entering the correct routing and account numbers. Double-check that the name on your bank account exactly matches the name on your Stripe account. Some banks have additional security measures that may require you to approve the connection.
My payouts are not showing in my bank account
First, check that your Stripe account shows the payout as "Paid." Remember that the first payout can take 7-14 days, and subsequent payouts typically take 2 business days. If a payout is marked as paid but hasn't arrived, verify your bank information is correct in Stripe.
I received an error while uploading my ID
Make sure your ID image is clear, well-lit, and shows all four corners of the document. The file should not exceed Stripe's size limitations. Try taking a new photo with better lighting and ensure the entire ID is visible in the frame.
If you're experiencing issues with your Stripe connection, you can contact Streets support through the app, or reach out to Stripe's support team directly at support.stripe.com.
Next Steps
Once your Stripe account is successfully connected and verified, you're ready to:
- Set up your product listings
- Create promotional codes for your products
- Learn how to manage your inventory
With your payment processing set up, you're all set to start selling and receiving payments directly through the Streets app!