Vendor Help
Listing Products as a Vendor
Step-by-step guide for listing and selling products at events on Streets
As a vendor on Streets, you can list and sell products at events. This guide will show you how to create product listings that attract customers and drive sales.
Creating a Product Listing
Creating a product listing is the first step to selling your items at events. Follow these steps to add a new product to your inventory:
Creating Your Product
- Open the Streets app and log into your vendor account
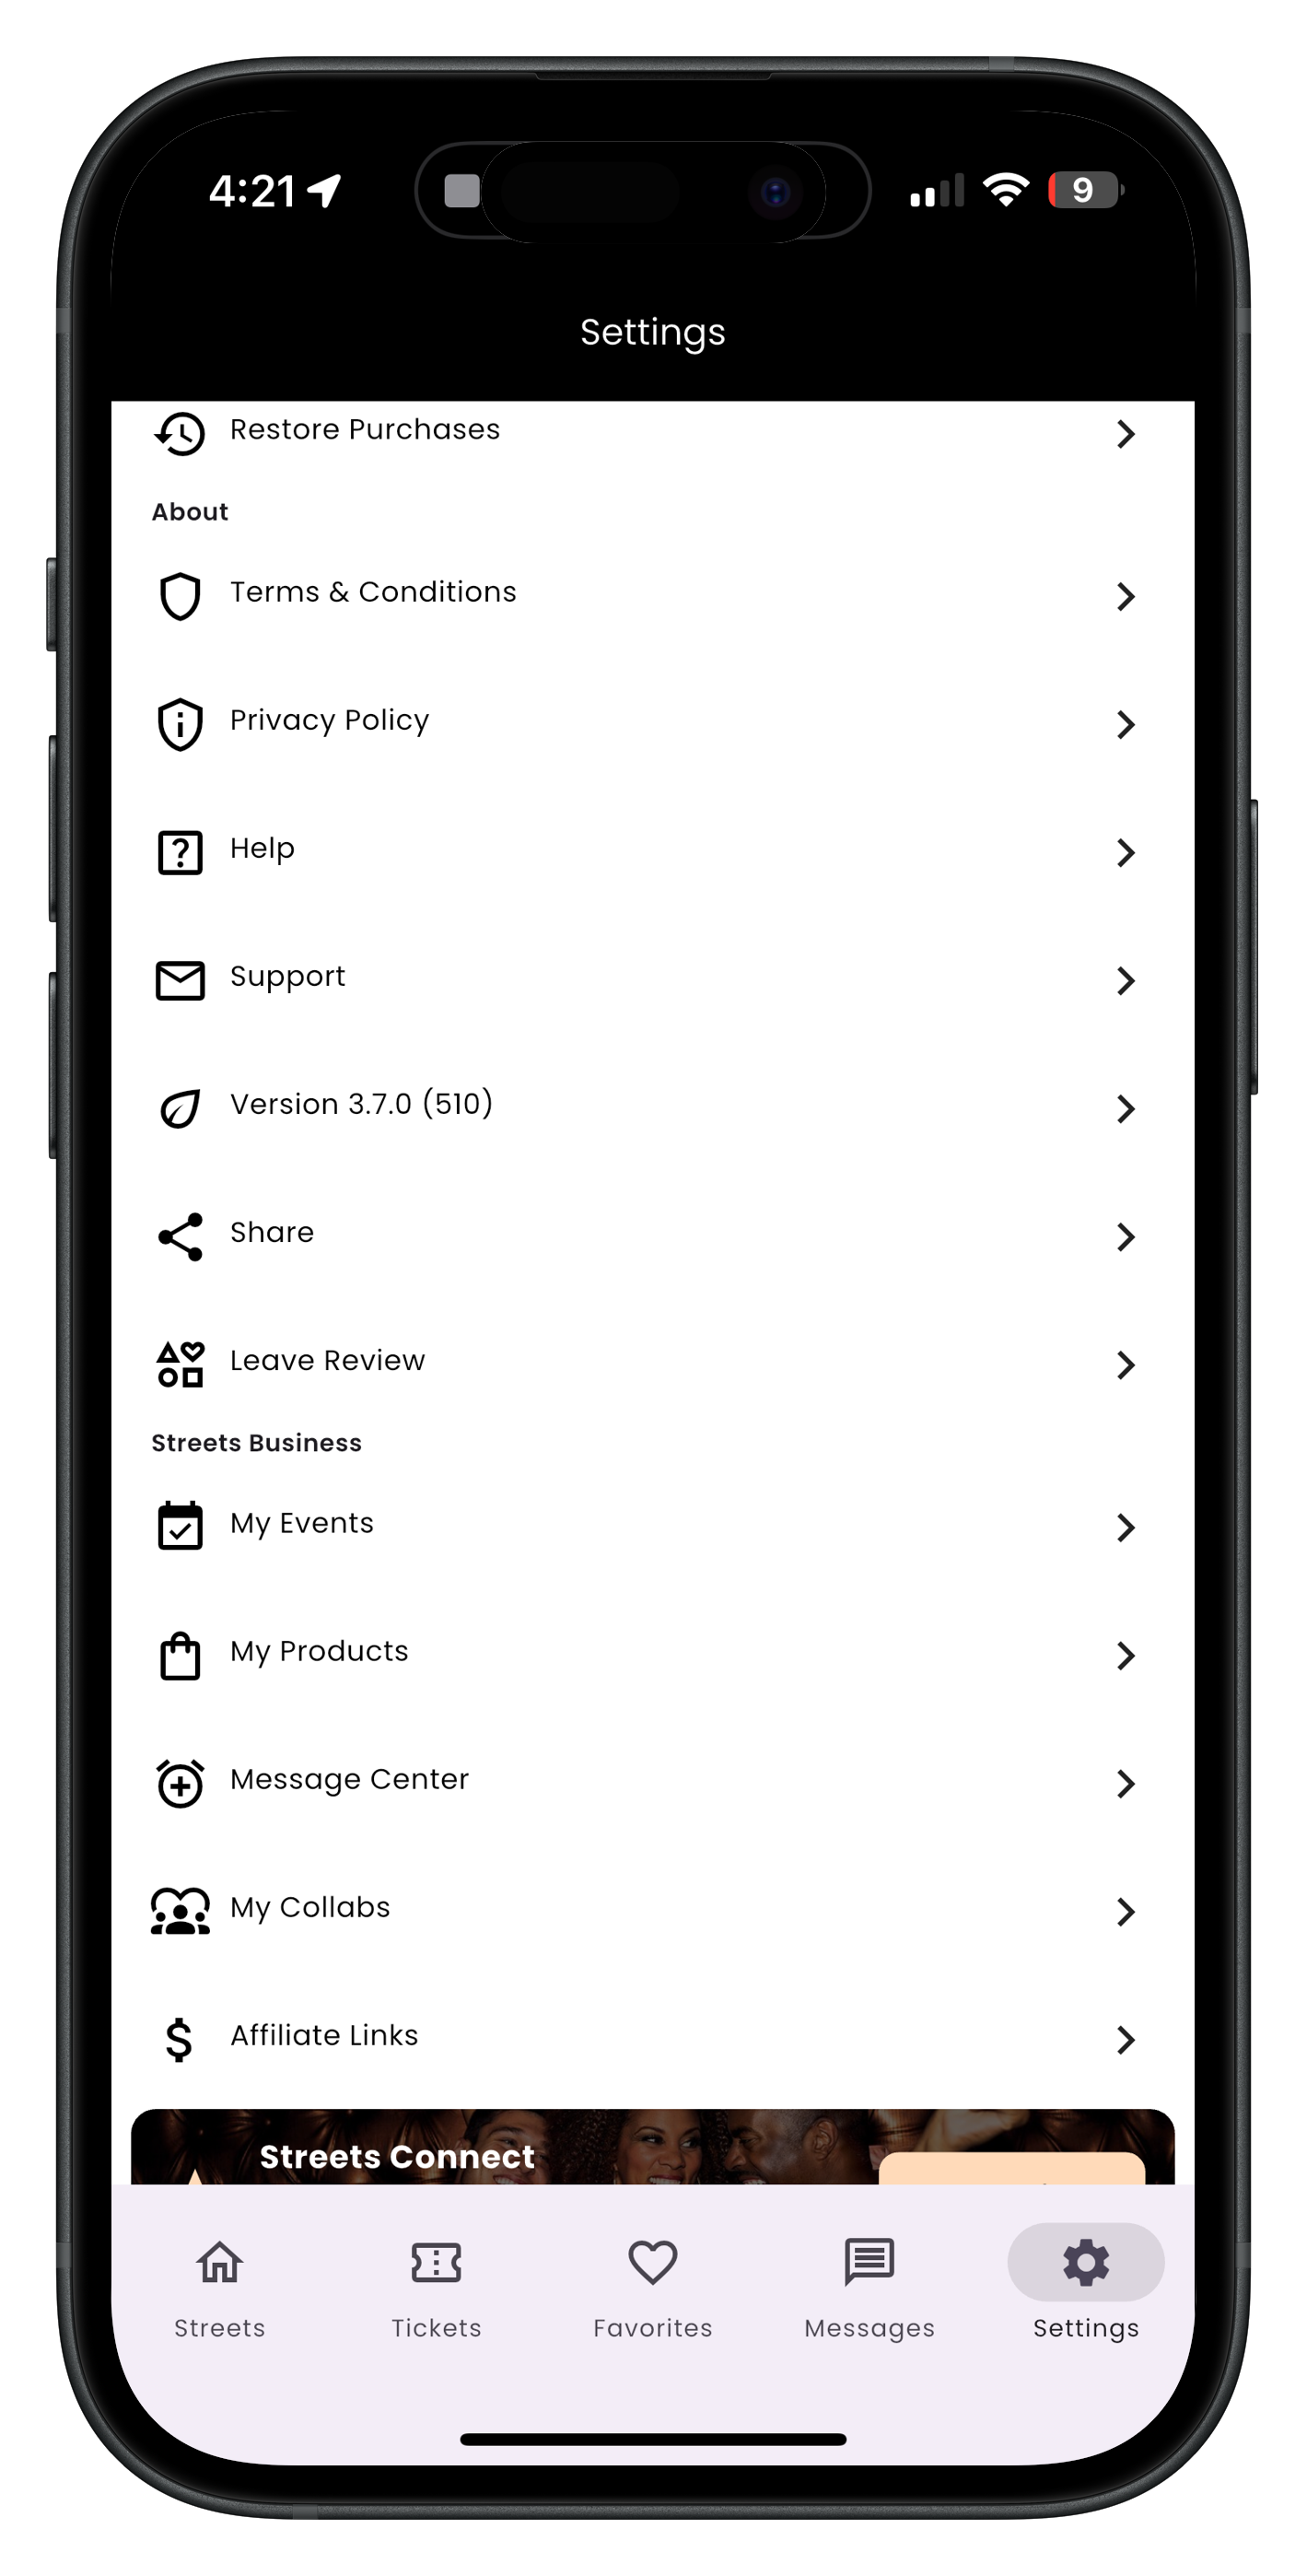
- Go to the Settings page
- Select My Products from the menu
- Note: You must be registered with Stripe before adding products
- Tap the + button to create a new product listing
Step 1: Navigate to My Products
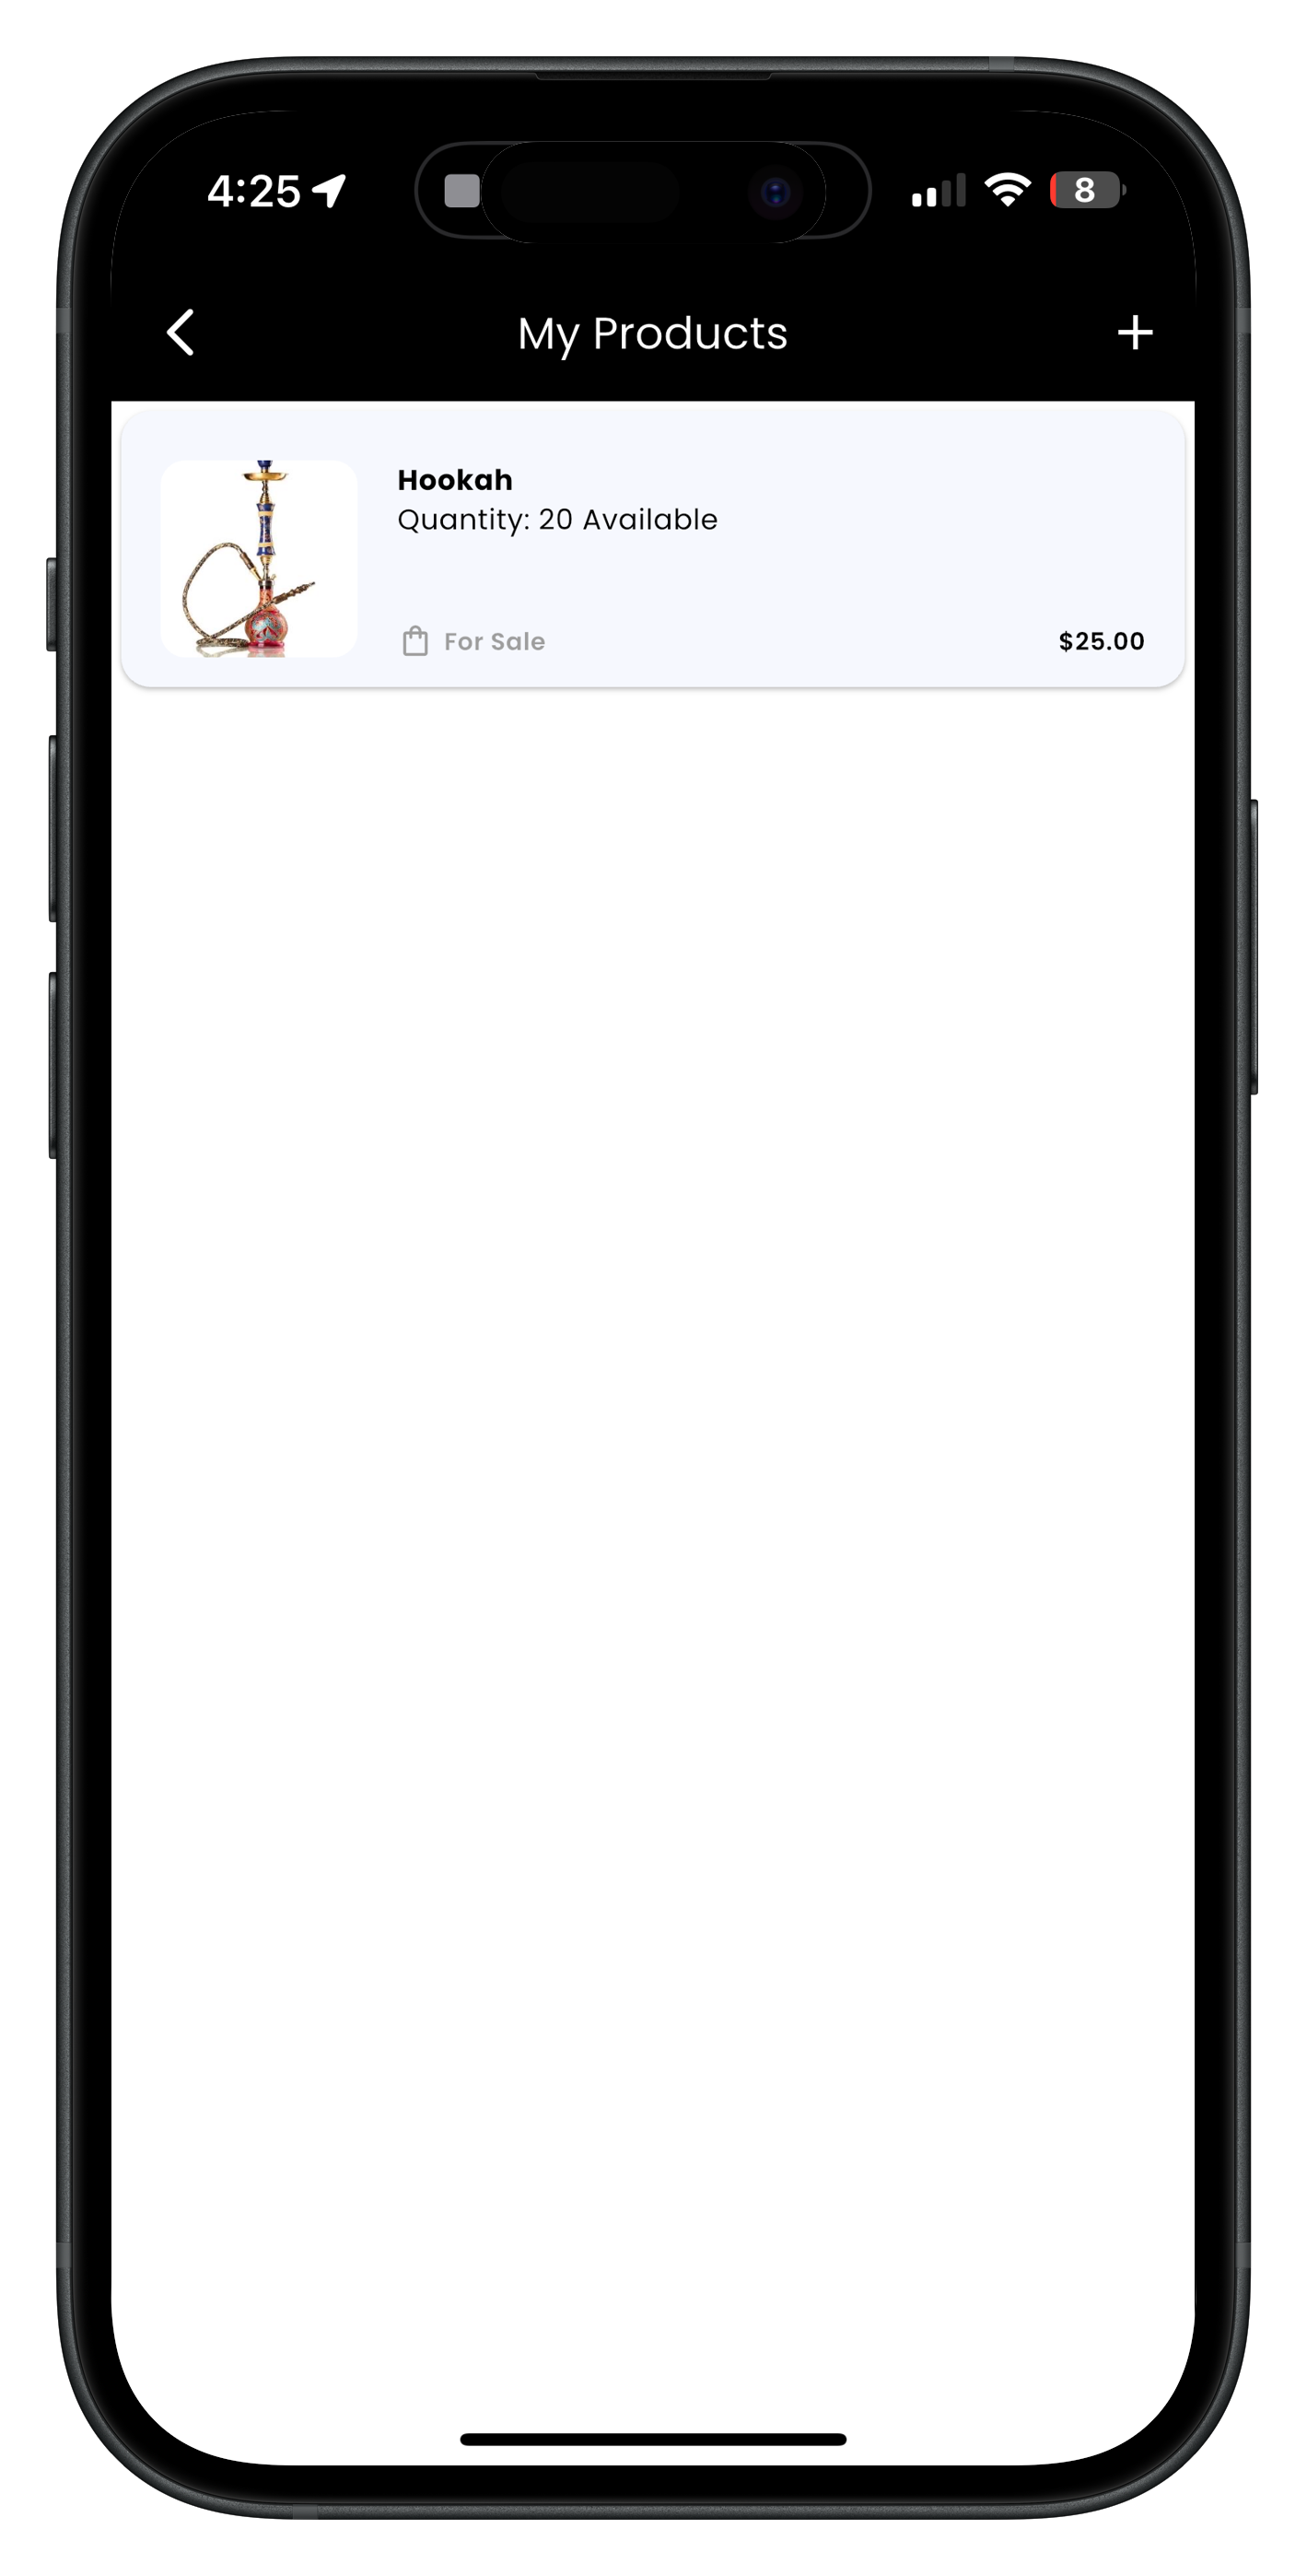
Step 2: Tap + to add a new product
Step 3: Fill out product details
Product Information
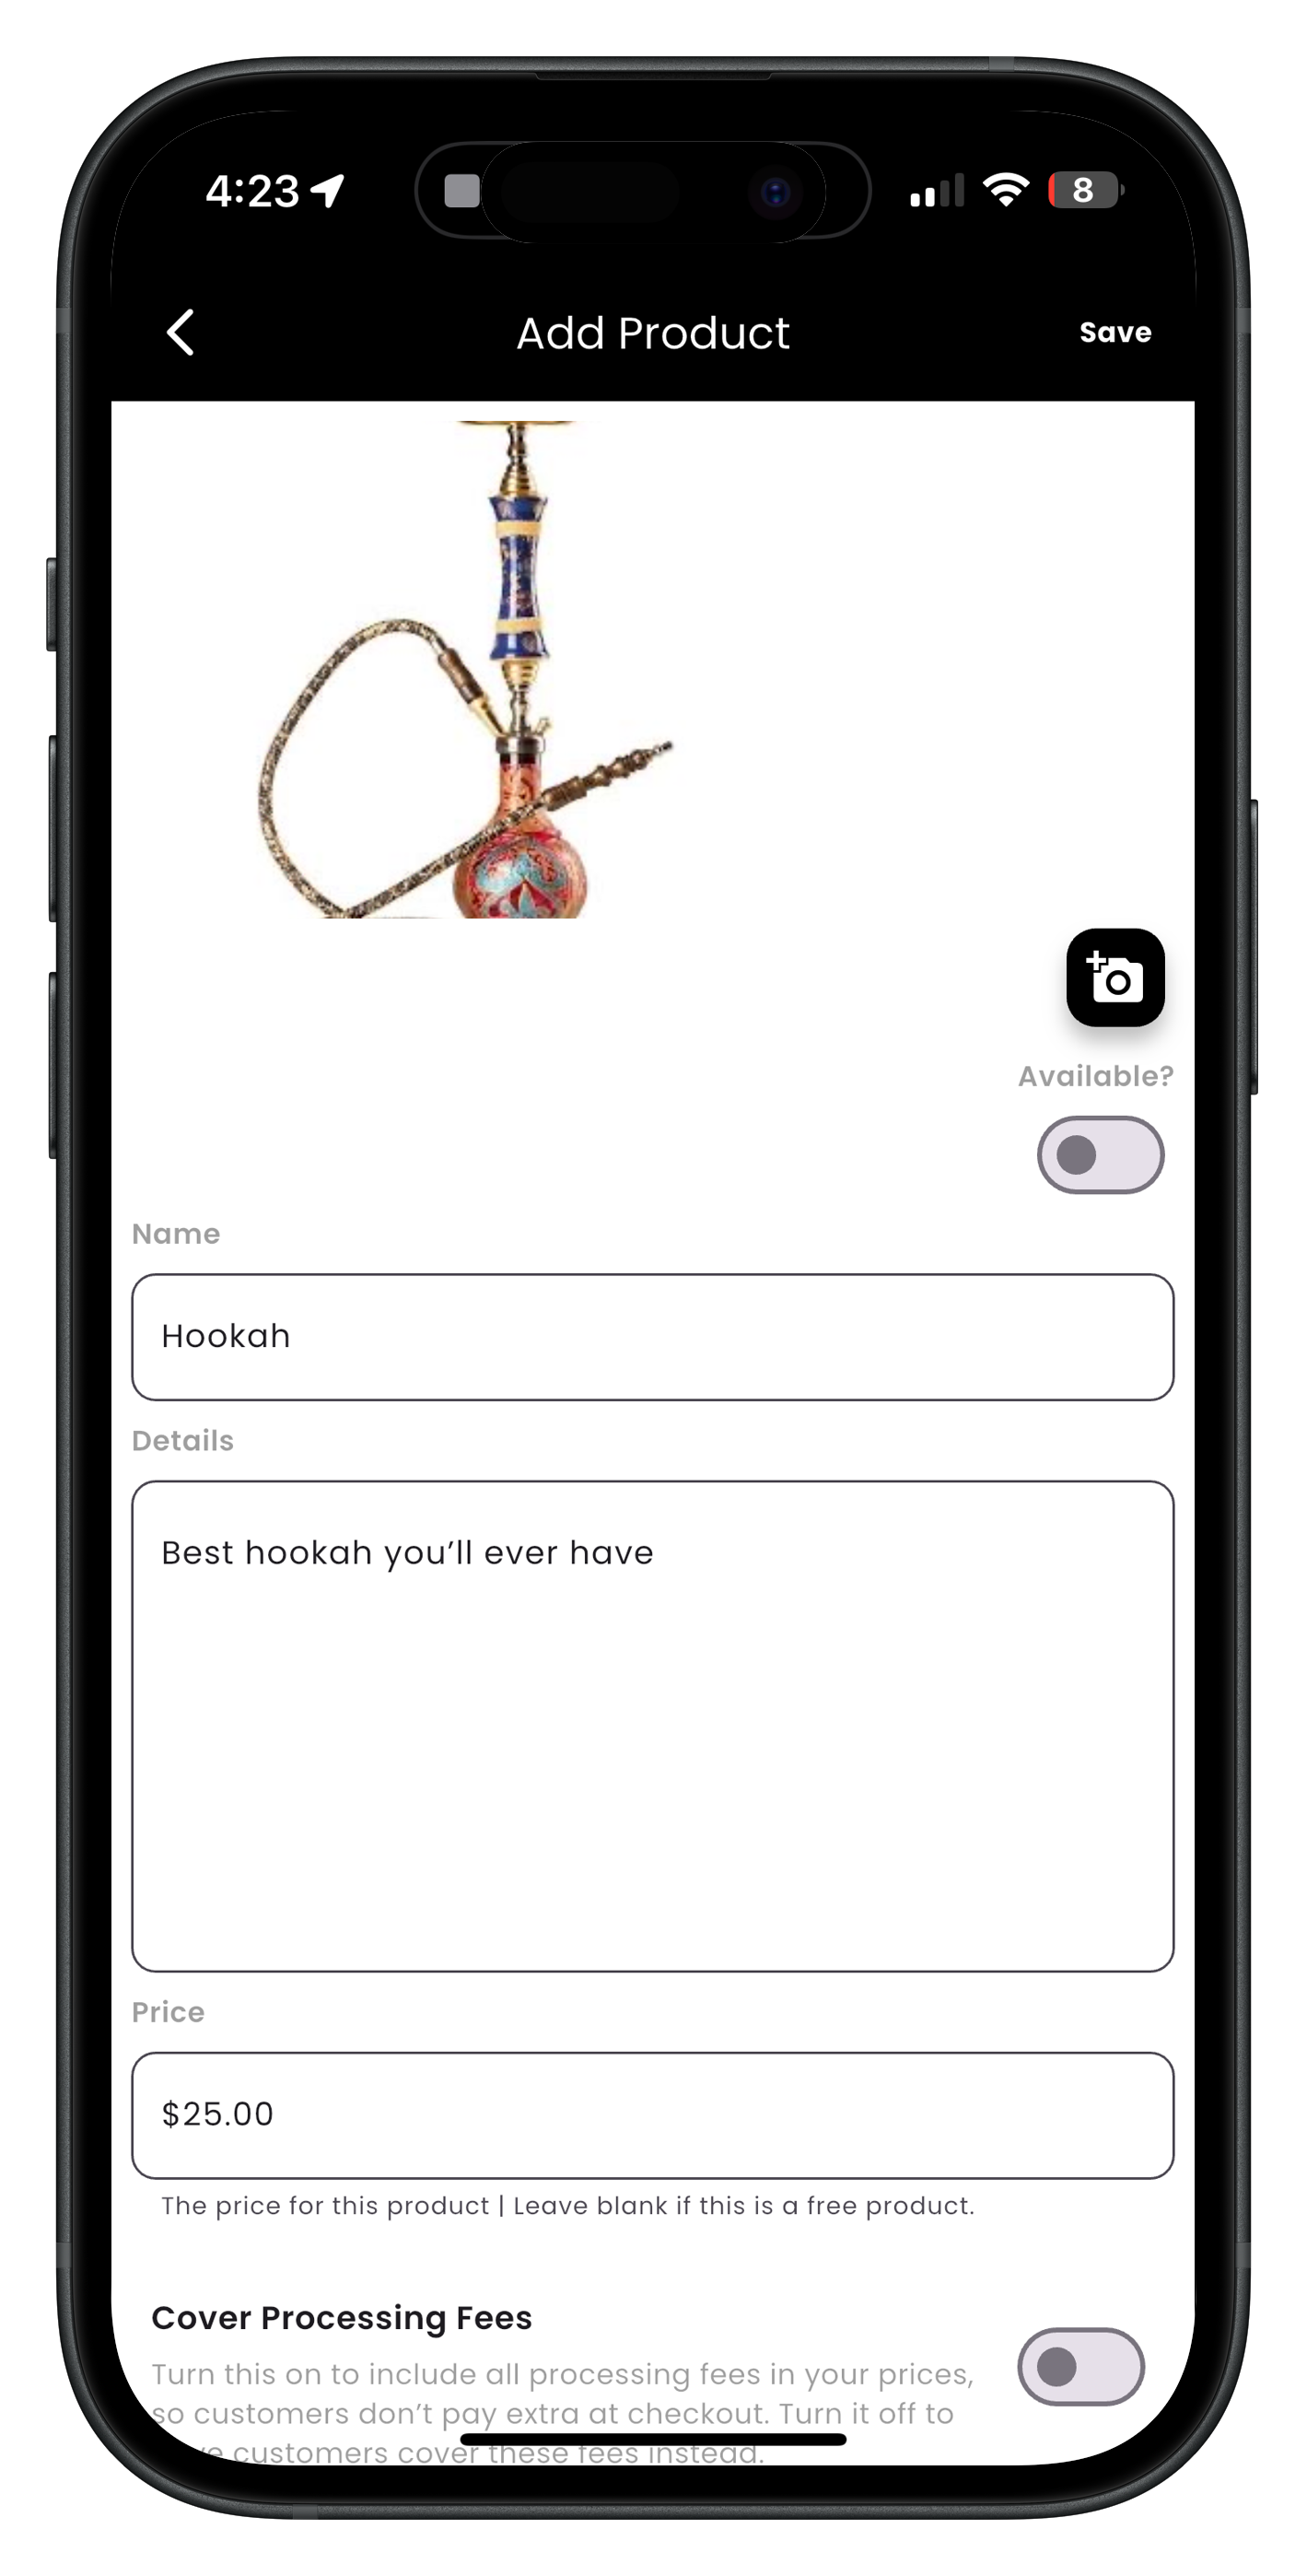
Enter the following information about your product:
- Images: Add product photos by tapping the image area
- Product Name: Create a clear, descriptive name
- Product Details: Provide a detailed description of your product
- Price: Set the selling price for your product
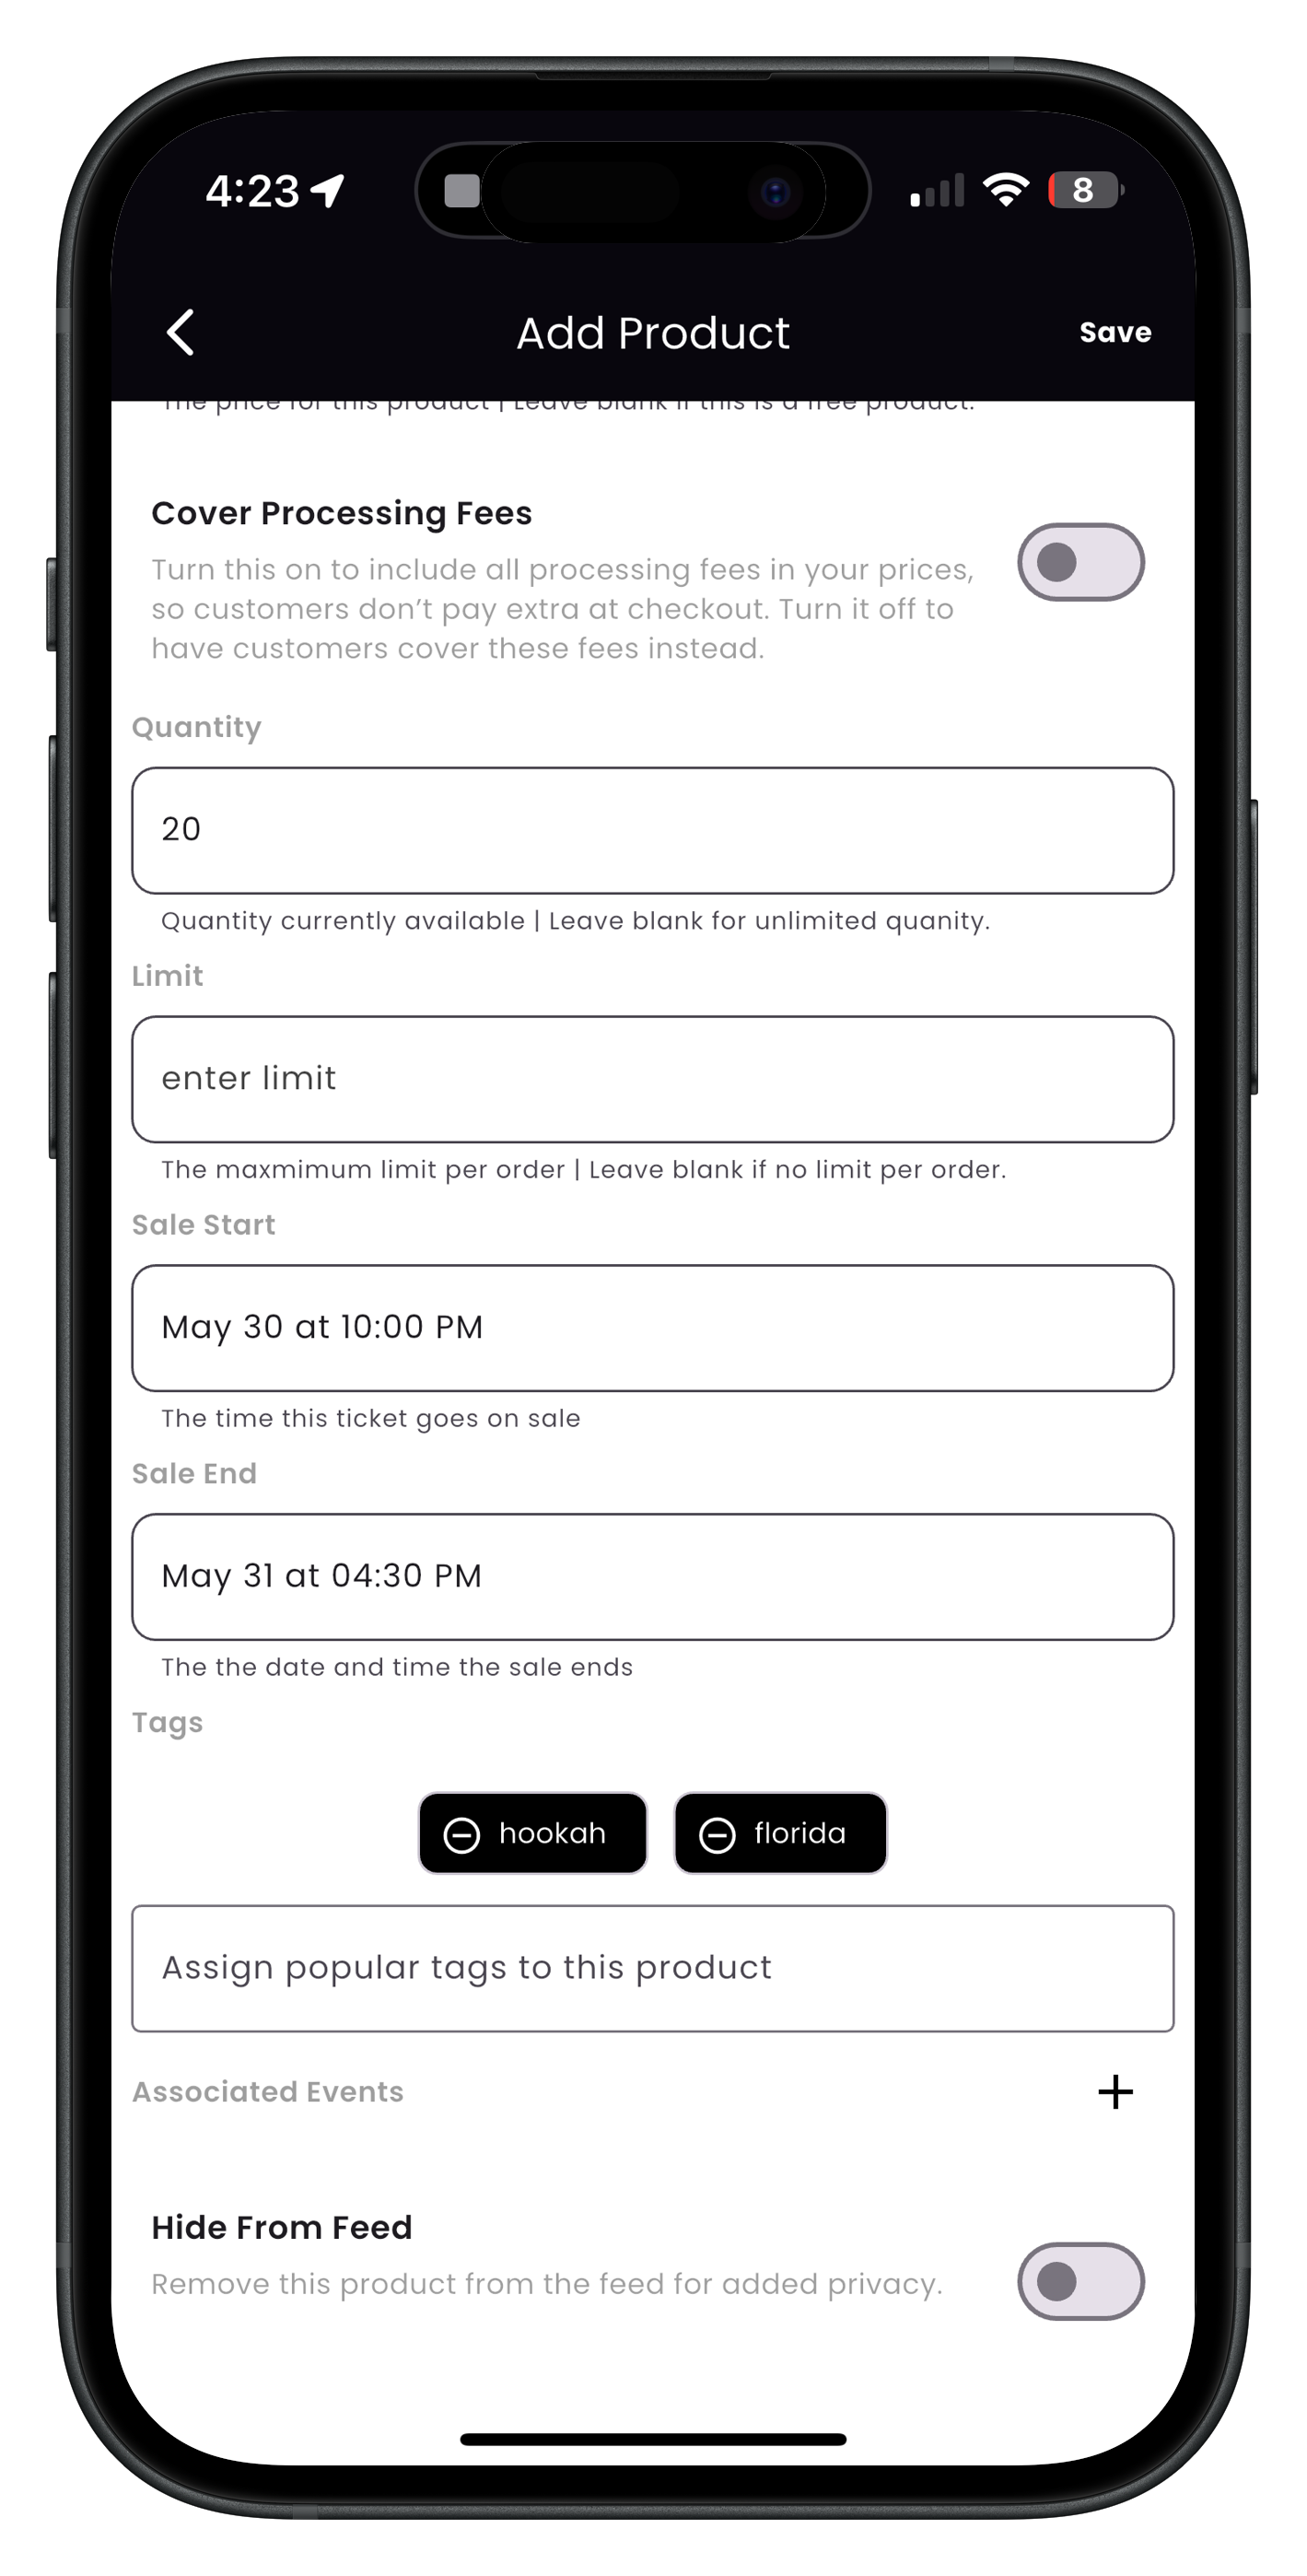
- Processing Fees: Choose whether to cover processing fees yourself or pass them to the customer
- Quantity: Specify how many units are available
- Limit: Set purchase limits per customer if needed
- Sale Dates: Define start and end dates for when the product is available
Adding product details and pricing
Setting quantity and availability options
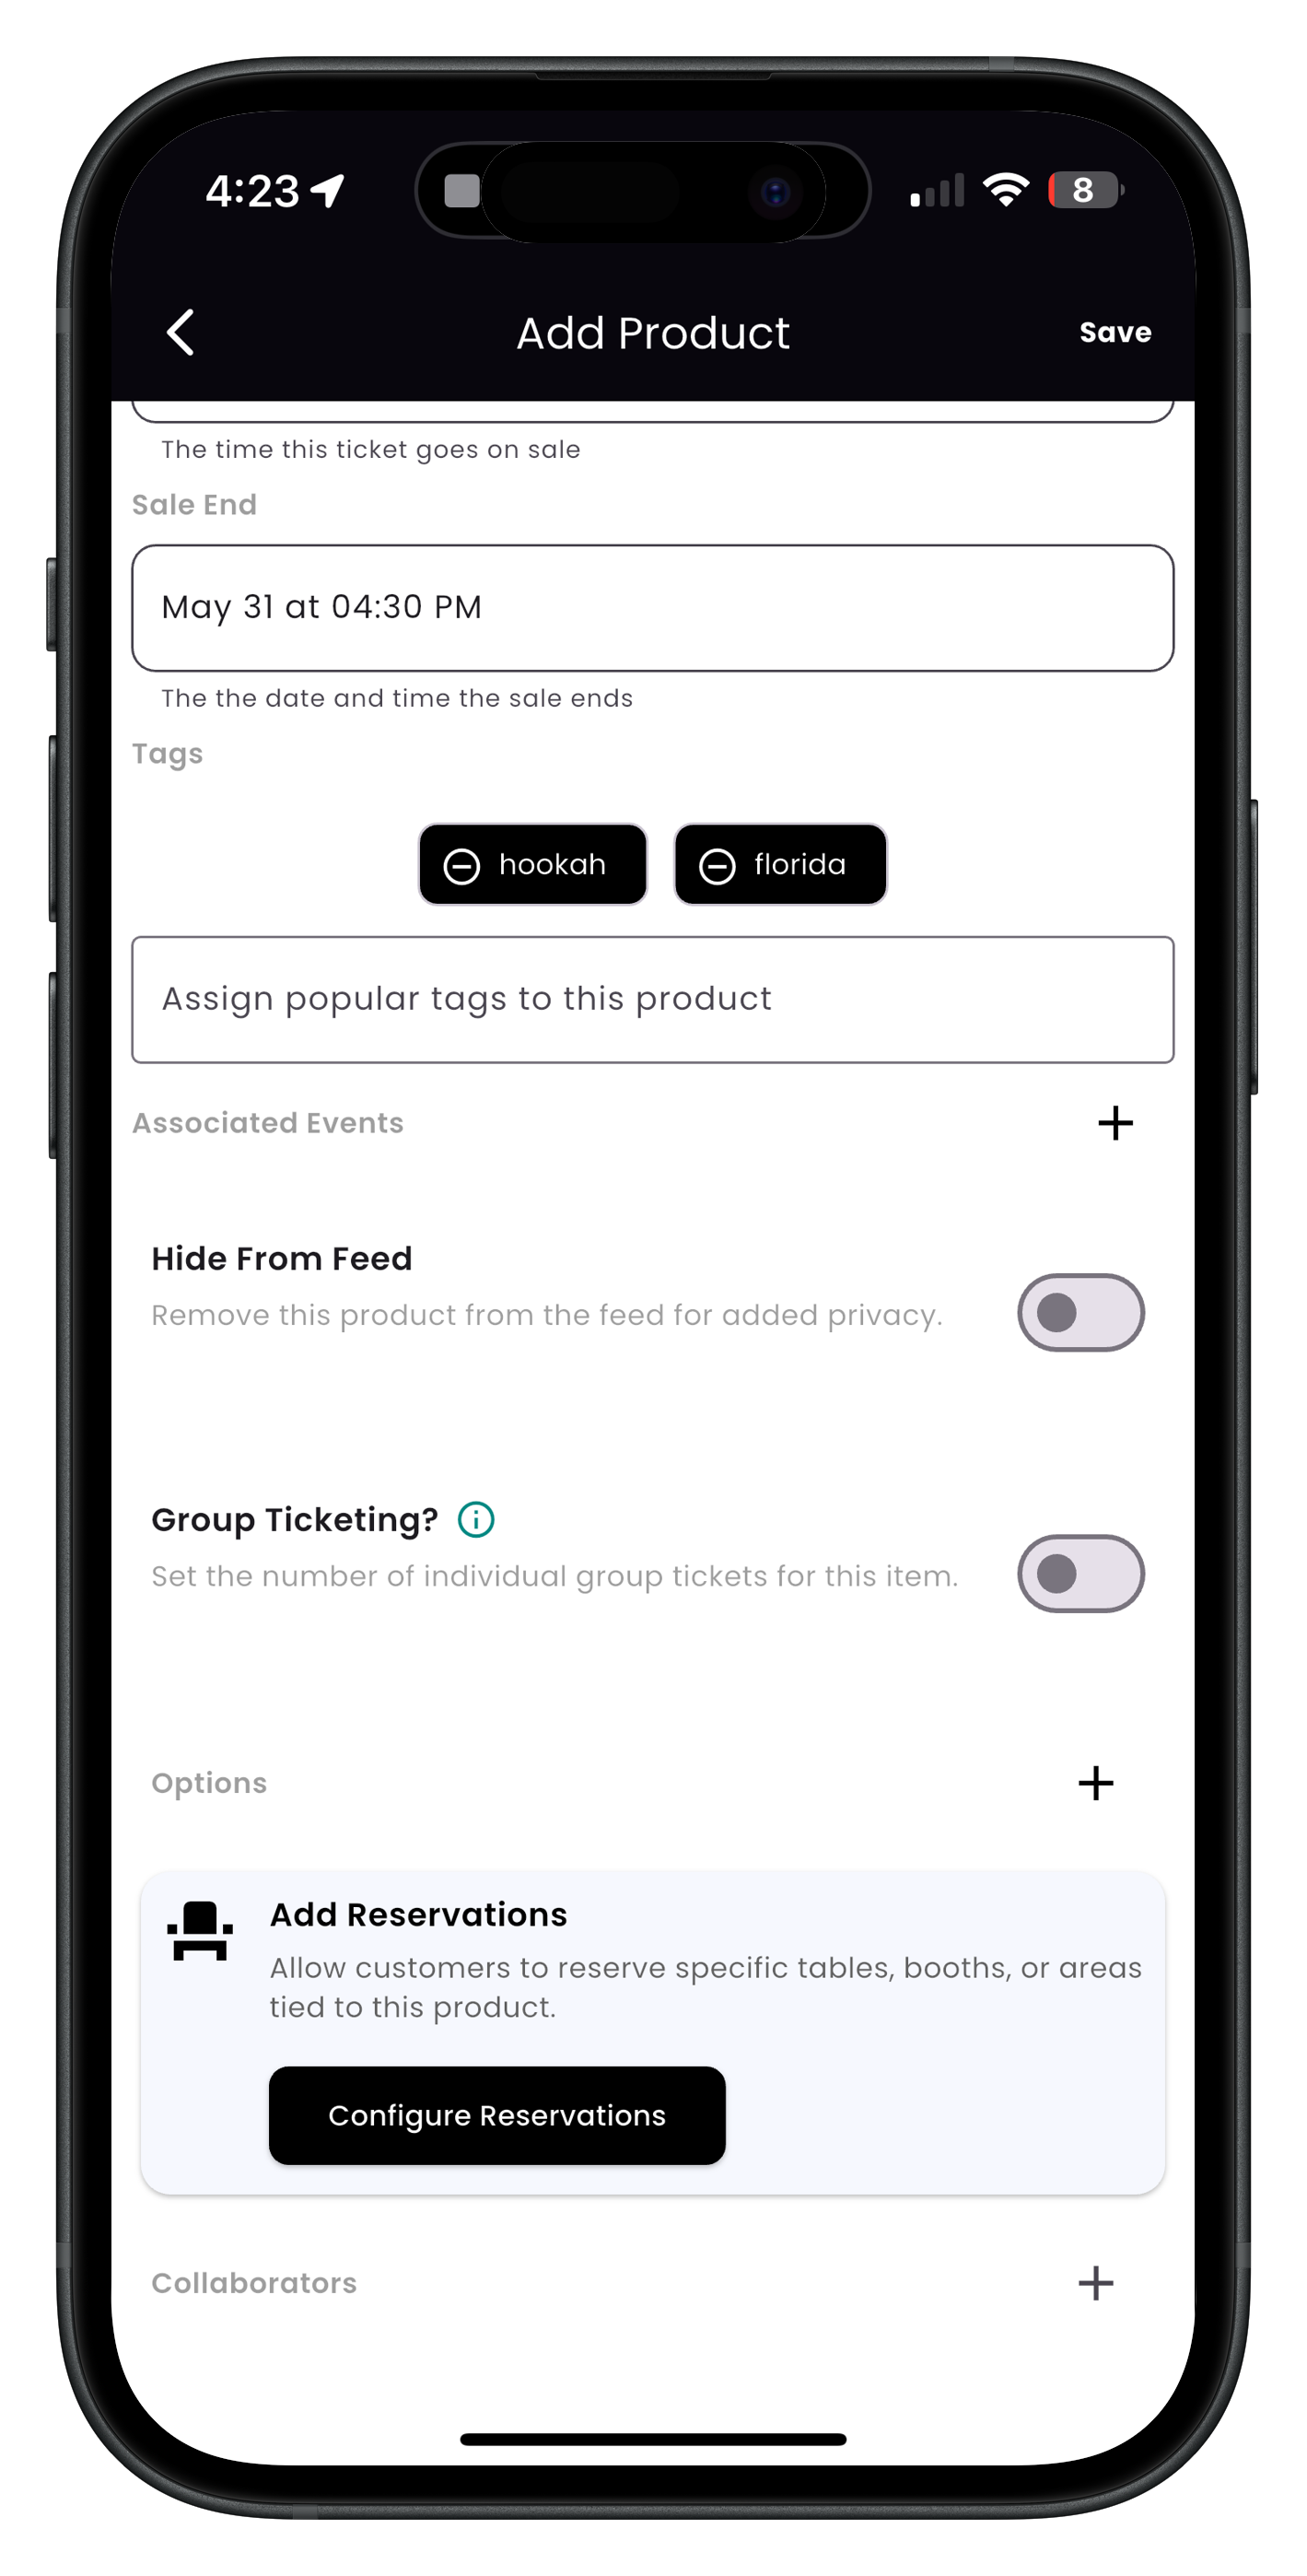
Product Tags
Adding popular tags helps increase engagement and makes your products more discoverable:
- Add relevant tags that potential customers might search for
- Include terms related to materials, style, use case, or special features
- Consider trending keywords relevant to your product
Tip: Use specific, targeted tags rather than overly general ones. For example, "handmade silver necklace" will attract more relevant customers than just "jewelry".
Product Photo Best Practices
High-quality photos are essential for successful product listings. Streets allows you to upload multiple images to showcase your product from different angles.
Photo Requirements and Tips
- Primary Photo: The main image that appears in search results and at the top of your listing
- Additional Photos: Up to 8 additional images showing different angles, details, or variations
- File Format: JPG or PNG format
- Dimensions: Minimum 1200 x 1200 pixels for optimal display
- File Size: Maximum 10MB per image
- Background: Consistent, preferably white or neutral background
- Lighting: Use natural lighting or proper studio lights to show true colors
- Focus: Ensure images are crisp and clearly focused on the product
- Scale: Include an object for scale if size might not be obvious
- Consistency: Maintain a consistent style across all product photos
- Reality: Show the actual product, not stock photography or misleading images
Note: Product photos that show the item in use or being worn (lifestyle photos) tend to perform better than plain product shots alone. Consider including both types in your listing.
Advanced Product Options
Streets offers additional options to help you create more sophisticated product listings.
Setting Up Variants
If your product comes in different options such as sizes, colors, or materials, you can set up variations:
- In the product form, look for the Variations option
- Enable variations to create different options for your product
- Add variation attributes (e.g., size, color, material)
- Create specific combinations of attributes (e.g., Small/Red, Medium/Blue)
- Set individual prices and inventory levels for each variant
- Assign specific photos to variants if available
Inventory Management
Properly managing your inventory helps prevent overselling and keeps customers informed:
- Track Inventory: Enable inventory tracking to manage stock levels
- Available Quantity: Set how many units are available
- Low Stock Alert: Get notified when inventory runs low
- Out of Stock Behavior: Choose whether to show or hide items when out of stock
- Purchase Limits: Set maximum quantities per customer if needed
Pro Tip: Consider your profit margins carefully when setting prices. Factor in all costs including materials, labor, transaction fees, packaging, and event booth fees to ensure you're making a sustainable profit.
Writing Effective Product Descriptions
A well-crafted product description is crucial for converting views into sales. Your description should be informative, engaging, and help customers understand why they should purchase your product.
Description Structure
An effective product description typically includes:
- Opening: A compelling introduction that captures attention
- Features: List of physical attributes and technical specifications
- Benefits: How the product will help or improve the customer's life
- Details: Materials, dimensions, care instructions, etc.
- Usage: How and when to use the product
- Unique Selling Points: What makes your product special or different
Writing Best Practices
- Be Authentic: Write in your brand's voice and personality
- Focus on Benefits: Explain why features matter to the customer
- Use Sensory Words: Describe how the product looks, feels, smells, etc.
- Include Keywords: Use terms customers might search for
- Be Specific: Provide exact details rather than general statements
- Address Objections: Anticipate and answer potential concerns
- Create Desire: Help customers imagine owning and using the product
Tip: Tell the story behind your product. Customers connect with the creative process, inspiration, and craftsmanship that went into making unique items.
Example Description Format
[Engaging opening sentence about your product]
This [product name] features:
• [Key feature 1 and its benefit]
• [Key feature 2 and its benefit]
• [Key feature 3 and its benefit]
[Paragraph about what makes this product special or how it's made]
Details:
• Materials: [list materials]
• Dimensions: [provide measurements]
• Care: [care instructions]
[Closing statement with call to action]
Note: Always be truthful and accurate in your descriptions. Misleading information can lead to returns, negative reviews, and damage to your reputation.
Publishing and Managing Your Products
After you've completed setting up your product, you can:
- Review all details to ensure accuracy
- Tap Save to publish your product
- Your product will now be available for sale at events you participate in
- You can edit or update the product at any time by returning to My Products
Note: After creating a product, you can assign it to specific events you're participating in. This allows customers at those events to discover and purchase your items.
Need More Help?
If you're experiencing issues with listing products, you can:
- Check our Troubleshooting Guide
- View Frequently Asked Questions
- Contact our Support Team
What's Next?
Now that you've listed your products, learn how to: