Curator Help
Manage Your Event
Learn how to monitor ticket sales, manage your guest list, and make event updates on Streets
After creating your event, you'll need to manage ticket sales, attendee information, and event details. This guide will show you how to effectively manage your event on Streets.
Accessing Event Management
To access your event management dashboard:
- Open the Streets App
- Tap the settings icon to go to your settings
- Tap My Events to see all your events
- Find the event you want to manage and tap on it
From the management dashboard, you'll have access to all event management tools, including:
- Event overview and status
- Ticket sales tracking
- Attendee management
- Edit event details
- Promotional tools
- Check-in management
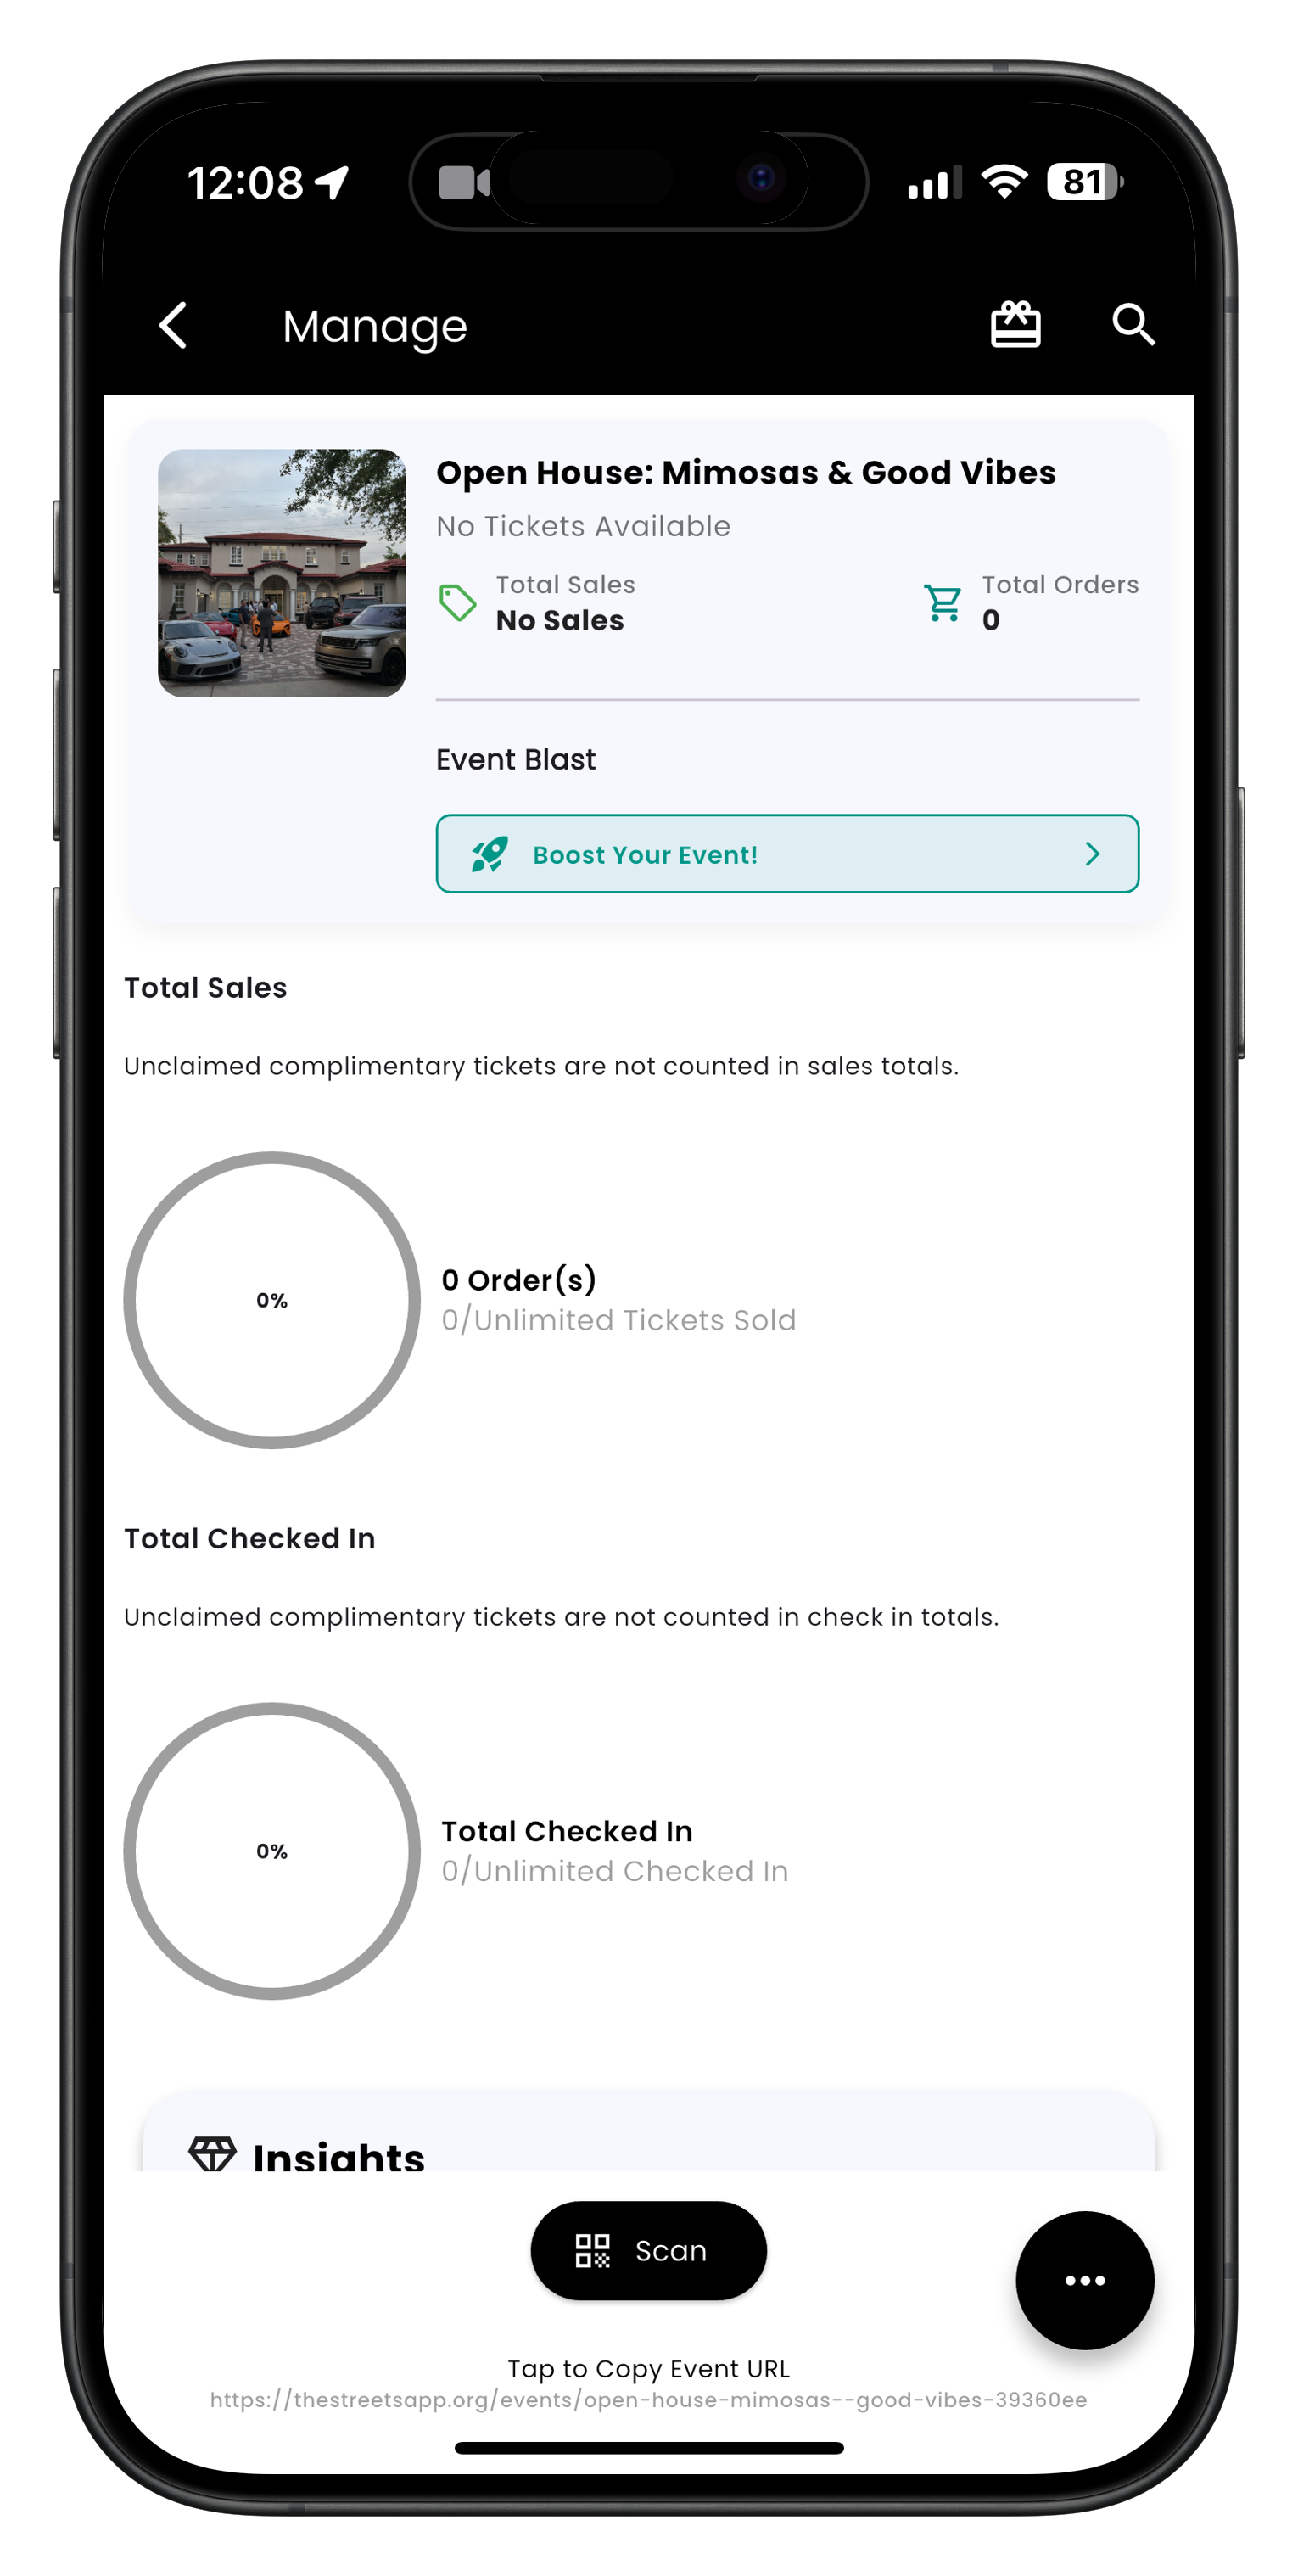
Image: Event management dashboard showing ticket information and event boost options
Monitoring Ticket Sales
Keep track of your event's ticket sales and performance:
- From your event management dashboard
- You can view key metrics at a glance:
- Total tickets sold
- Revenue generated
- Remaining ticket inventory
- Ticket sales by tier
- Recent sales activity
- Use the date filters to view sales for specific time periods
- Track promotion performance with referral source data
Monitor sales velocity (tickets sold per day) to determine if you need to run promotions or adjust pricing. A sudden slowdown might indicate it's time for a marketing push.
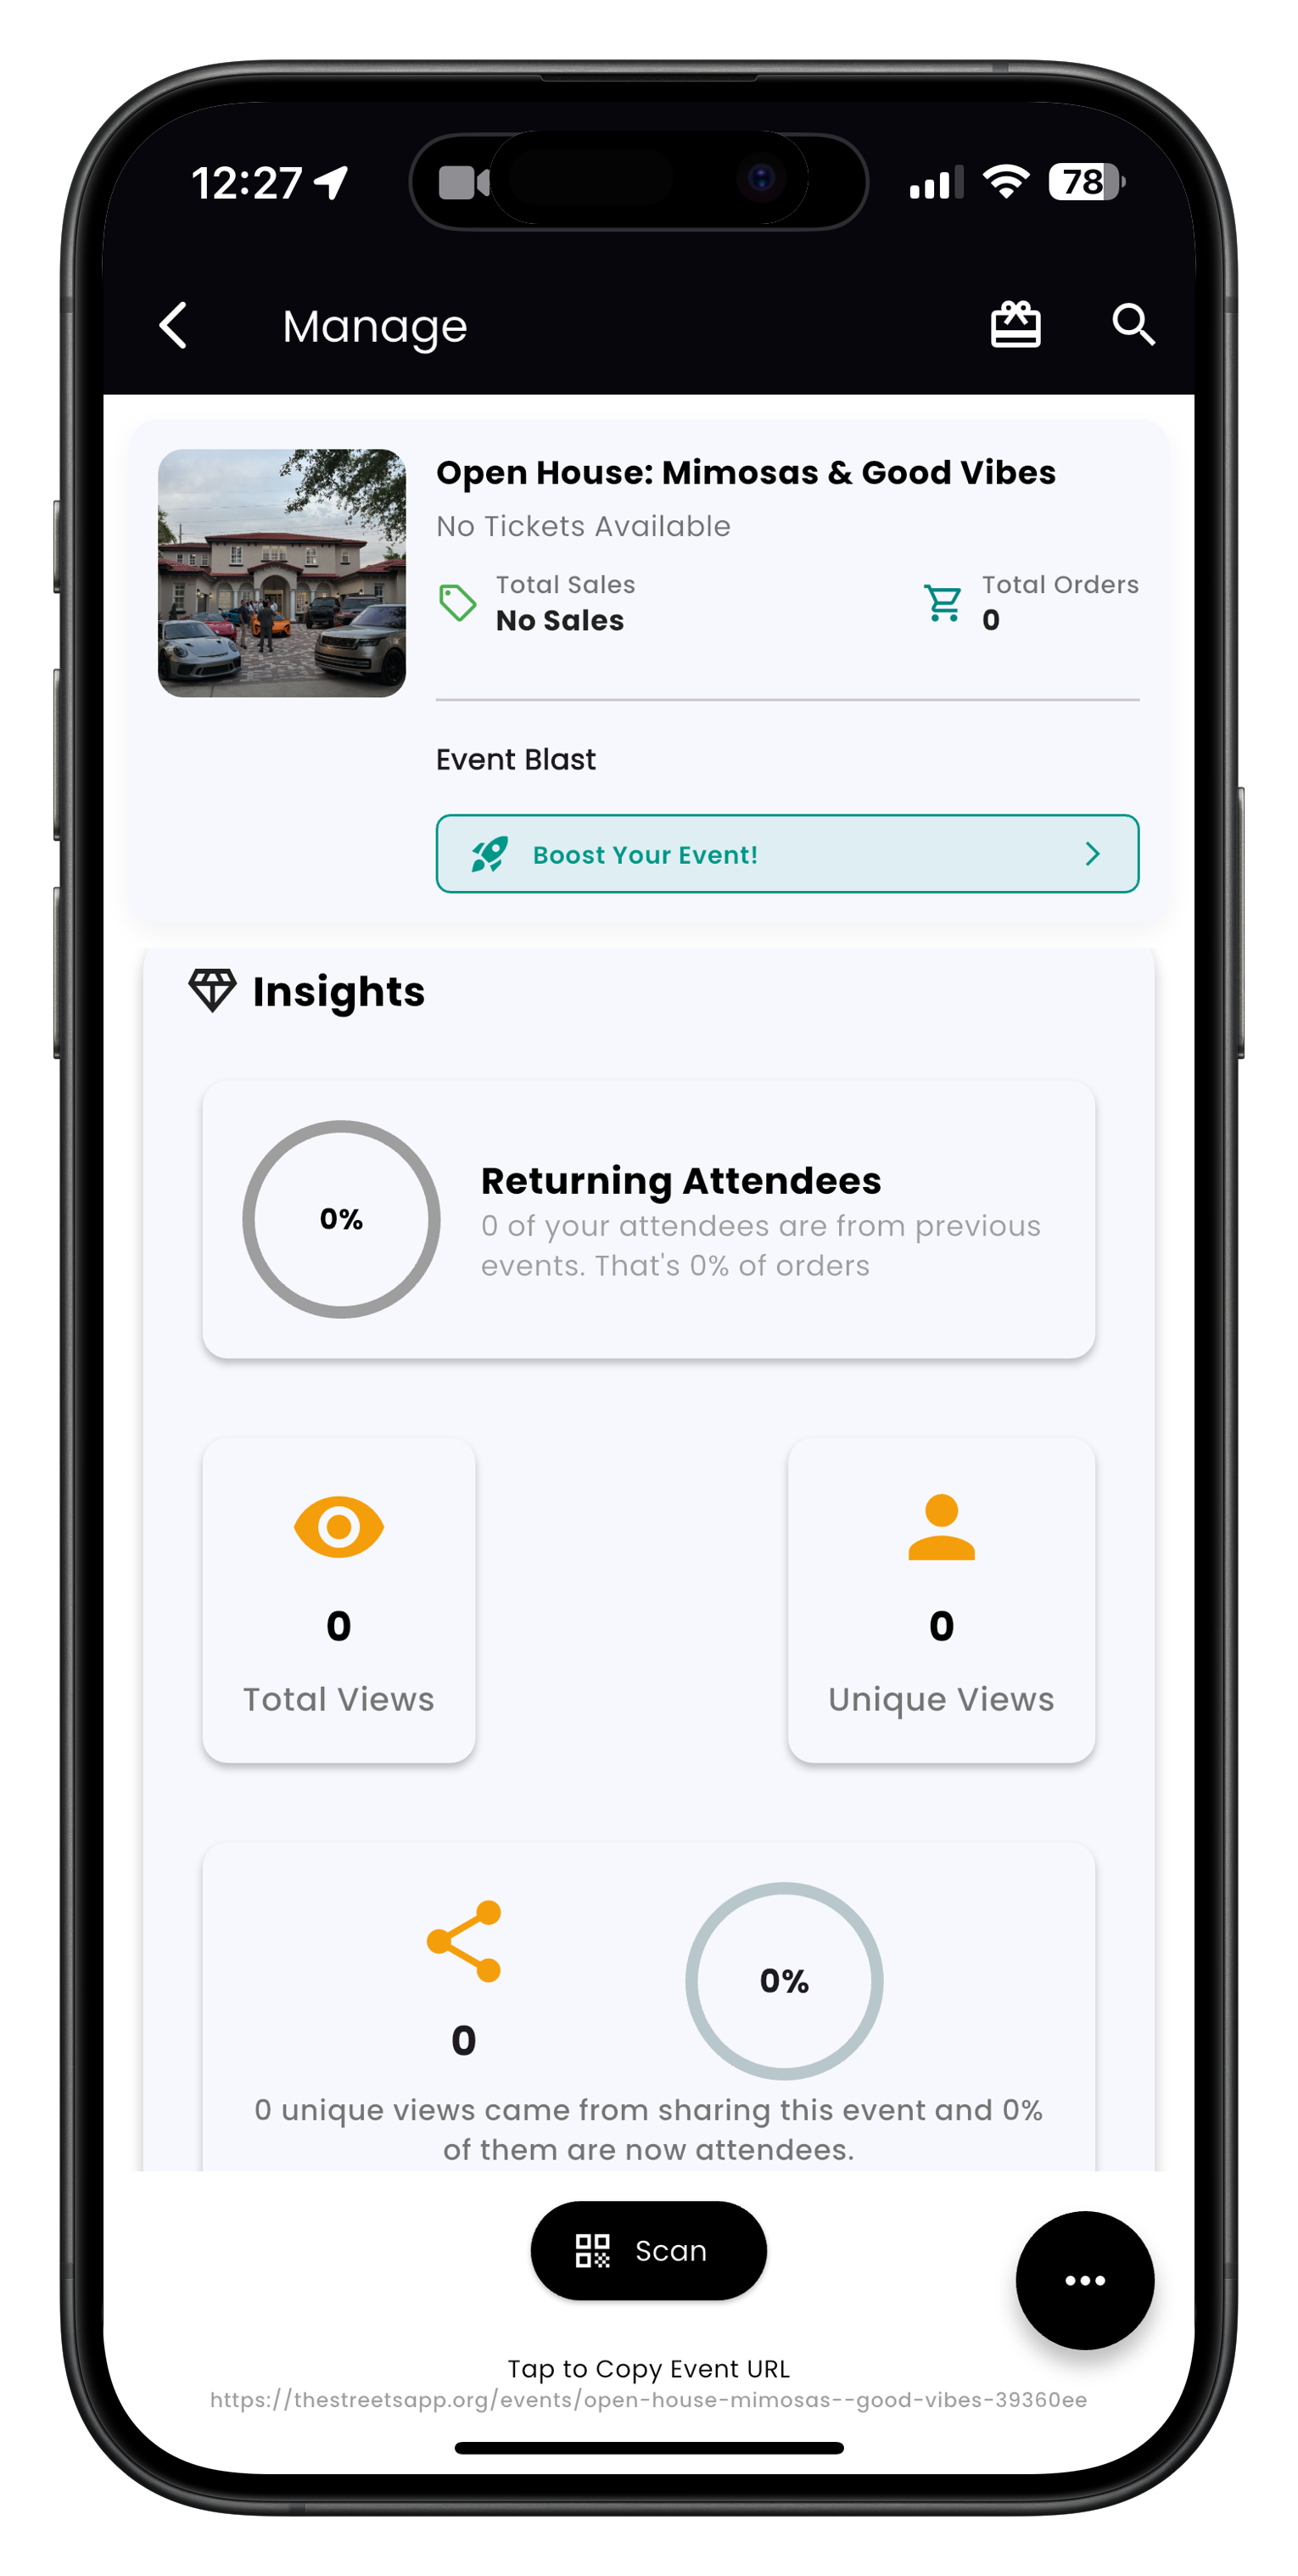
Image: Event insights dashboard showing returning attendees, views, and sales analytics
Managing Attendee Information
Access and manage your event's attendee list:
- From your event management dashboard, tap Attendees
- View the complete list of registered attendees
- Use the search function to find specific attendees
- Filter attendees by ticket type, purchase date, or check-in status
- Tap on any attendee to view their detailed information:
- Contact information
- Ticket details
- Custom field responses
- Check-in status
- Export your attendee list by tapping Export (sends CSV to your email)
Attendee Management Actions
From the attendee detail view, you can:
- Message - Send a direct message to the attendee
- Transfer Ticket - Move a ticket to another attendee
- Refund - Process a refund (if enabled for your event)
- Mark Attendance - Manually check in an attendee
- Add Notes - Add private notes visible only to event organizers
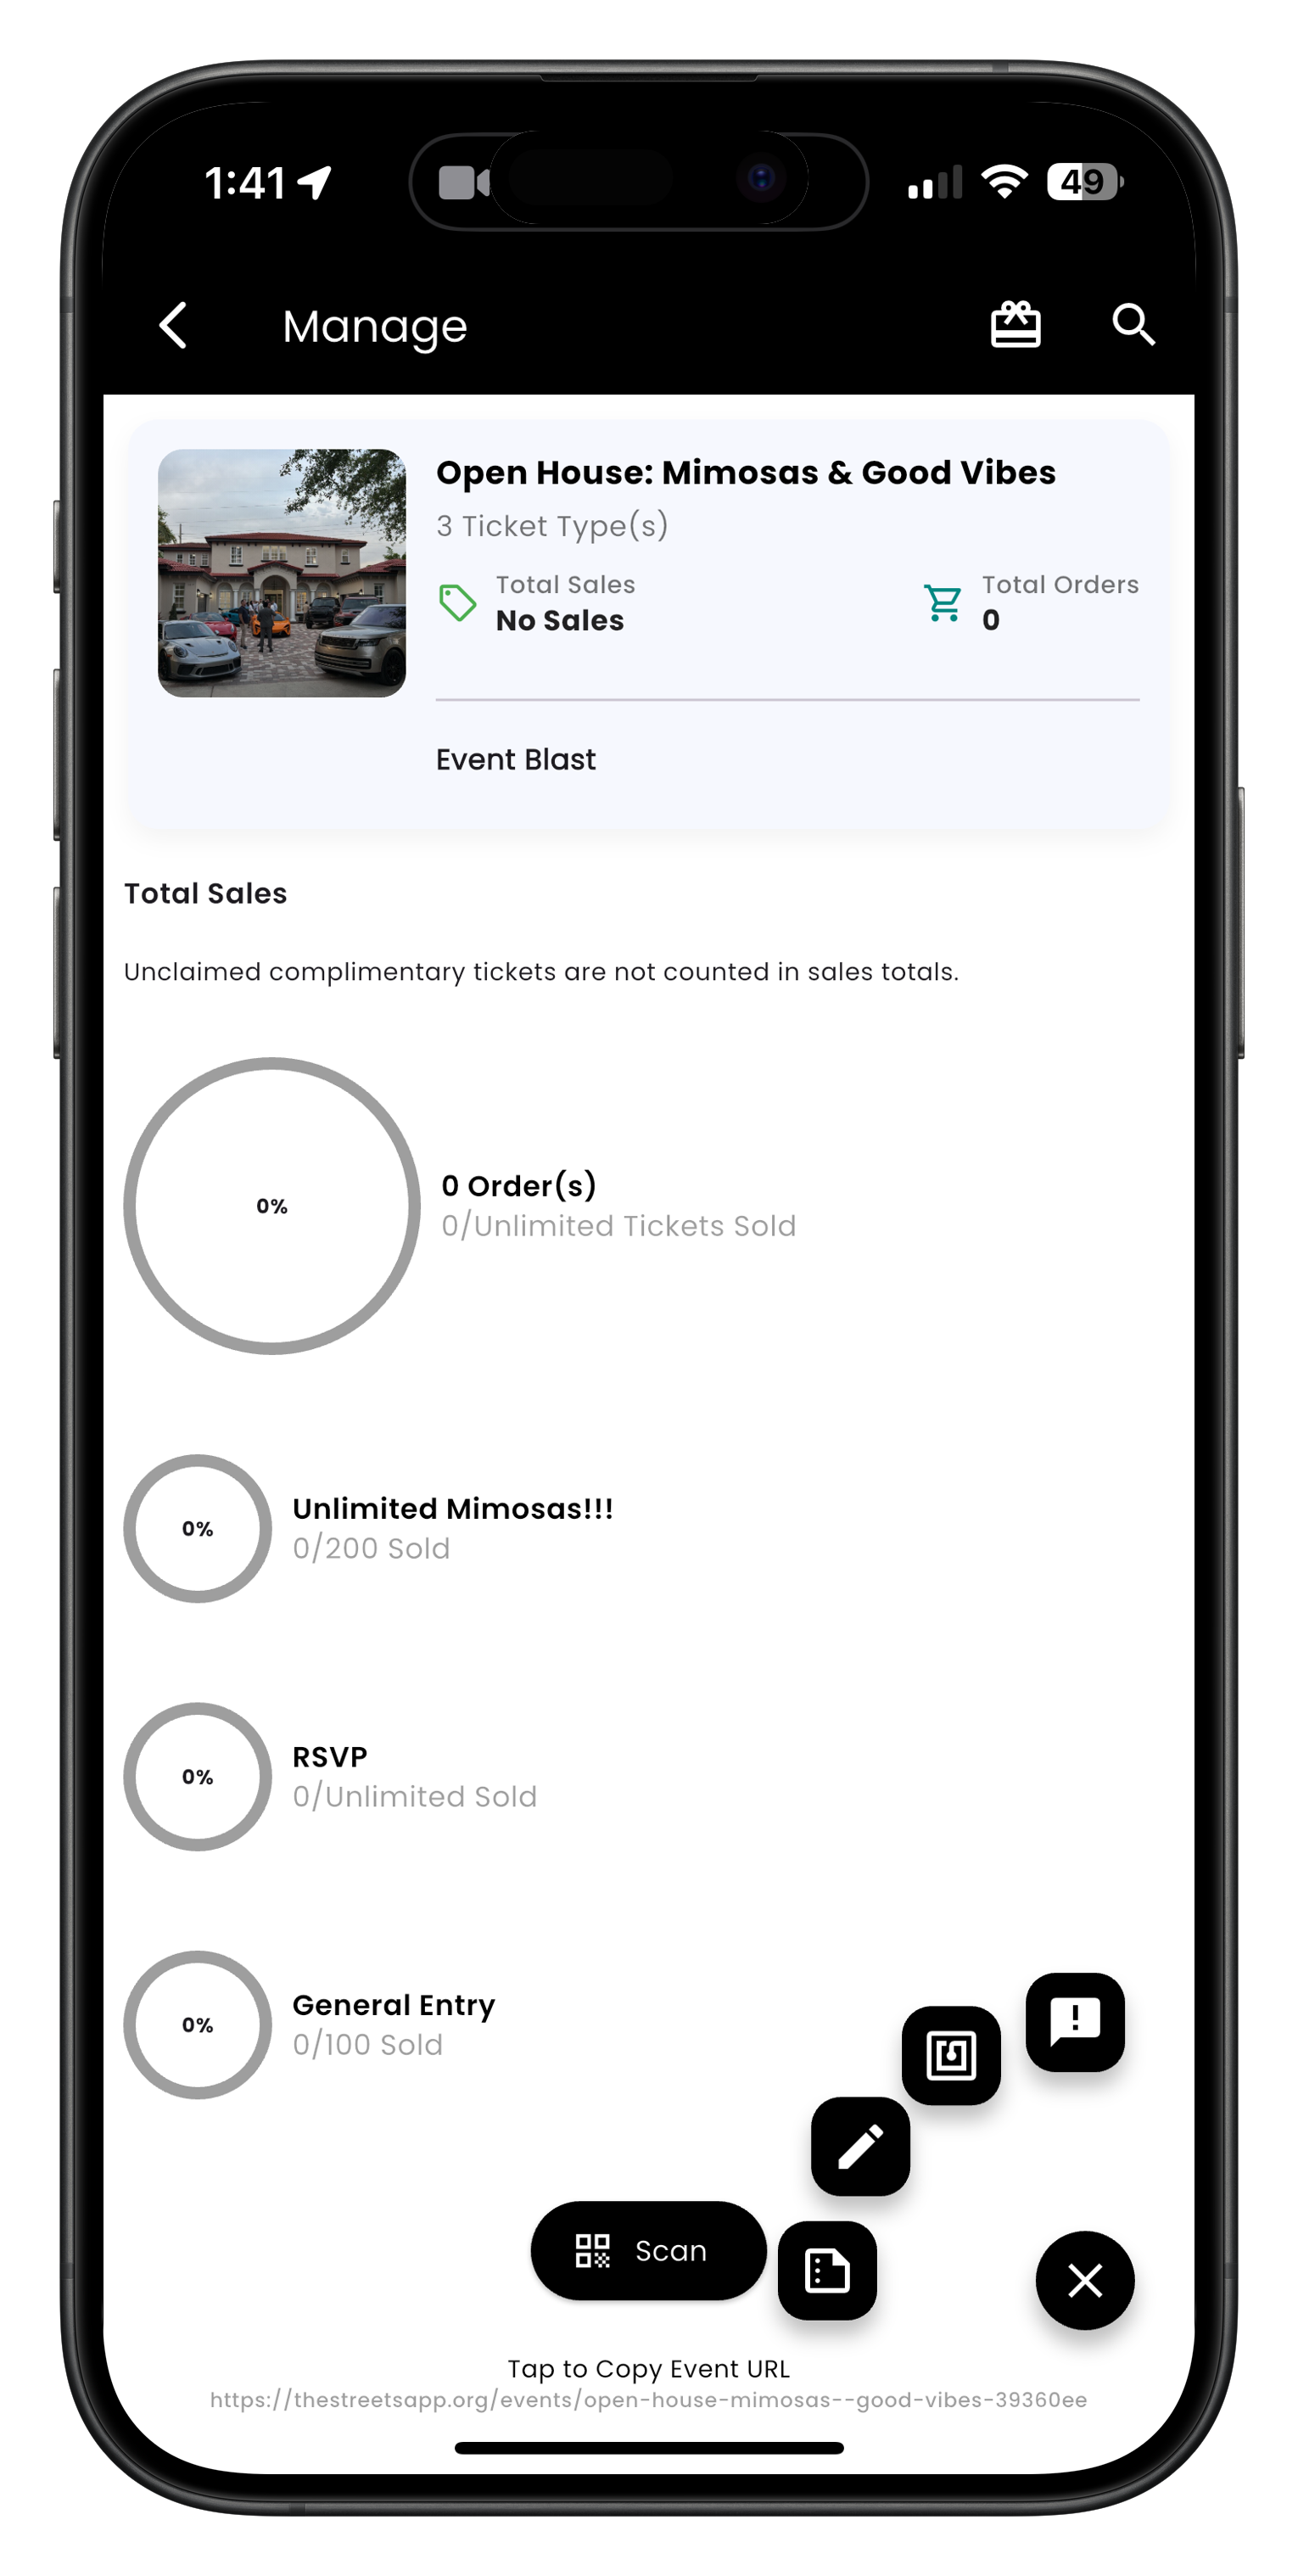
Image: Manage event screen with attendee options
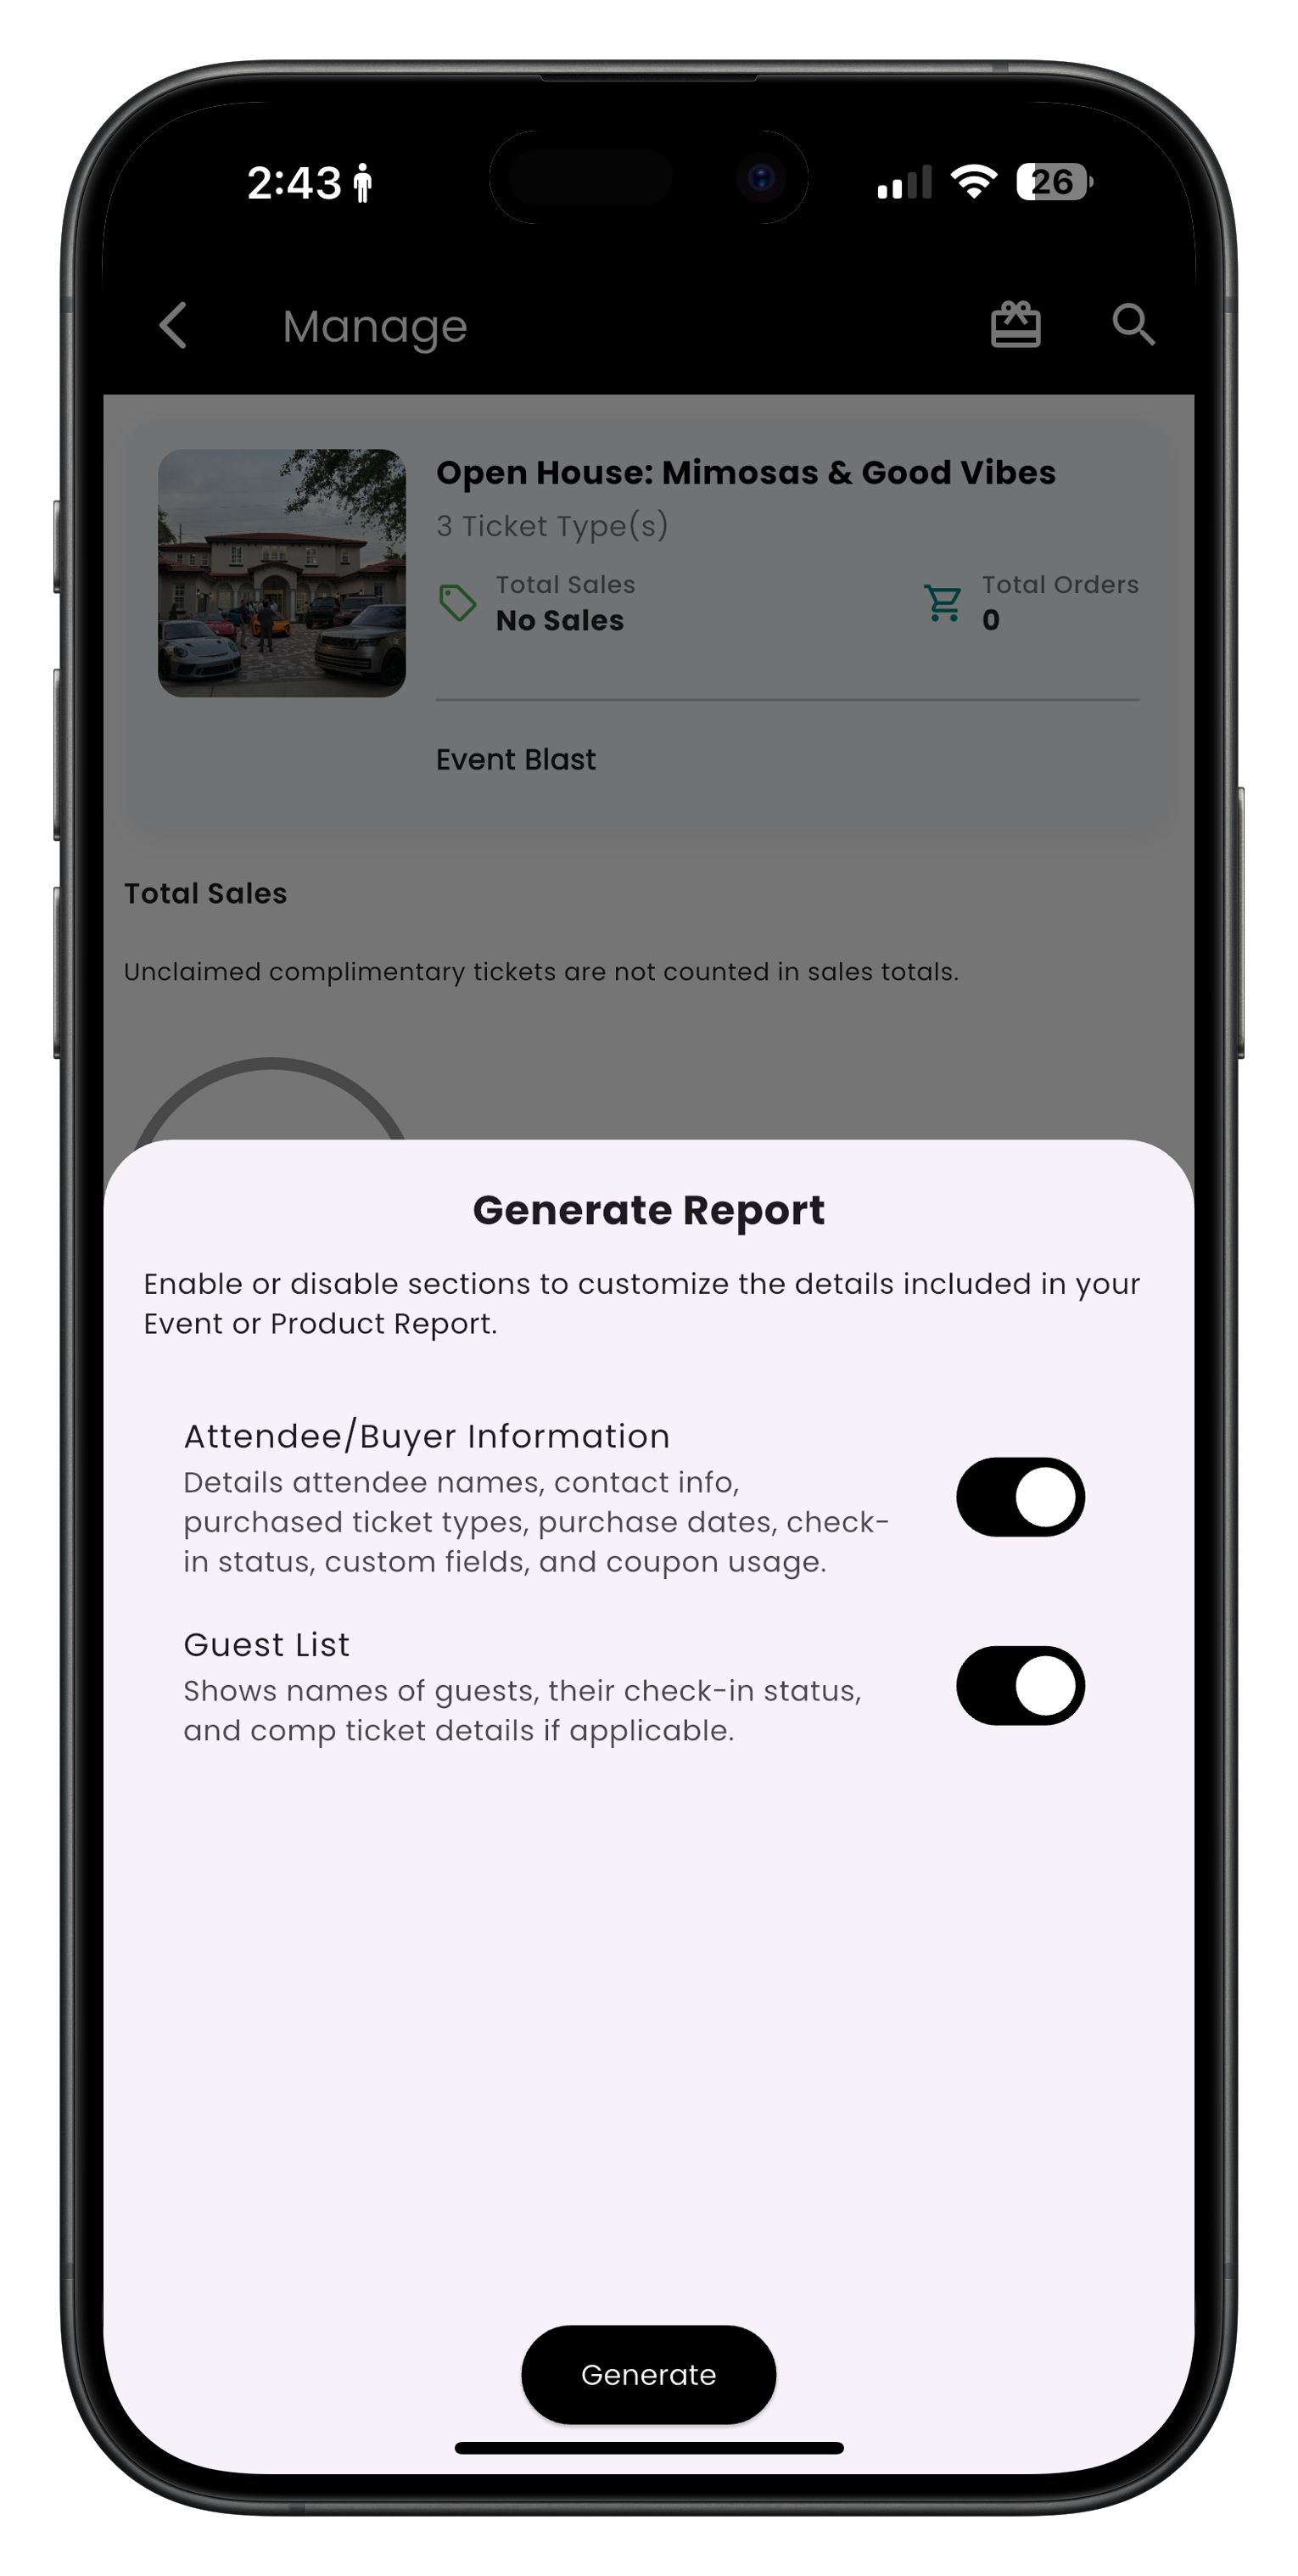
Image: Generate attendee list
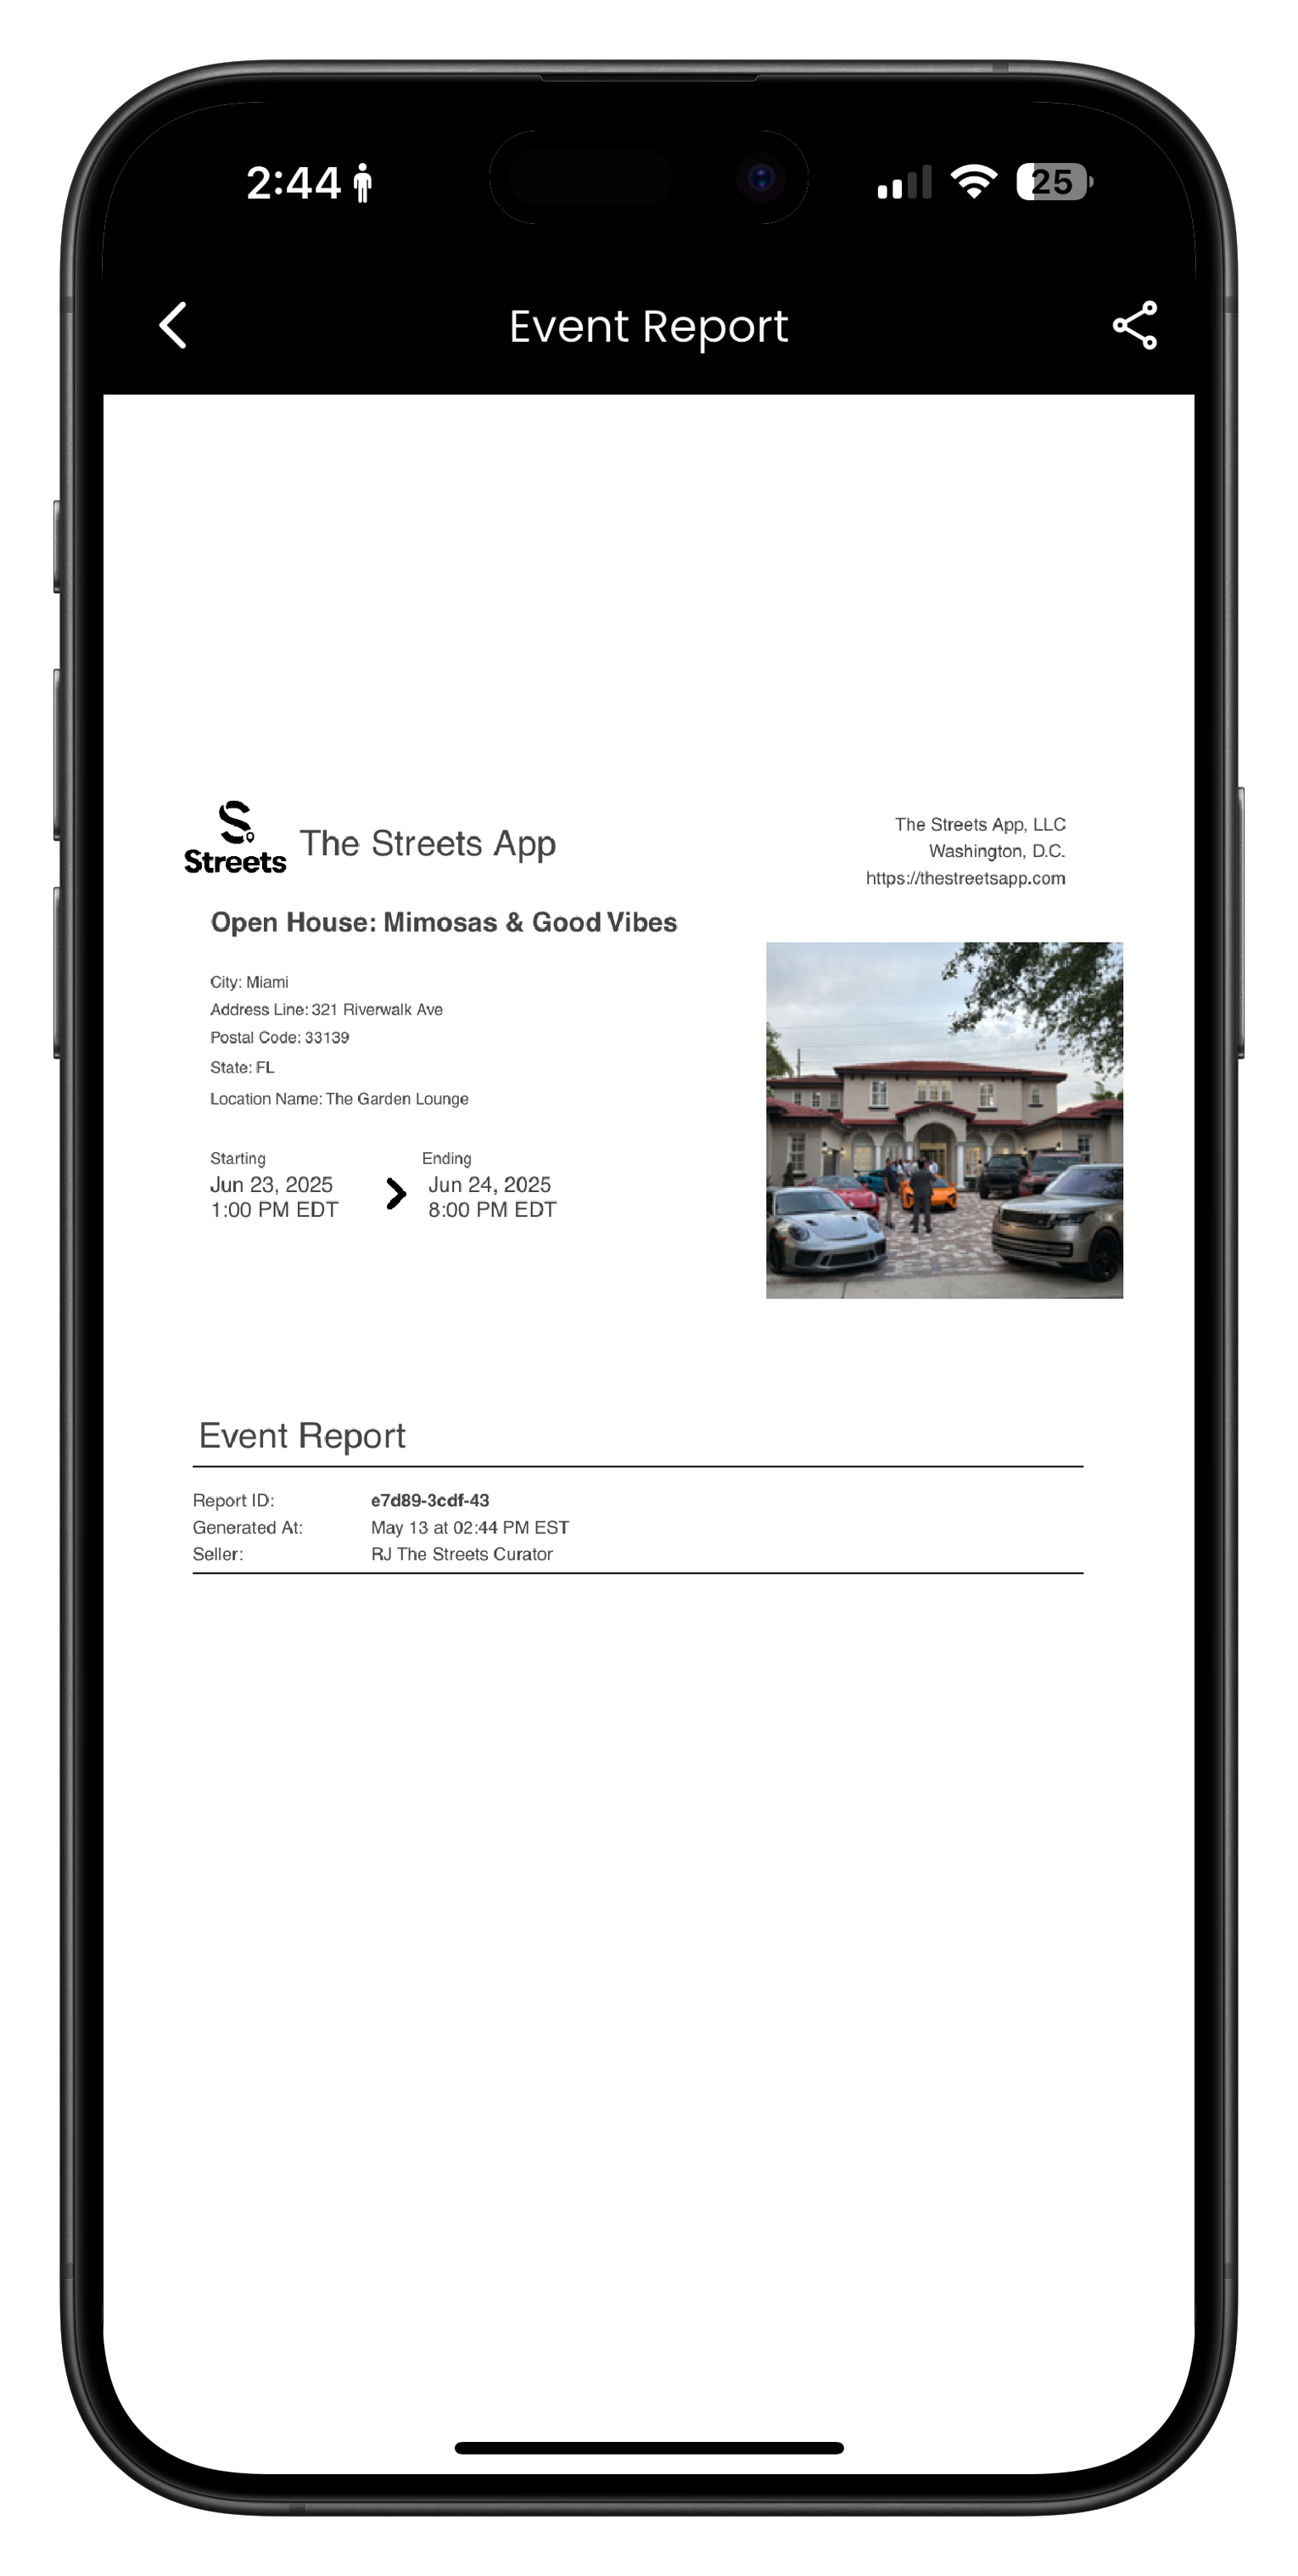
Image: Detailed attendee information view
Updating Event Details
To edit an event:
- Go to Settings then select My Events
- Select the event from the list of events
- Select the 3 dots at the bottom right of the screen
- Select the pencil icon
- Then they can edit the event details
- Make changes to any of the following:
- Event Title - Update your event name
- Description - Edit or expand the event description
- Date & Time - Change when your event starts or ends
- Location - Update venue or add additional location details
- Event Images/Photos - Add, replace, or update event images and photos
- Category - Recategorize your event if needed
- Visibility - Change from public to private or vice versa
- Tap Save Changes to update your event
If you make significant changes to date, time, location, or event details, consider notifying your attendees through the messaging feature to keep them informed.
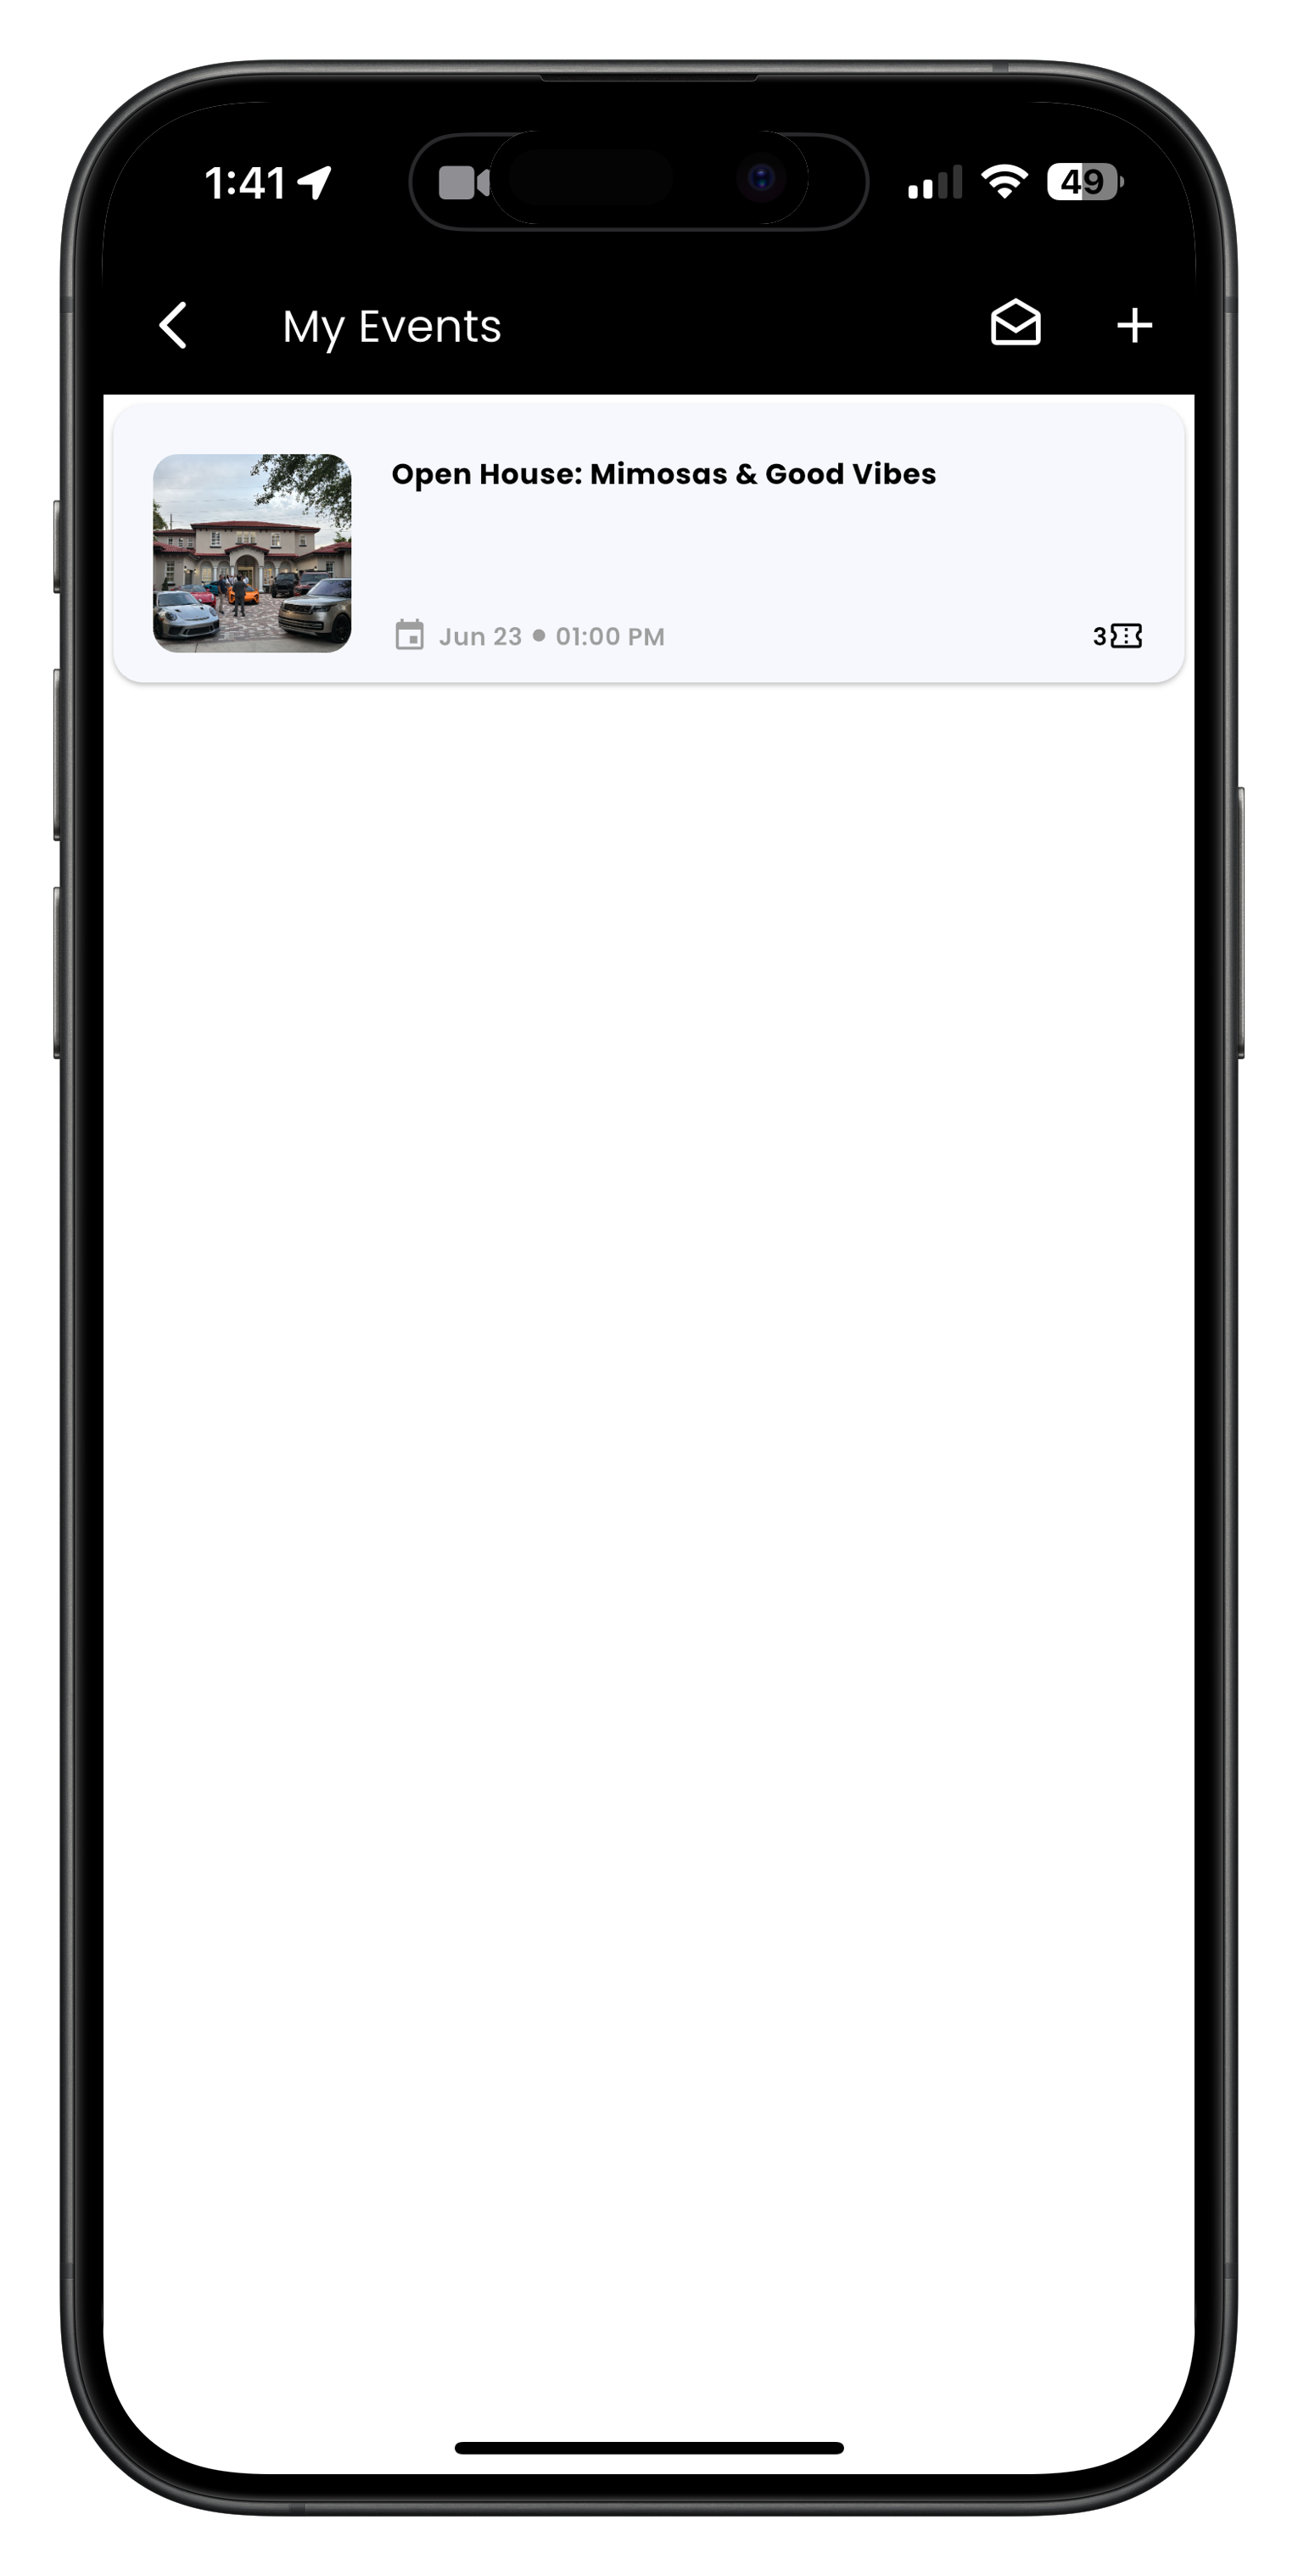
Image: My Events screen where you select an event
Image: Manage event screen with edit options

Image: Edit event form for updating details
Communicating with Attendees
Keep your attendees informed with updates and announcements:
- Go to Settings then view your events
- Select an event from your list of events
- On the event management screen, select the three dots at the bottom right
- Select the message icon (the fourth icon)
- A pop-up will show "Send Event Message"
- Select attendees from the list
- Choose your audience:
- All Attendees - Send to everyone registered
- Specific Ticket Type - Target attendees with certain tickets
- Custom Selection - Choose specific attendees
- Compose your message with:
- Subject line
- Message body (supports formatting and emojis)
- Optional attachments or links
- Preview your message
- Tap Send to deliver your message
Effective Communication Strategies
- Send a welcome message after ticket purchase
- Provide event reminders 1 week and 1 day before
- Share important logistics (parking, entry details, etc.) the day before
- Notify attendees of any changes to the event
- Follow up after the event with a thank you message
Image: My Events screen where you select an event
Image: Manage screen showing message icon in action buttons
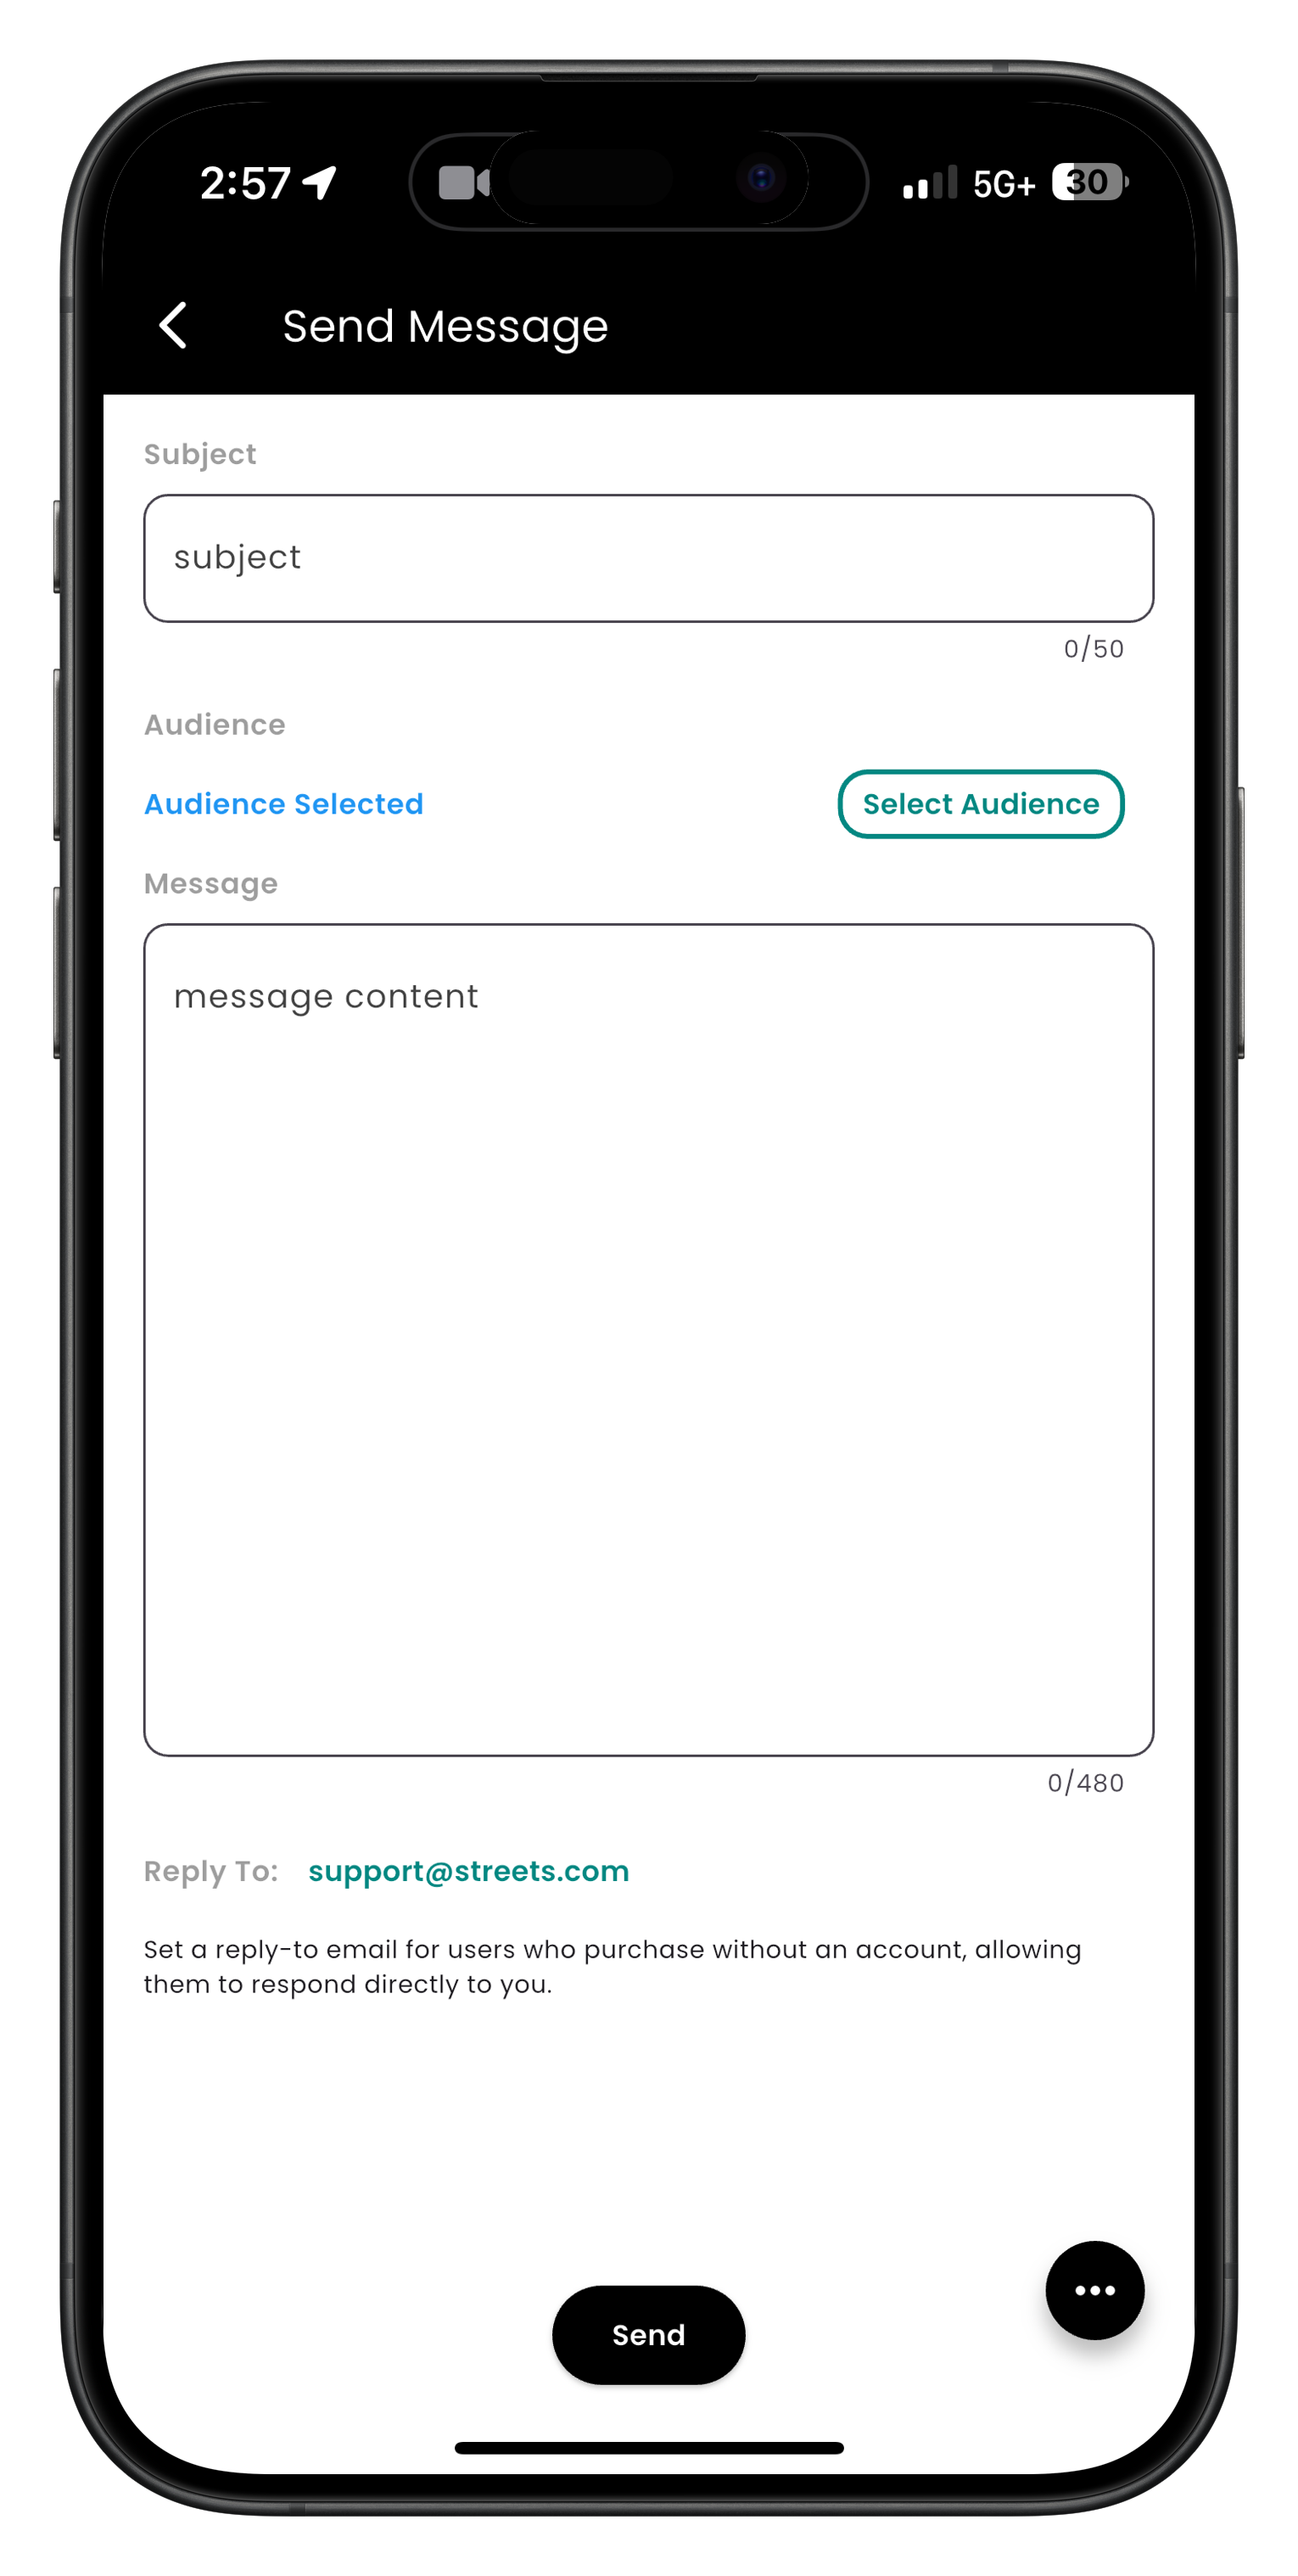
Image: Send Event Message interface
Advanced Messaging: Message Center
For more powerful communication tools, use the Message Center which provides:
- Multiple audience channels (in-app notifications, email, SMS)
- Scheduled messages for automated reminders
- Message history and delivery tracking
- Featured event/product attachments
- Audience filtering by lists
Learn more in our Using the Message Center guide.
Managing Your Team
Add collaborators to help manage your event. You can assign specific permissions to each team member:
- Scan Permission - Check in attendees at the door
- Coat Check - Manage the coat check system
- Send Messages - Use Message Center on your behalf
- Generate Reports - Create and download reports
- Issue Complimentary Tickets - Issue free tickets
- Financial Visibility - View revenue and payout info
For detailed instructions, see our Managing Collaborators guide.
Check-In Management
Efficiently manage attendee check-ins at your event:
- Go to Settings, then select My Events
- Select the event you need check-in management for
- Select the Scan button at the bottom of the screen to use the QR code scanner
- For QR code scanning:
- Grant camera permissions when prompted
- Use the flash feature if needed for scanning in low-light areas
- Hold the camera over the attendee's ticket QR code
- The app will automatically verify and check in the attendee
- You'll see ticket information and validation status
- Other check-in options include:
- Manual Check-In - Search and check in attendees by name:
- Search for the attendee by name or email
- Tap their name from the search results
- Verify their ticket information
- Tap Check In to mark their attendance
- NFC Check-In - Use Near Field Communication for contactless check-in:
- Select the three dots at the bottom right corner
- Select the square icon (third icon)
- Follow the on-screen instructions for NFC scanning
- Manual Check-In - Search and check in attendees by name:
For faster entry at larger events, set up multiple check-in stations with different staff members using the Streets App's team check-in feature.
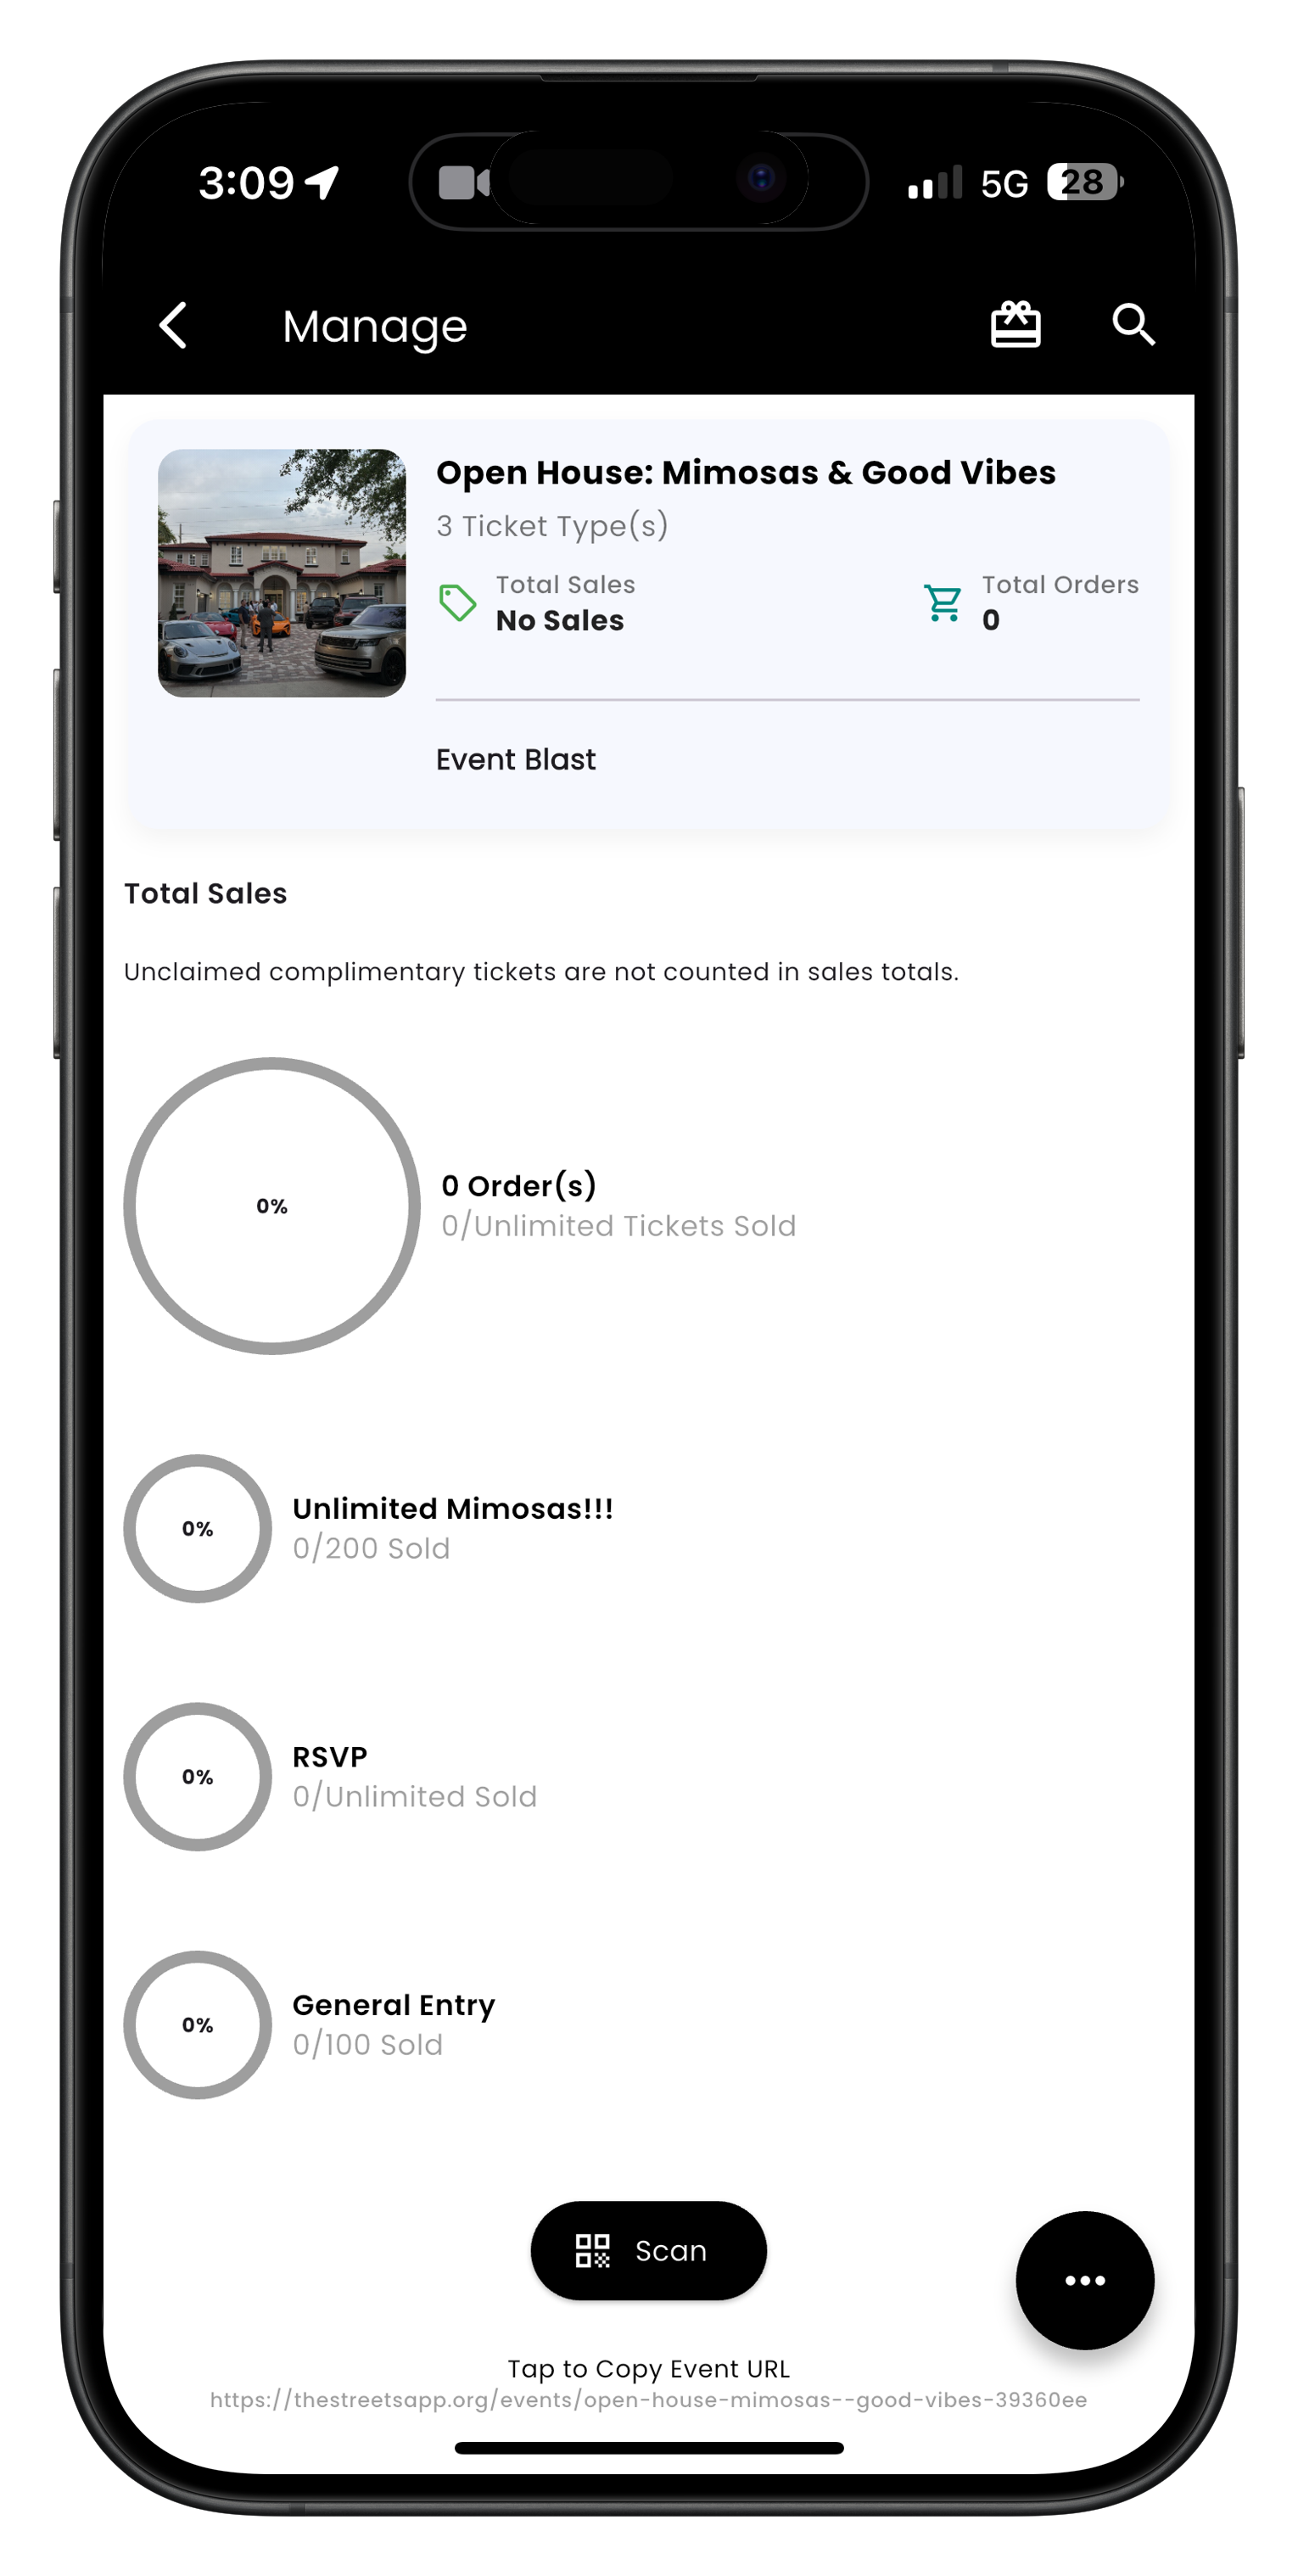
Image: Event management screen with Scan button
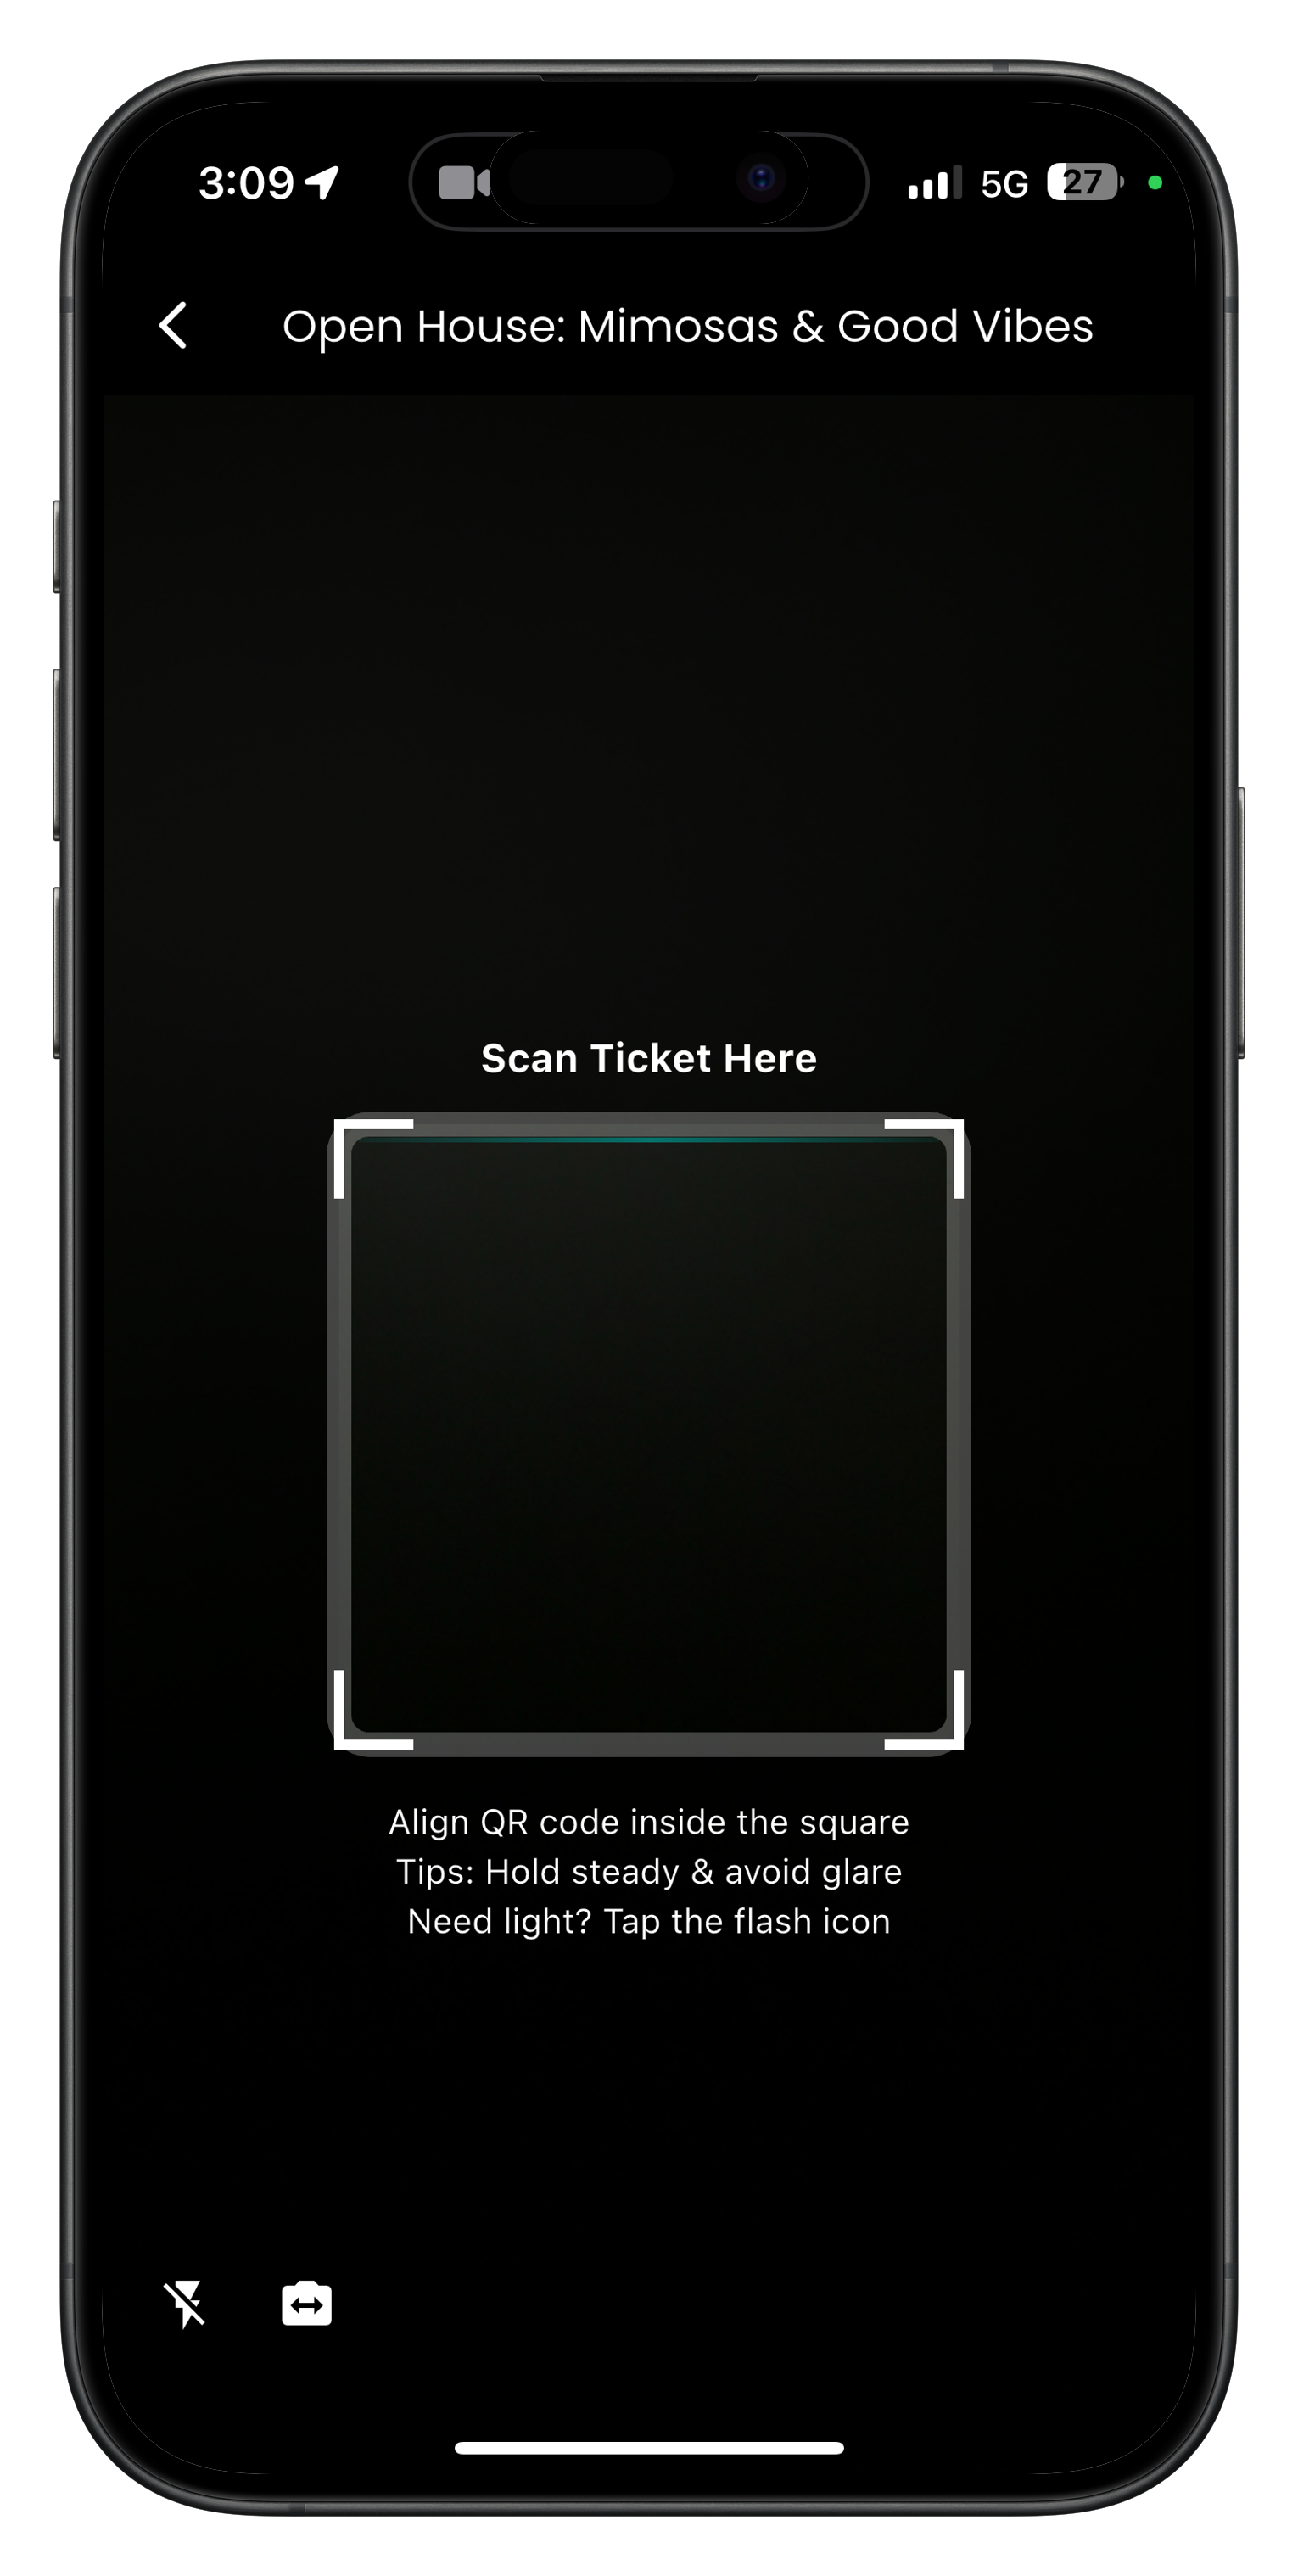
Image: QR code scanner interface with flash option
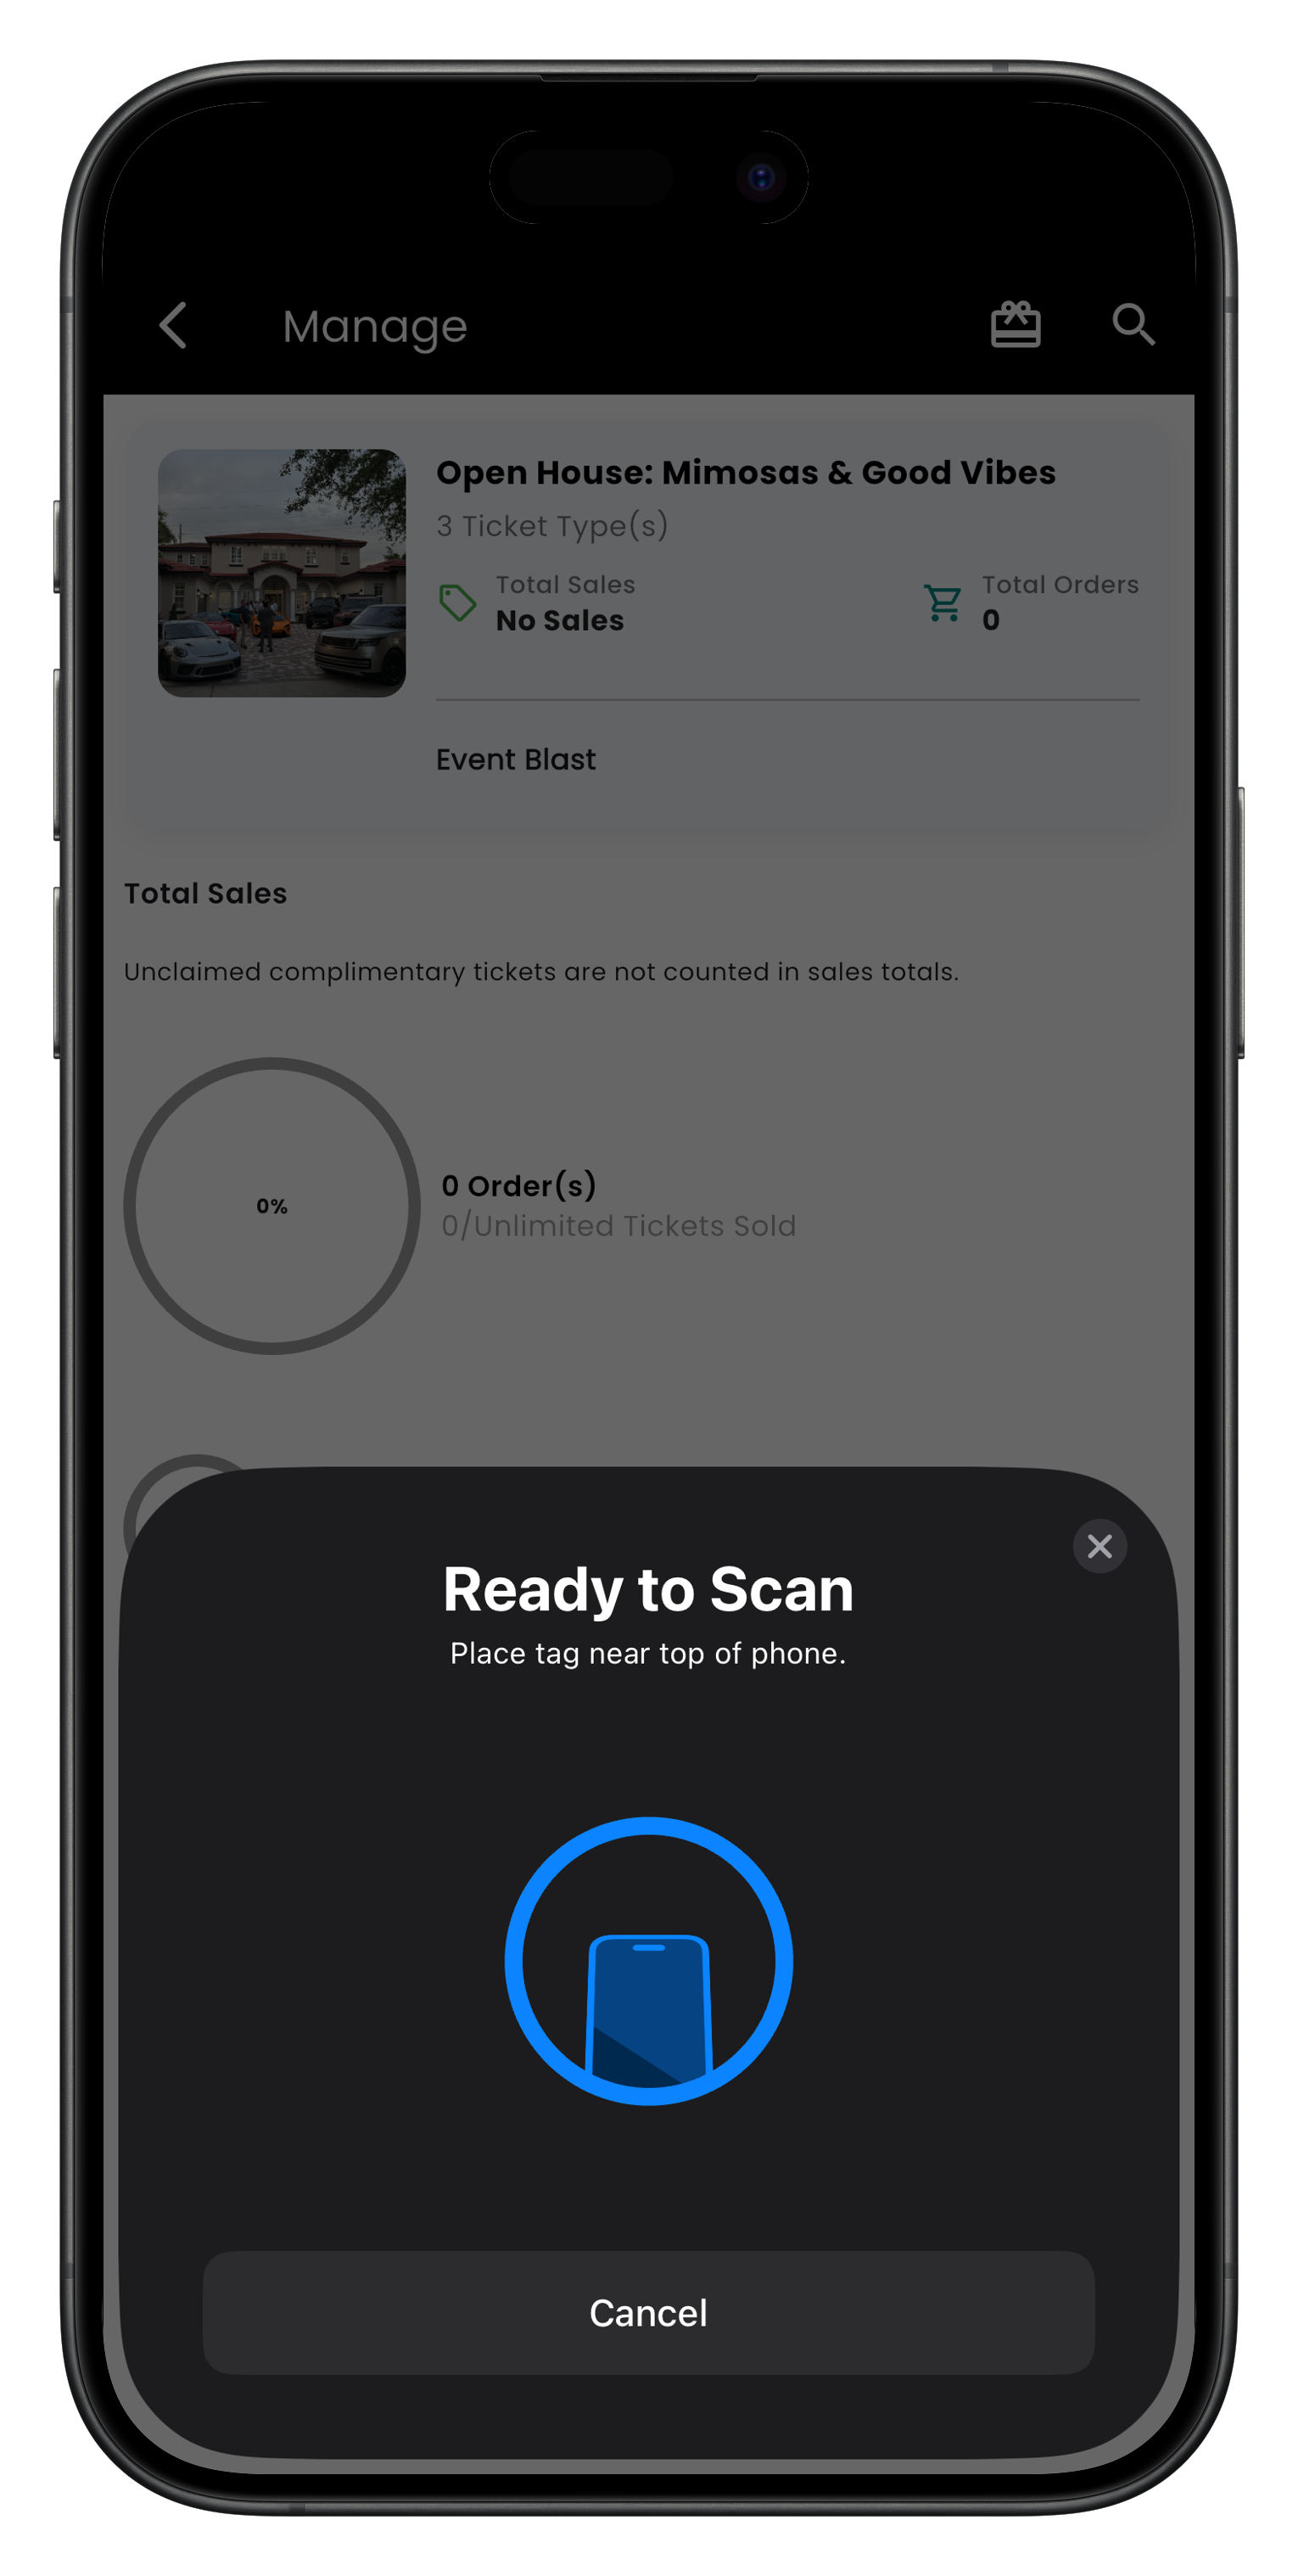
Image: NFC check-in interface
Handling Refunds and Cancellations
All sales on Streets are final and non-refundable. However, we understand that exceptional circumstances may arise.
Need to Issue a Refund?
If you need to issue a refund to an attendee due to special circumstances:
- Contact Streets Support through the Support Team page
- Provide your event details and the specific attendee information
- Explain the reason for the refund request
- Our support team will review your request and guide you through the process
Cancelling Your Event
If you need to cancel your entire event:
- From your event management dashboard, tap Edit Event
- Scroll to the bottom and tap Cancel Event
- Enter a cancellation message for your attendees
- Tap Confirm Cancellation
- Contact Streets Support regarding any refund considerations for your cancelled event
Please note that while all sales on Streets are final, our support team will work with event curators on a case-by-case basis for exceptional circumstances that may warrant refunds.
Post-Event Analytics
After your event concludes, review comprehensive analytics to improve future events:
- From your event management dashboard, tap Analytics or Insights
- Review key performance metrics:
- Attendance Rate - Percentage of ticket holders who attended
- Revenue Breakdown - Analysis by ticket type and promotional channel
- Demographic Data - Age, location, and other attendee information
- Ticket Sale Timeline - When most tickets were purchased
- Marketing Effectiveness - Which channels drove the most ticket sales
- Export reports for future reference or team sharing
- View attendee feedback (if you enabled post-event surveys)
Compare analytics across multiple events to identify trends and opportunities for improving future events. Look for patterns in attendee behavior, pricing strategy effectiveness, and marketing channel performance.
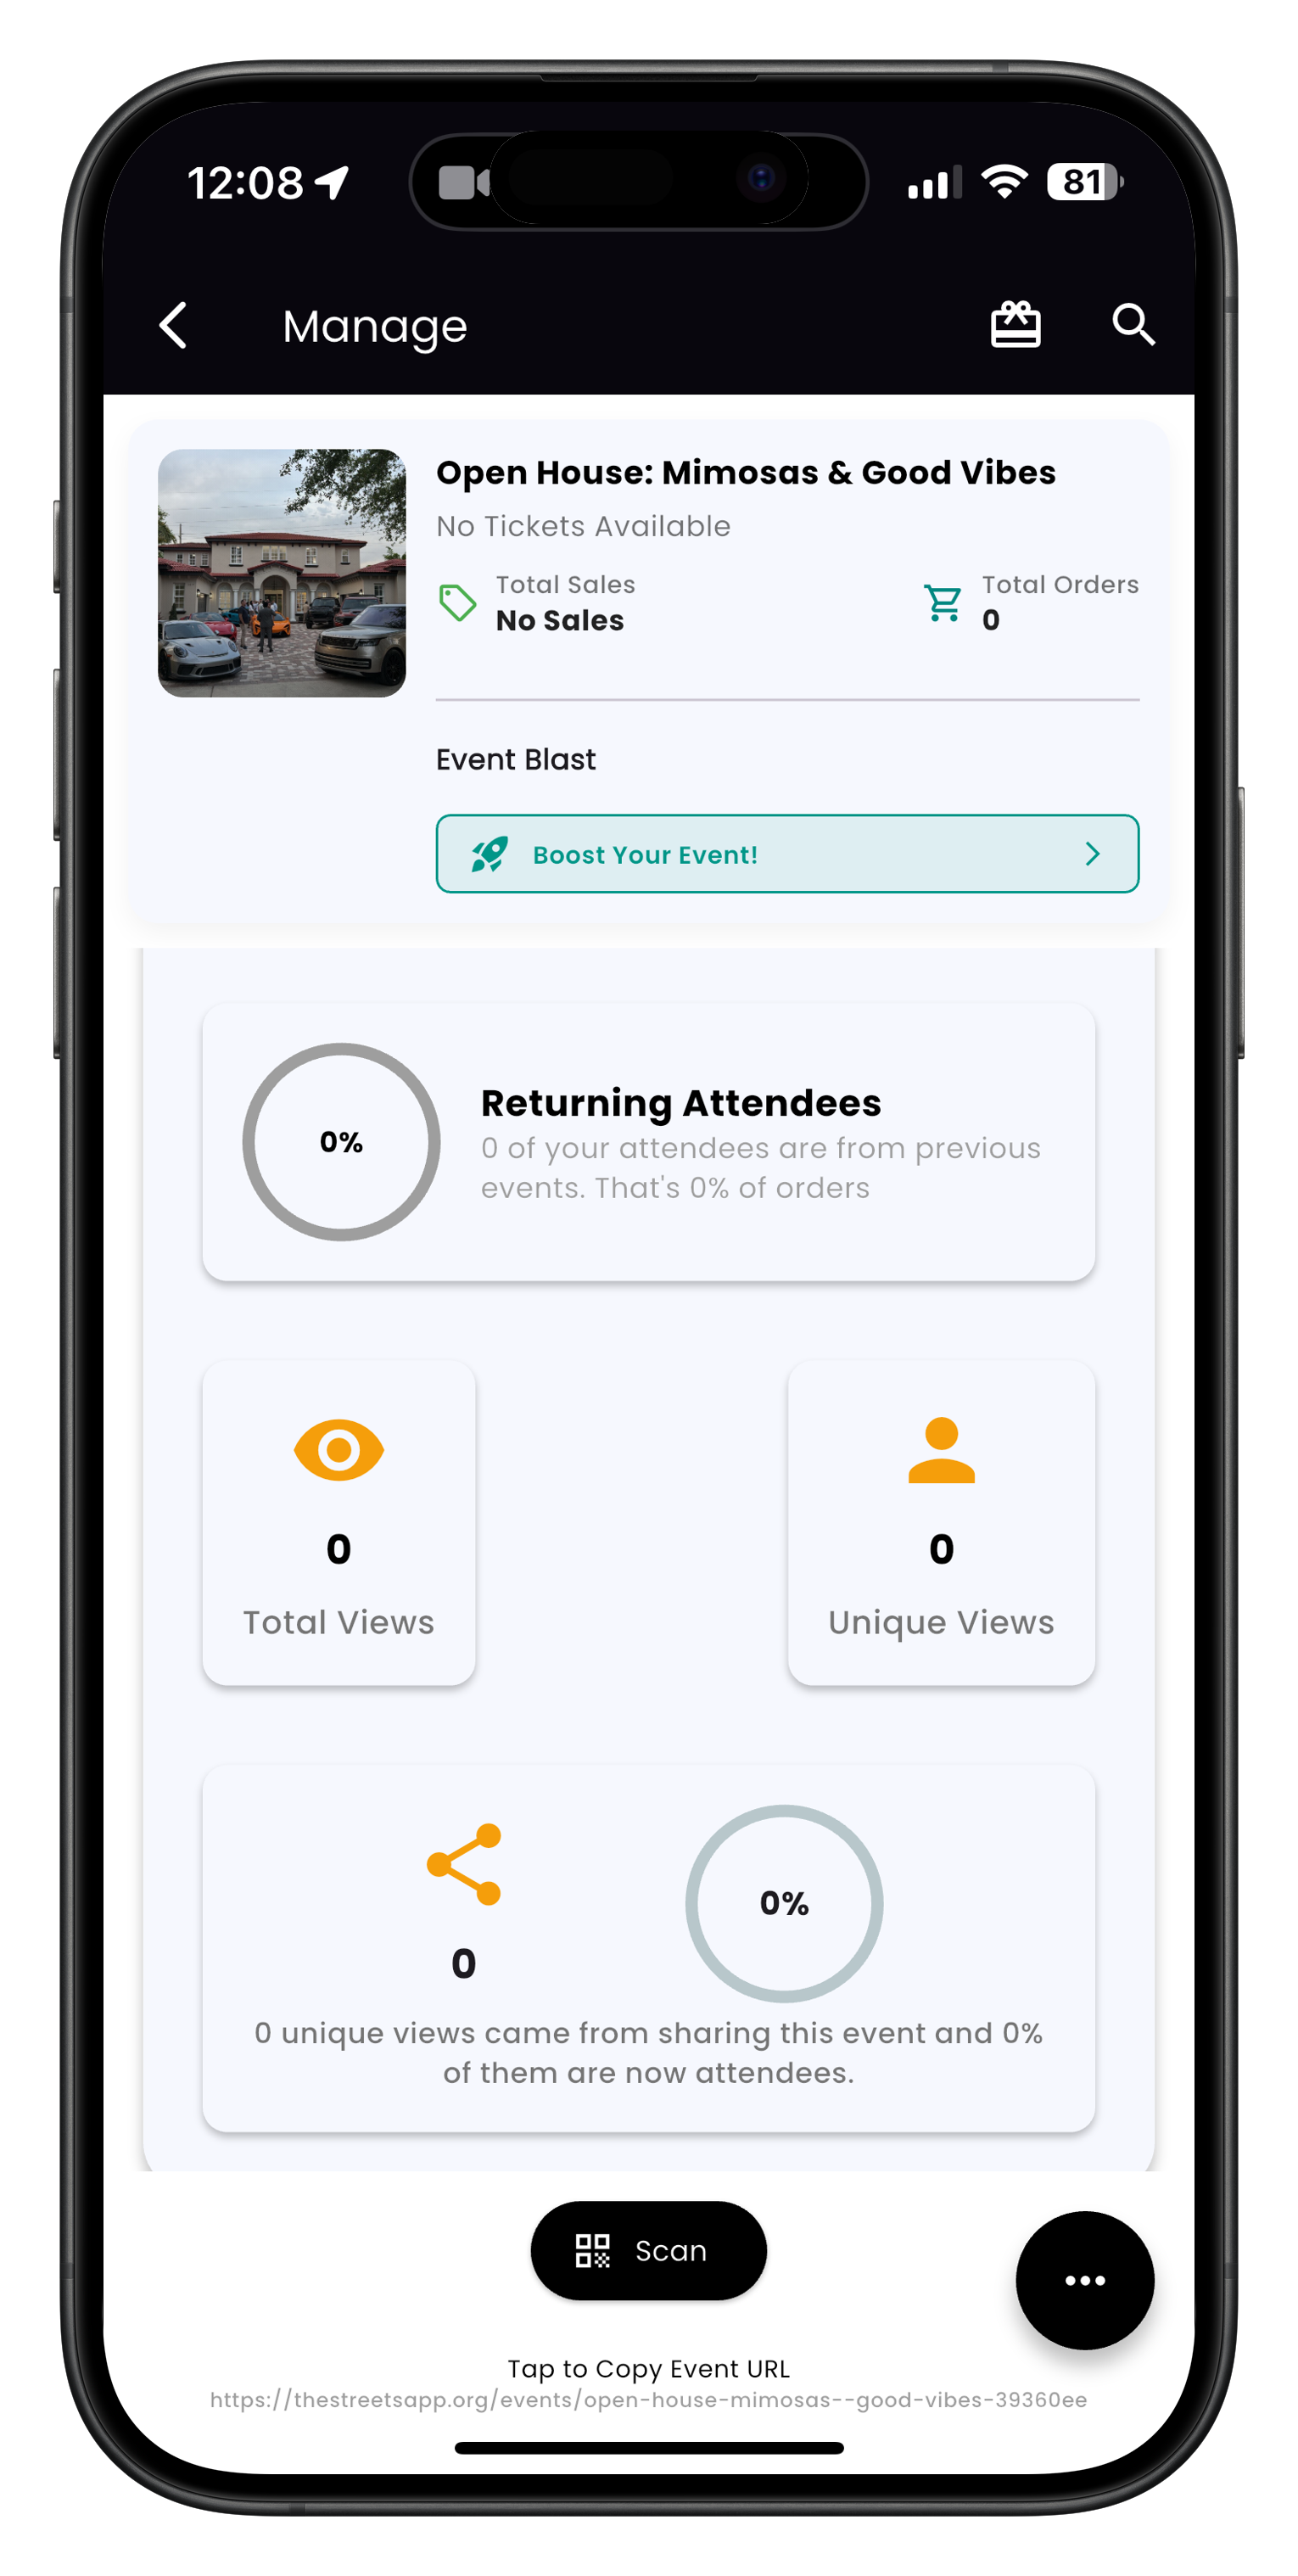
Image: Event boost interface for increasing your event's visibility
Need More Help?
If you're experiencing issues with event management, you can:
- Check our Troubleshooting Guide
- View Frequently Asked Questions
- Contact our Support Team
Related Articles
Learn more about managing your event:
Related Resources
How to Create an Event
Step-by-step tutorial for creating and setting up an event on Streets
Using the Message Center
Learn how to send notifications, emails, and SMS to your audience
Managing Collaborators
Add team members and configure their permissions
Create and Apply Promo Codes
Boost attendance with promotional discounts